
Mount Lawrence Grassi (MLG) is a massive mountain neighboring the more popular Ha Ling Peak. It begins with a nice flat canal walk, before turning uphill and staying uphill for the remainder of the hike.
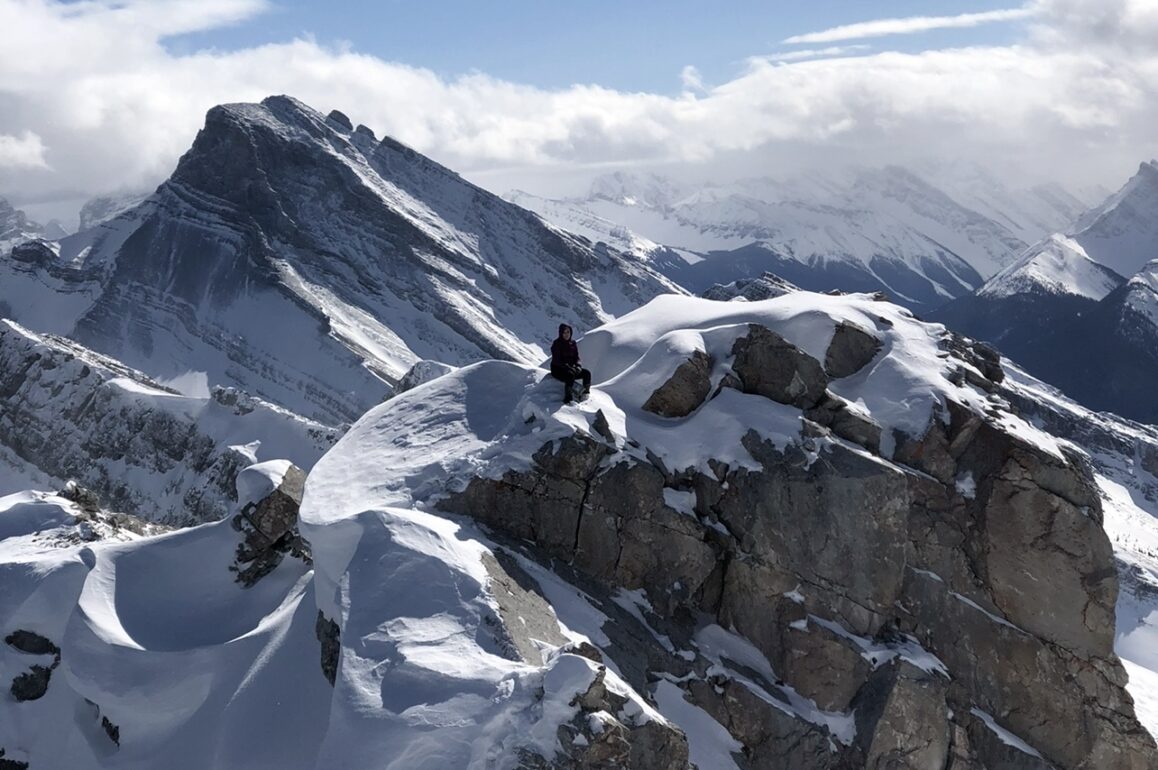
The benefit of putting in the effort to summit MLG is that you get to tower above the neighboring Ha Ling and Miners Peak, and likely can watch other groups summit those peaks. The downside is that you’ll have an unrelentingly steep hike, and the best views are only visible from the summit.
Mount Lawrence Grassi is a great hike if you’re looking for a moderate day, a good cardio effort, and minimal scrambling.
Mount Lawrence Grassi Quick Stats
- Distance – 9.5 km / 5.9 mi
- Elevation Gain – 1167 m / 3,829 ft
- Approximate Time – 5-7 hours
- All Season Hike? Possible with avalanche knowledge
- Dog Friendly? Possible with paw protection for scree and slab
- Kid Friendly? Possible for strong kids (Lots of distance and elevation)
- Beginner Friendly? Not recommended due to slab, but possible
- Cell Service? Summit only
- Wildlife Encounters? Possible bighorn sheep, bears
- Access to Water? Canal for 2.3km, then no water access
- Bathrooms? Outhouses at Ha Ling parking lot, none at main lot
- Chance of getting lost? Minimal once on the MLG trail
Driving Directions & Where to Park for Mount Lawrence Grassi
Drive through the town of Canmore, up past the Nordic Center on Spray Lakes Road (Highway 742). 2 minutes past the Nordic Center, the road will turn to gravel. Take caution as the road is narrow and winding, but continue to proceed straight on the road and head up the mountain.
The road winds past a pond known as Whiteman’s Pond, then dips downhill to a moderate paved parking lot called Goat Creek Parking Lot. This is an excellent place to park, as the lot is large and has outhouses. Be aware you won’t have cell service in this area.
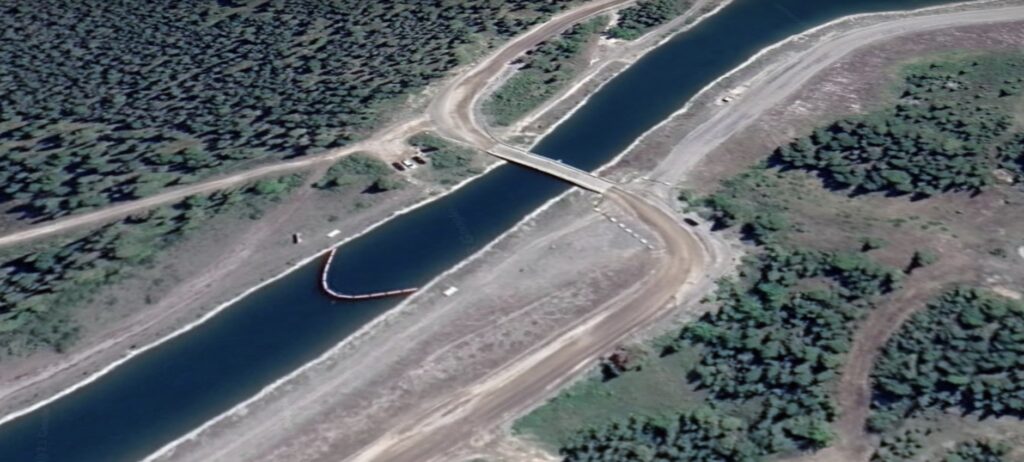
The second parking option, which I often prefer due to crowds, is to continue past this parking lot along highway 742. Continue straight for about 10 more minutes, until the dirt road banks left and crosses over the canal on a narrow bridge. Immediately after crossing the bridge, turn left to find a small dirt parking area.
How to Get to the Mount Lawrence Grassi Trailhead
There is no official trailhead for the Mount Lawrence Grassi hike, so I highly recommend following a GPS track to ensure you’re on the correct trail. Consider downloading the map on AllTrails if you have a subscription.
From the Ha Ling parking lot, cross highway 742 at the pedestrian crossing and start heading up the small dirt hill marked with a metal gate. At the top of the hill, cross the canal at the concrete bridge, then follow the canal for 2.3km. On your left should be a small trail heading into the trees.
From the secondary parking area, hike northwest along the canal, as if you were hiking back to the Ha Ling parking lot along the canal. Walk along for 2.4 km until a trailhead appears on your right.
The trailhead might be marked with flagging tape (bright-colored plastic in a tree), or a cairn (man-made pile of rocks), but this can’t be guaranteed. As well, there are other hikes in the area, like Ship’s Prow summit, so it can be hard to ensure you’re on the correct trail. For this reason I’d recommend following a GPS.
How To Hike Mount Lawrence Grassi Successfully
1. The Canal Walk
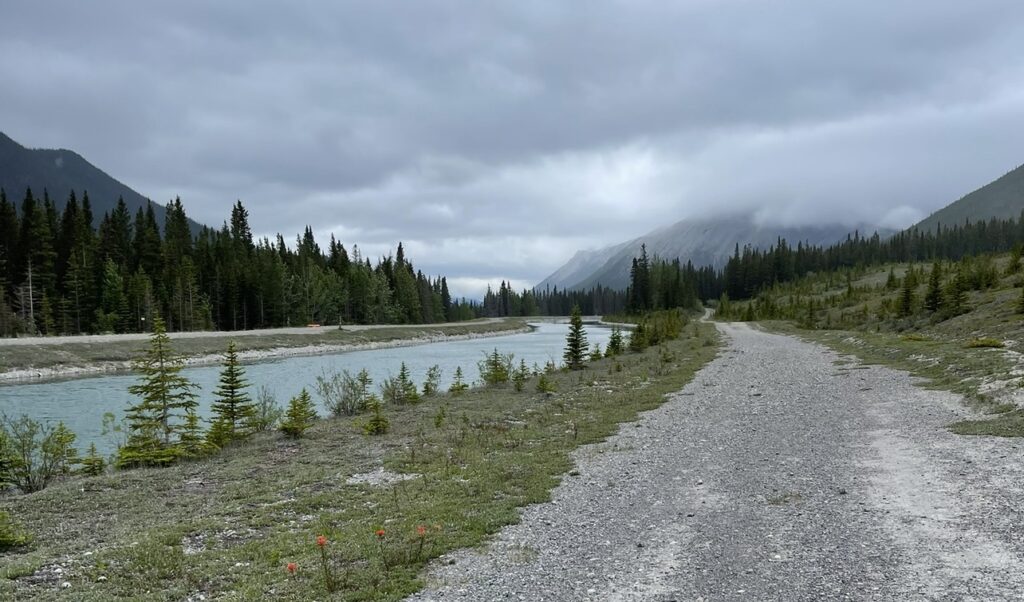
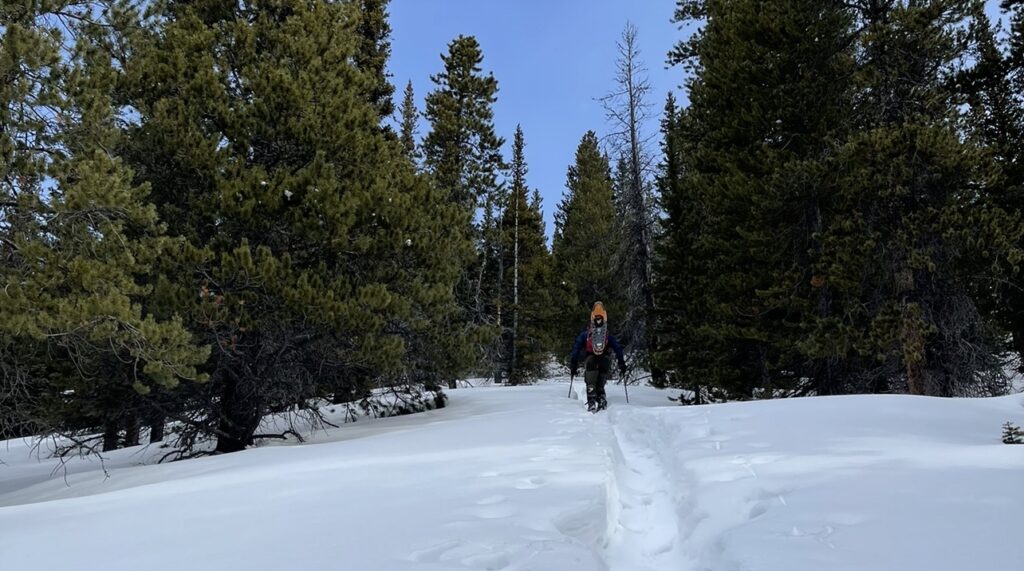
Whether you choose to park at the Ha Ling parking lot or at the second parking area as described above, you have a long, flat canal walk to start your hike.
The canal walk is a long, flat, easy walk beside the Rundle canal. The entirety of this portion has access to water via the canal, and is likely in direct sunlight.
The canal serves as a great warmup for the rest of the hike, but is a bit tedious and boring on the way out. 2.3km from the Ha Ling lot, or 2.4km from the second parking area, you will encounter a dirt trail opposite the canal.
I strongly recommend following a GPS track to ensure you find the correct trail off the canal, as there are several drainages and trails in the area.
2. The Trees
Once you exit the canal on the trail, you enter the trees and head uphill. This can be the hardest part of the hike mentally, because the grade is steep, the trail is faint, and there are no views to keep your mind entertained.
The trail starts out fairly obvious, but 10-15 minutes into the hike, drops into the creek bed briefly, before banking right back out. The trail can become a bit rocky and hard to discern here, but mostly wanders straight up the ridge of the mountain.
Past the creek, the trail gets easier to follow.
3. The Rocks
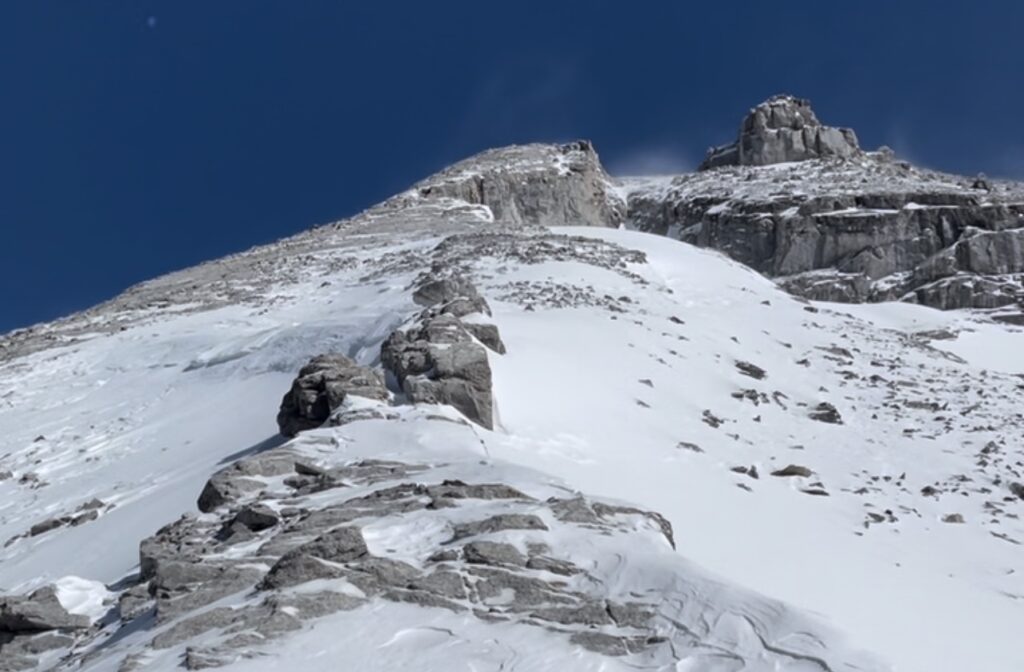
Breaking the tree line, the summit becomes visible, though it seems so far away. The dirt trail you’ve been hiking on becomes rockier and rockier, forcing you to watch your feet to avoid tripping.
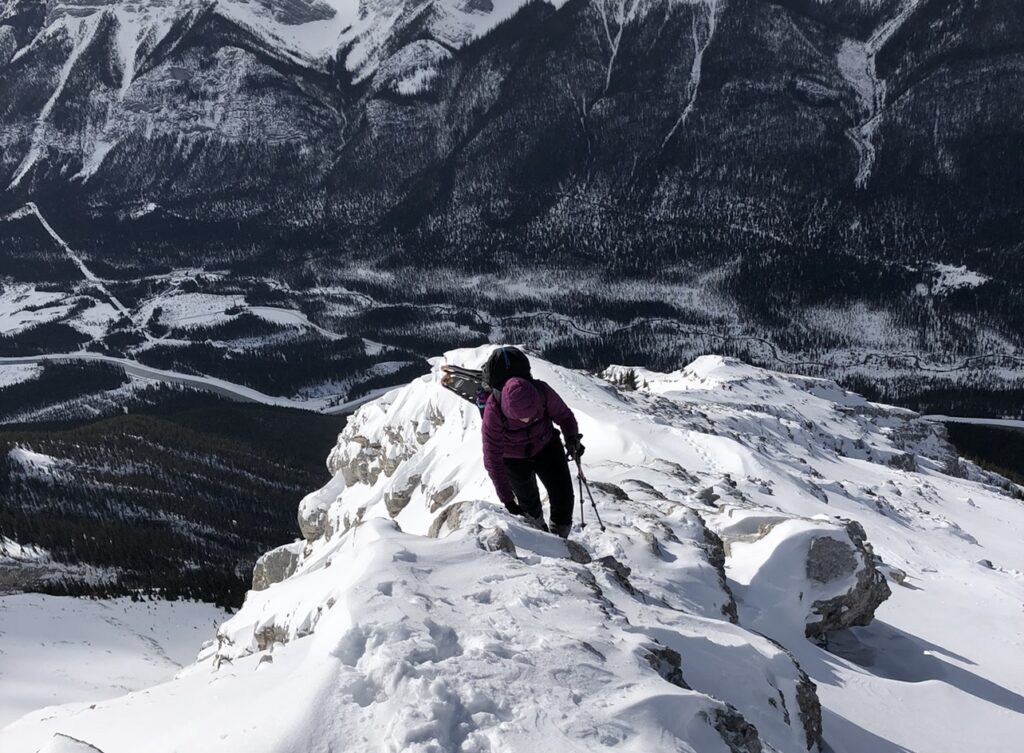
About 20 minutes after breaking the tree line, the trail takes you up to a rocky ridge, where you might need to scramble down a step depending on comfort level. If you have poles you can simply walk down, using your poles for support.
After this step, the trail becomes a hike on scree (loose rock), followed by scree on slab (solid, flat rock) up to the summit. Although there’s nothing too technical here, the grade remains steep. Use caution as loose rock on steep terrain can be slippery at times.
The path forward to the summit is very obvious. You can choose whichever route up the rocks feels the most comfortable to you, keeping in mind that there is exposure (a drop off) if you wander too far ascender’s right (meaning righthand side as you hike up). Avoid this by staying away from that ridge.
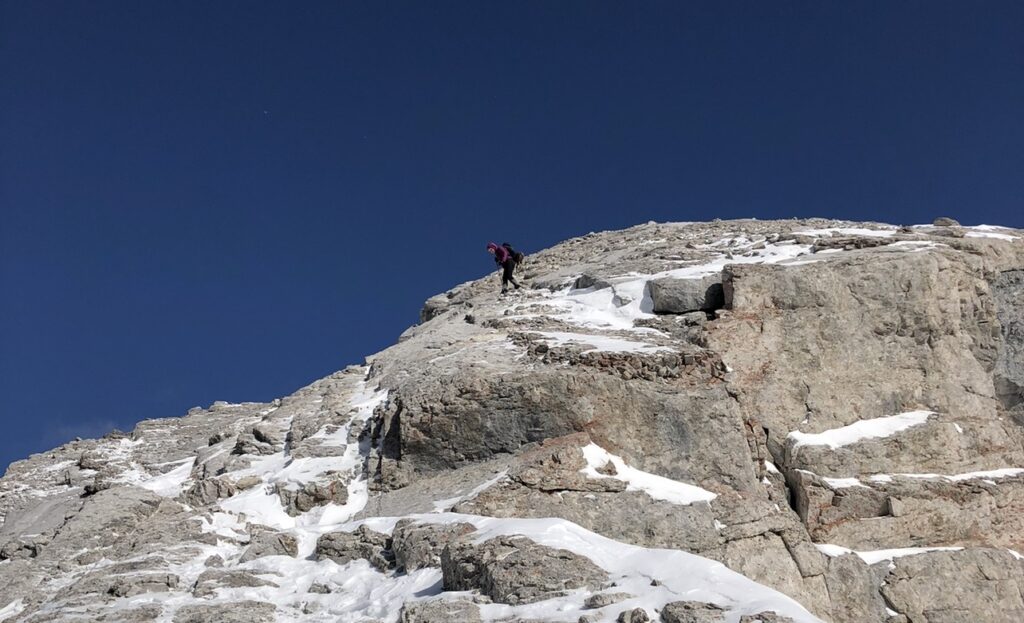
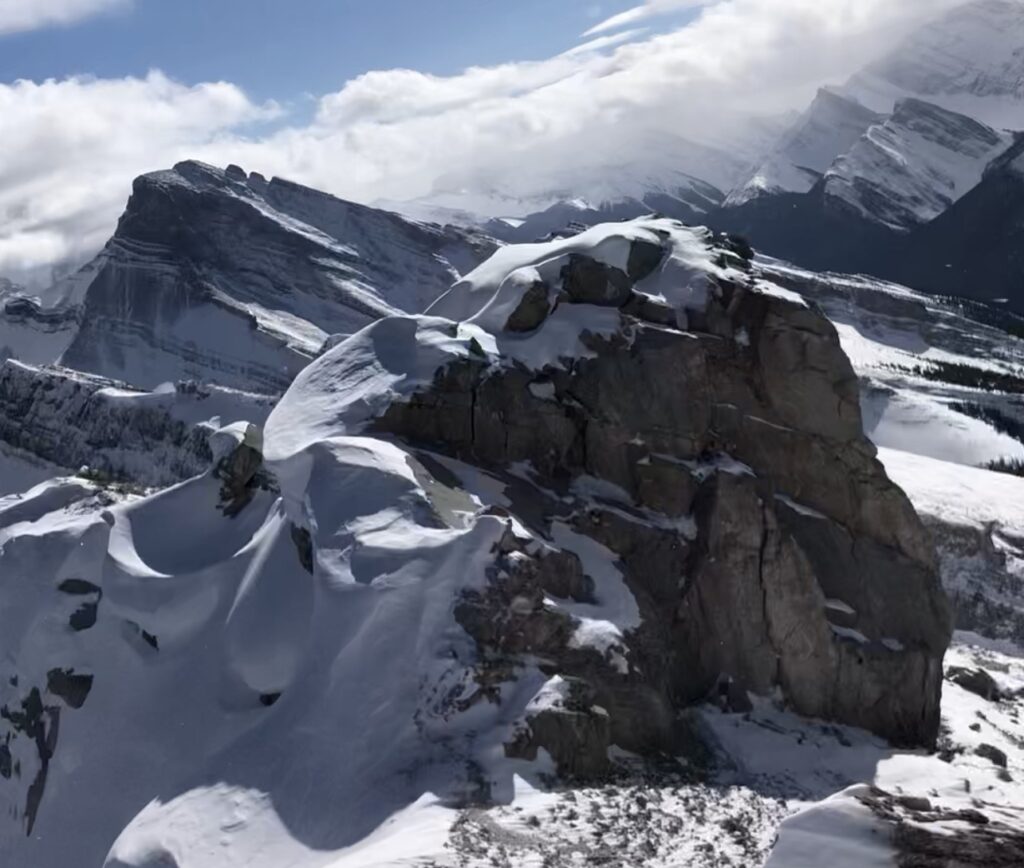
4. The Summit and Nubbin
As you hike up to the summit, there isn’t much to note, other than the loose terrain.
There is a rocky mound to the right of the summit that I’m lovingly calling “the nubbin” (a name I made up). I think some people refer to it as “the south summit”. Although it looks higher than the summit, it’s actually 4 feet lower. You can scramble it if you want to, but there’s no need to if you’re not up for it.
Caution must be used to scramble the nubbin, as there is severe exposure towards the town of Canmore, and slippery slab on the way up. Downclimb the summit, then slowly make your way up and around to the nubbin. This is not a beginner’s scramble.
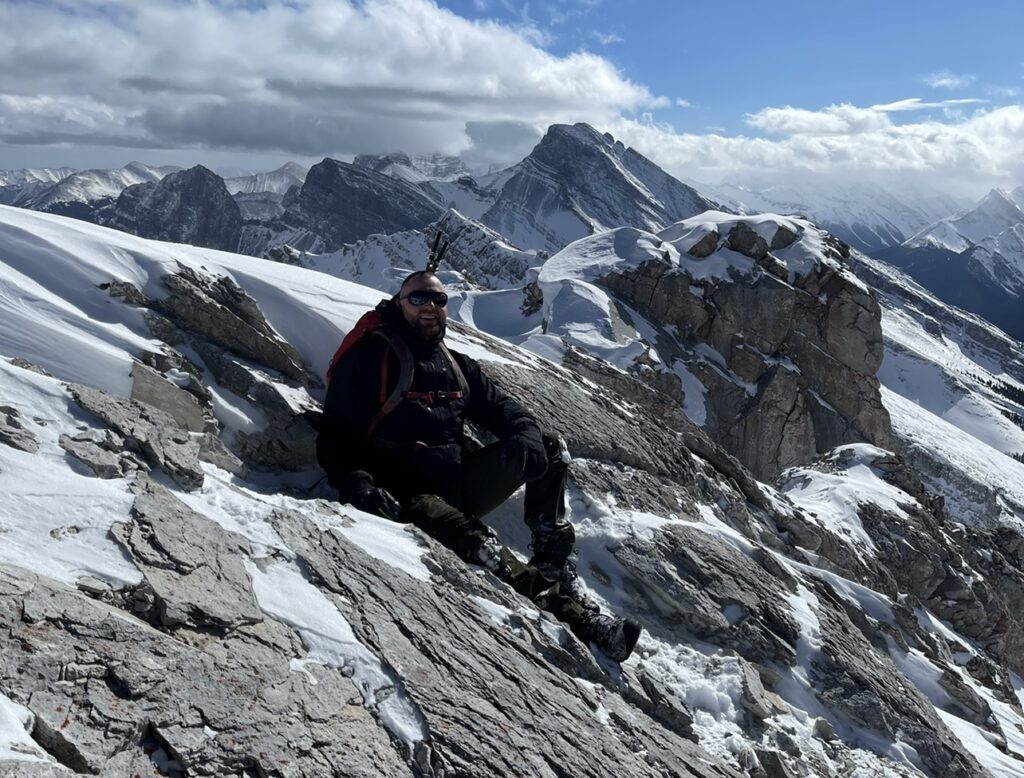
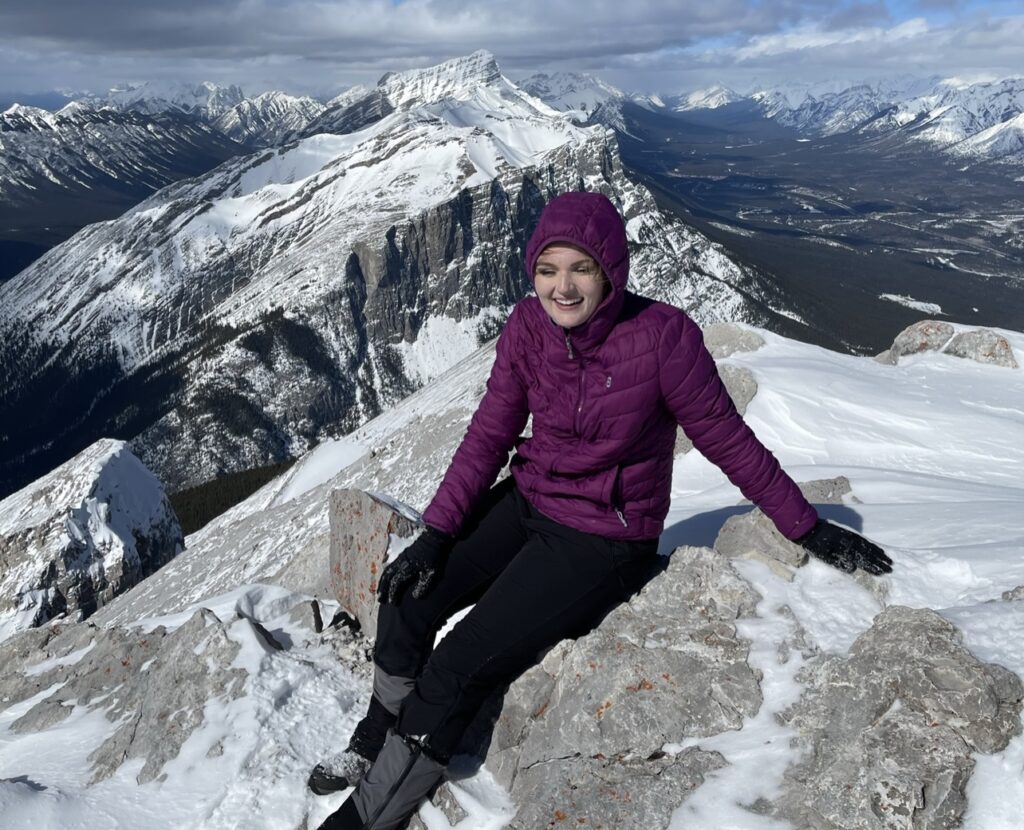
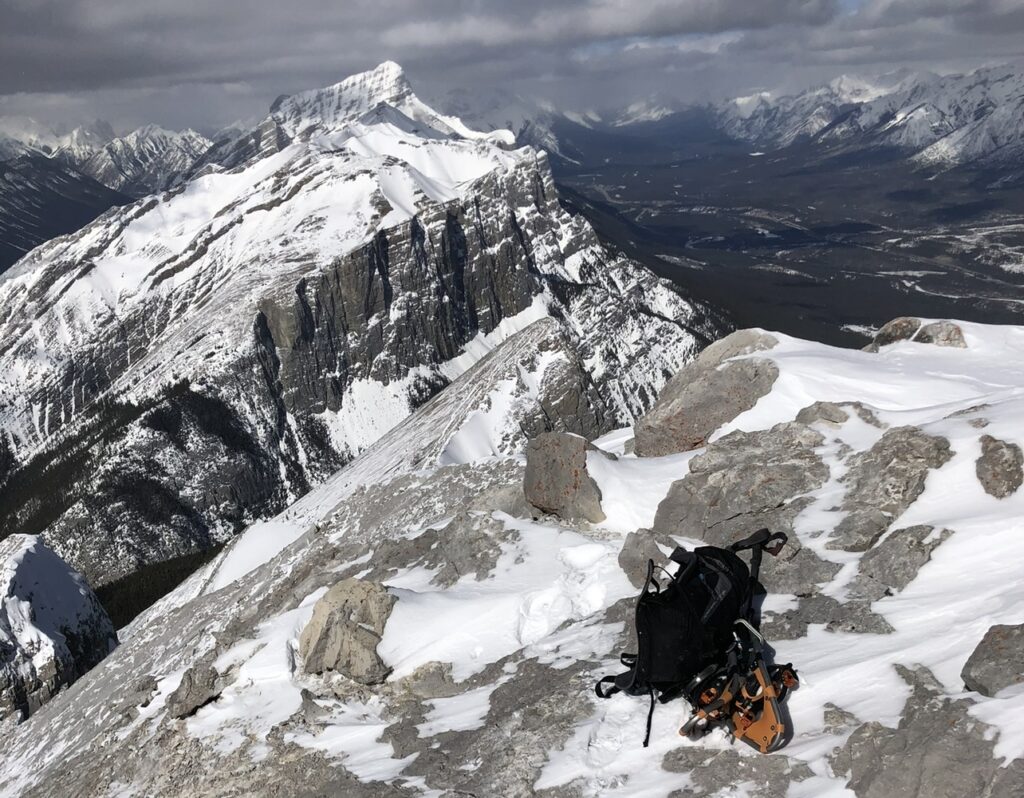
The views from the summit are overlooking the town of Canmore, with Ha Ling below you to your left, and Ship’s Prow on the right. Be sure to gaze at the summit of Ha Ling – there is rarely a time without people on the summit!
What to Bring When Hiking Mount Lawrence Grassi
Aside from the usual hiking necessities, some items you might find helpful for this adventure are:
- Poles – This hike is steep, and there’s almost no relief from the intense grade. Poles will help reduce strain in this terrain, and can help keep you upright instead of scrambling in the upper mountain.
- Satellite Phone – You will not have cell service for the majority of this hike, including in the parking areas. Bring a satellite phone to call for help in case of an emergency.
- Bear Spray – You should always carry bear spray when hiking in Kananaskis country! Purchase some at the Canadian Tire in Canmore if you find yourself without.
- Gaiters – Gaiters are pant cuffs that strap around the bottom of your shoe and secure around your shins. They come in varying lengths, from ankle- to knee- height. Because of the large amount of traveling on rocks for this hike, gaiters can help prevent rocks from getting in your boots.
- Sun Protection – A large portion of this hike isn’t shaded by trees. You will be exposed to direct sunlight. Wear sunscreen, bring a hat, and consider a light layer if you’re prone to burning.
- Helmet (optional) – When you wear a helmet on a bike, it’s a safety measure for a “just-in-case” scenario. Scrambling is no different. Consider a helmet for rockfall and accident protection.
Mount Lawrence Grassi Tips To Get The Best Experience
- If you’re a confident hiker, consider hiking this in the shoulder-season. Because of the lack of scrambling, this summit can be achieved in cold weather or in snowy conditions. However, in winter conditions, avalanche risk exists. Risk should always be evaluated in any weather.
- Bike the canal. Although 2.4 kilometers isn’t a long distance, a bike can help make this time go by faster, giving you more time to summit the mountain, and getting you back to your car faster when you’re done. Lock it to a tree while you’re away from the canal.
- Study the route. Nothing should feel like “climbing” on this adventure. Accidents have happened when parties have gone off-route into dangerous terrain and attempted to maneuver through it. Staying on trail and using a GPS can help mitigate this.
- Summit the nubbin. Taking pictures from the summit of someone on the nubbin makes a cool “climbing” photo, and vice versa. Also the photos looking west towards Ha Ling and EEOR are stunning.
- Plan for more time. Although this hike isn’t massive, the grade is unrelenting, which makes both ascending and descending time-consuming. Again, poles help!
Frequently Asked Questions
Do I need a Kananaskis pass for the Mount Lawrence Grassi hike?
Unfortunately if you plan on parking a car at either parking area, you will need a digital Kananaskis pass. It is simply registered to your license plate and can be purchased online here.
Can I hike Mount Lawrence Grassi in the winter?
Yes, you can hike Mount Lawrence Grassi in the winter, but it should only be attempted by those with mountaineering experience and avalanche training. Significant risk exists on this mountain in the winter.
Can I bring my dog on Mount Lawrence Grassi?
Yes, dogs can hike up Mount Lawrence Grassi, but should be kept on leash, and consider protection for their paws. Lots of scree can be rough on dog’s paw pads.
Recommendations From My Experience
- I liked the canal on the way to the summit, but I was very over it on the way out. A bike would help make this segment go faster.
- We did hike this in the winter, and I would leave my snowshoes at the base of the mountain. They were helpful through the canal, but the grade was too steep to use them on the mountain. We were sliding backwards and post-holing with them on. Leave them be and just deal with the post-holing.
- This mountain is likely a one-and-done. There isn’t much redeeming about the hike, other than the views from the summit and the fun scrambling on the nubbin. Make an attempt on this mountain on a day when the weather seems like it will hold out for your summit so you don’t have to come back.
- I assumed we would be alone on the mountain, but even in the winter, we weren’t. That might be comforting to some, and frustrating to others. A helmet can be an added safety measure when dealing with other groups.
Other Questions?
Were your questions left unanswered? Drop a comment below and I’ll get back to you! Also, if you’ve hiked Mount Lawrence Grassi, leave a review below for others to see!
Other Recommendations:
If you haven’t checked out Mount Lady MacDonald, I would recommend that hike before this one! Grassi Knob also offers similar metrics and is an easier day.
For moderate scrambling, check out Gap Peak, or consider Big Sister if you’re a very confident scrambler!
Happy trails!