
Mount Charles Stewart South (also called Buffalo Point, despite there being no buffalo sightings on the mountain) lies on the northwest end of the town of Canmore, and can be hiked right from the townsite.
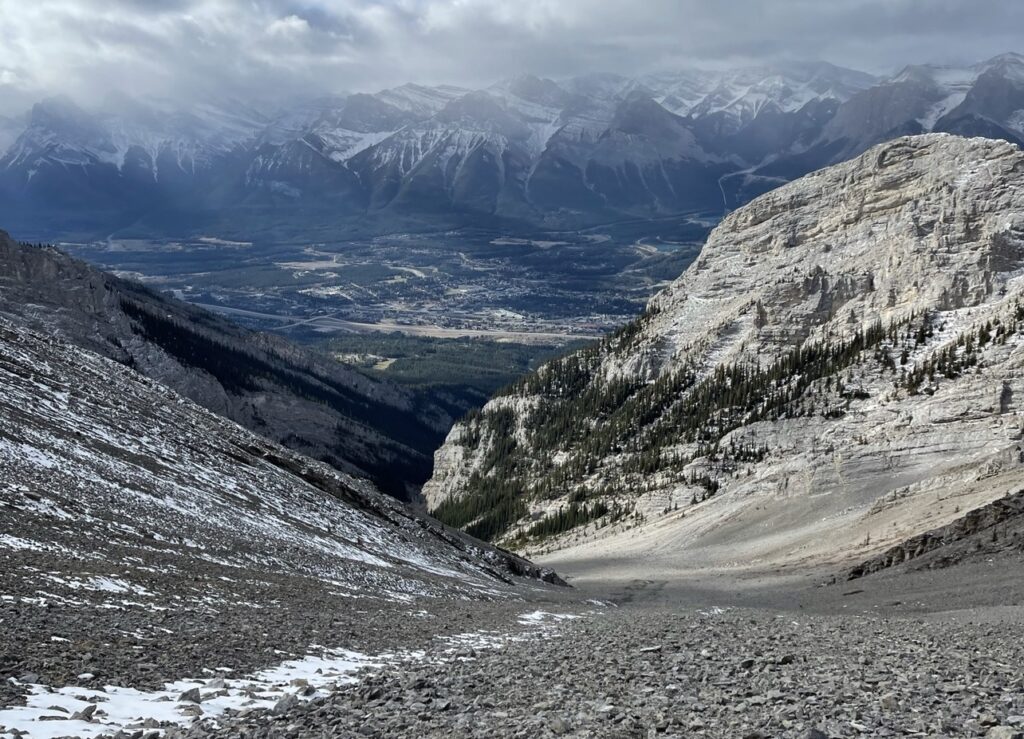
It isn’t summited very often because it is back further than some other peaks, making it harder to access. However, it’s a straightforward hike with beautiful remote views, and is a totally good option for an easier day out.
Just over half of this hike is a lovely walk up a creek bed. Immediately following, is a giant scree-slog to the summit for the second half of the hike. However, you can get a lot of elevation in without any scrambling on this peak, so it’s a worth-while day out for many parties.
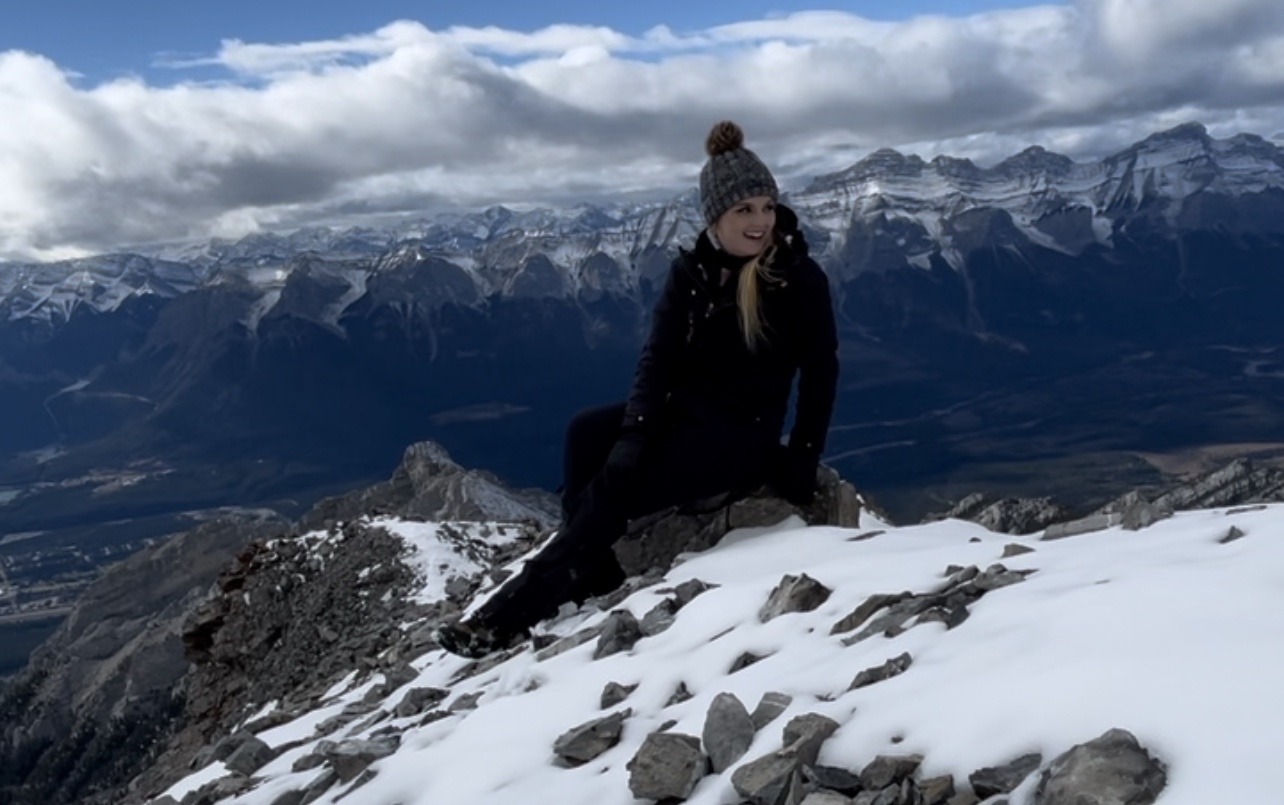
Mount Charles Stewart South offers great views, has no scrambling, is less crowded, requires little route-finding, and has a nice scree-run down. If you’re looking for a moderate day with no scrambling, this might be the hike for you!
Mount Charles Stewart South Quick Stats
- Distance – 10.8 km / 6.71 mi
- Elevation Gain – 1305 m / 4,281.5 ft
- Approximate Time – 5-7 hours
- All Season Hike? No, not safe in winter conditions
- Dog Friendly? No, due to scree (Yes with paw protection)
- Kid Friendly? Possible for strong kids (Lots of distance and elevation)
- Beginner Friendly? Yes with an experienced member
- Cell Service? Likely throughout
- Wildlife Encounters? Possible bighorn sheep, bears
- Access to Water? Likely none, maybe light runoff in the spring
- Bathrooms? None
- Chance of getting lost? Minimal
Driving Directions & Where to Park for Mount Charles Stewart South Peak
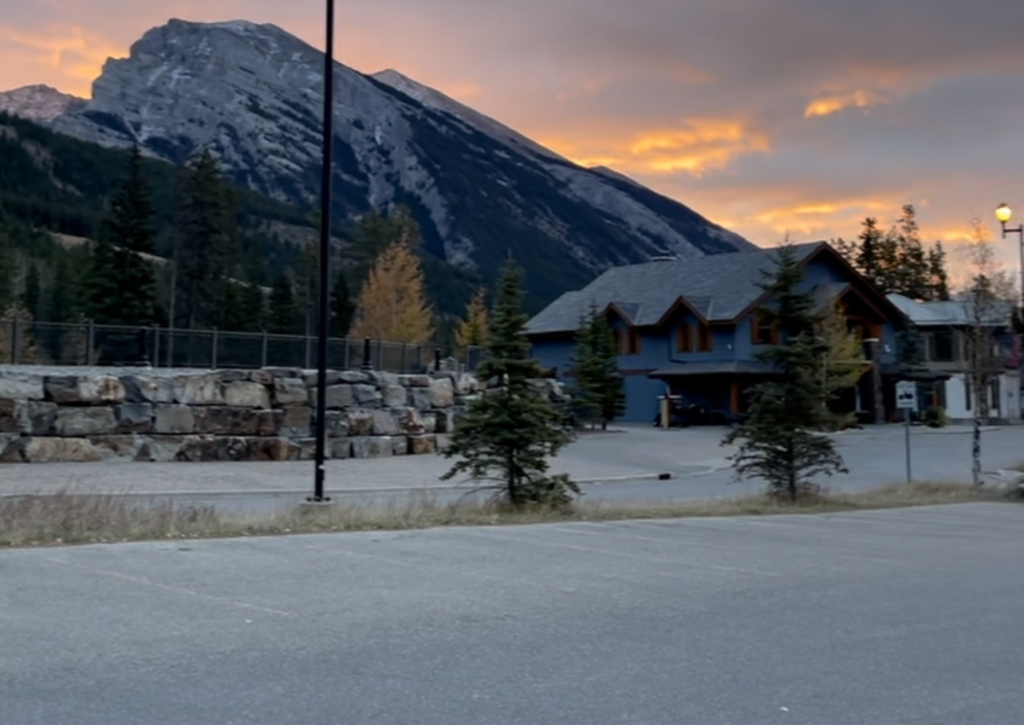
Drive the TransCanada Highway to Canmore, following Silvertip Trail up to the Silvertip Resort golf course. Park in the large parking lot at the end of the road.
Another option is to park at the strip mall parking lot on Old Canmore Road. Parking at this location puts you in front of food and beverage options for post-hike fun, but adds distance and elevation walking through the town of Canmore. Avoid this by driving up to the golf course instead.
How to Get to the Charles Stewart South Trailhead
There is no official trailhead for the Charles Stewart South hike.
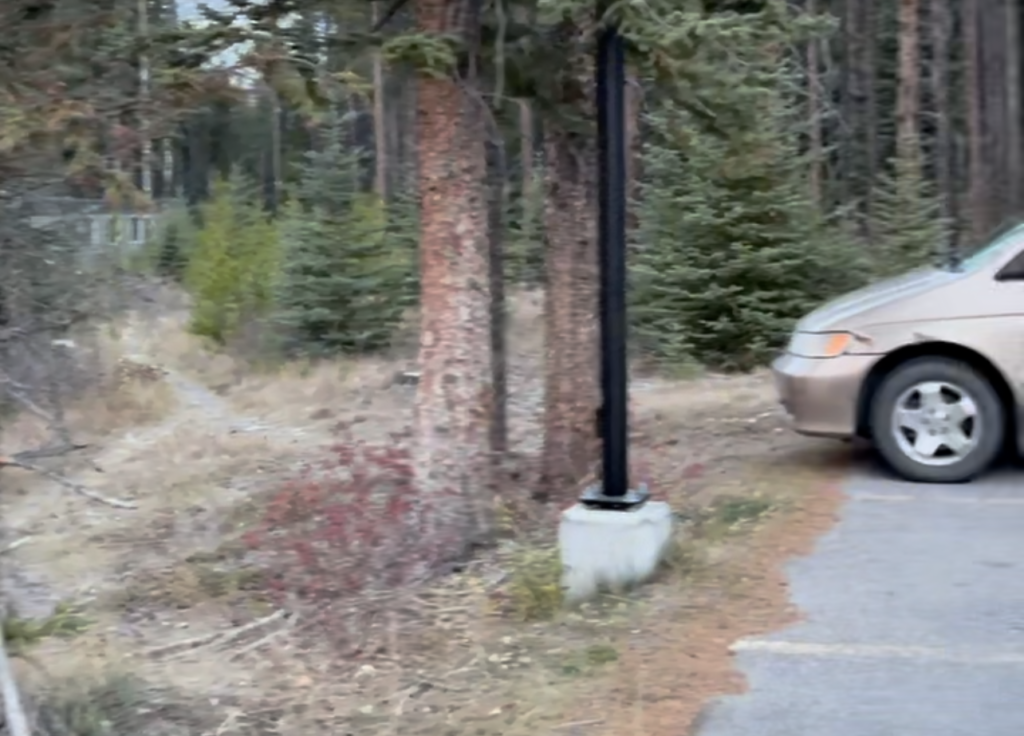
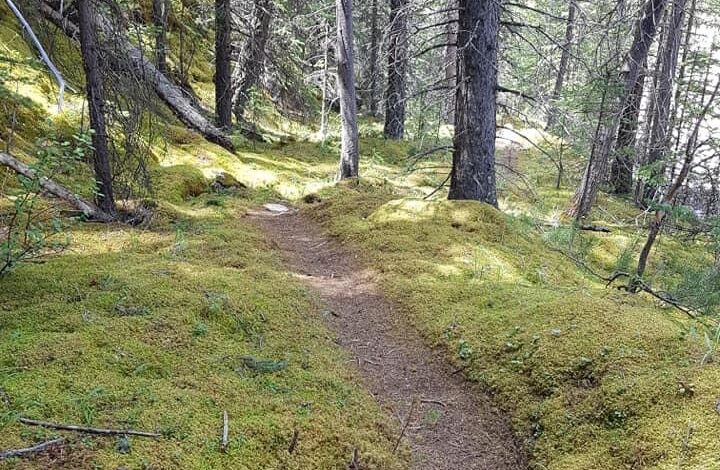
To begin the hike, look west into the trees at the end of the golf course parking lot. A small dirt trail should be obvious wandering into the brush. This is where you should start the hike.
If you parked down at the strip mall, you can either walk through town up to the golf course to find the trail, or utilize Johnny’s trail through town. (This is the dirt path beside the roadways wandering up to the golf course). Be mindful that Johnny’s Trail is often utilized by mountain bikers.
How To Hike Mount Charles Stewart South Successfully
This hike can be broken down into 4 segments, which should help you track your progress along the mountain.
1. The Lower Trails
The Lower Trails are the paths that connect the town to the creek. There are several different paths that will get you to the creek, but I would recommend heading to the Montane Traverse as the easiest path. However, there is no “wrong” way, so if you take a different route in, that works too.
From the Silvertip golf course parking lot, look to the trees on the west end to find an obvious trail leading into the trees. Once on the trail, take your first right about 1-minute in, followed by a left onto the Montane trail about 5 minutes later.
Hike along the easy and level Montane Traverse for 1 kilometer until you enter a large creek bed. Other hikers have reported that there is a sign for “Stoneworks Canyon” to enter the creek, but I didn’t see it when I hiked. Once you hit the creek, you can hike directly up the middle.
Use a GPS track (such as AllTrails) if you are unsure about navigating through these lower trails.
2. Stoneworks Canyon
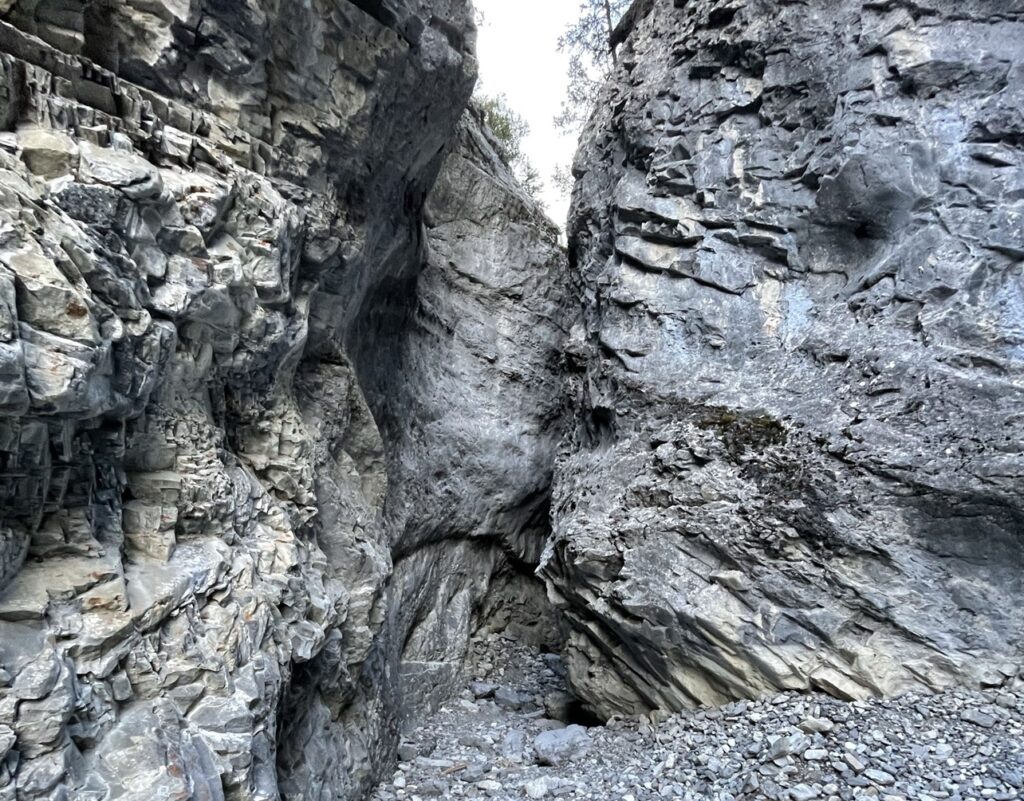
Stoneworks Canyon is an exciting part of this hike, but it doesn’t last long. As you hike up the middle of the creek bed, the walls of the creek start to rise, until you find that they loom large above you. Suddenly, you’re in a canyon.
As the creek narrows, it feels like the smooth walls of the canyon grow closer and swirl around you. The rock here is really beautiful, which is why it was made into a rock climbing crag (place where people climb for fun).
Stoneworks Canyon lasts about 2 minute of hiking, before the walls move further away from you and the canyon feels more like a regular creek bed again.
3. The Creek Bed
The entirety of the creek bed lasts 2 kilometers, which includes Stoneworks Canyon.
There isn’t much to note about the creek bed, except that there is no “right” path through it. Wander up it as you please, hopping over whichever rocks make your way forward easiest.
The creek ends as the walls start rising again. You might be able to see a small waterfall in the distance on the slabs. As you come to the end of the creek bed, your path forward should be fairly obvious in the form of a massive scree bowl to your left.
Exit the creek drainage as the walls grow taller by hiking up a steep scree slope to your left. Again, there is no right way up. Simply utilize whatever terrain seems lowest-angle and easiest to hike up.
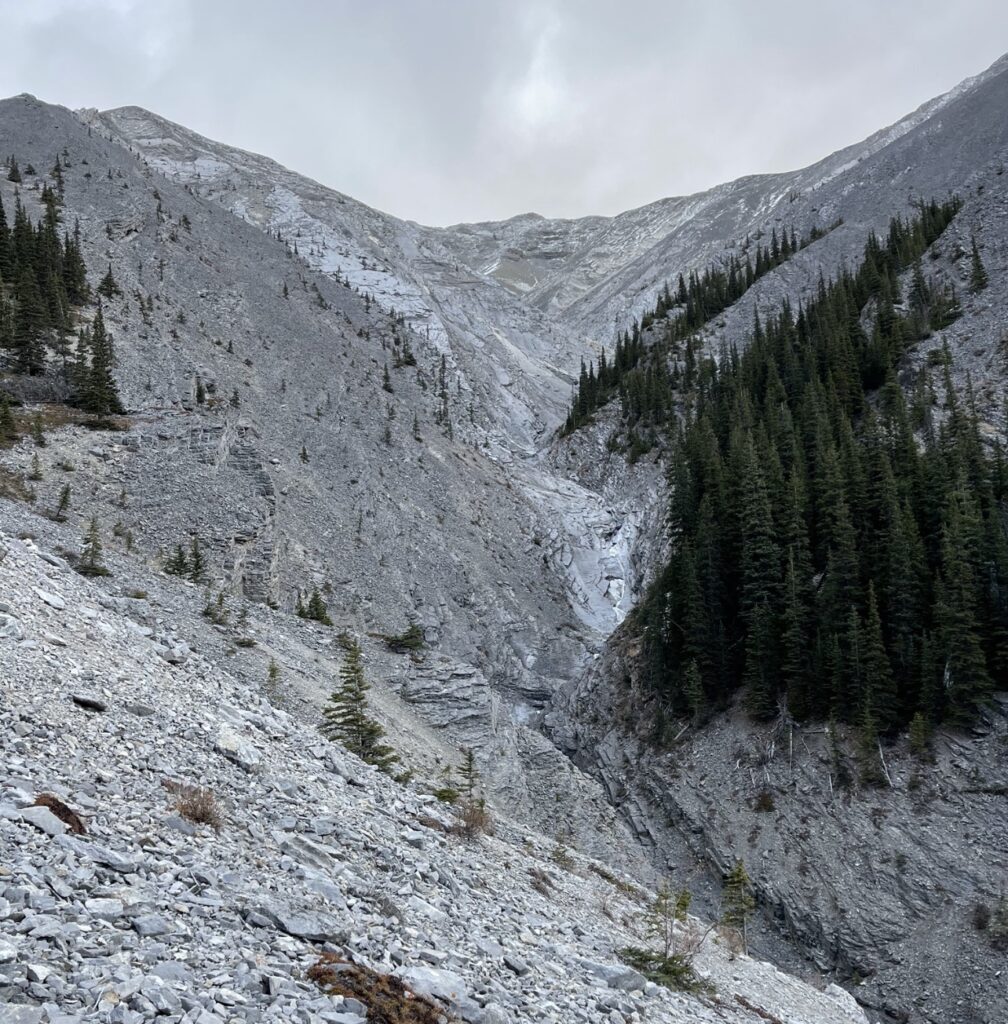
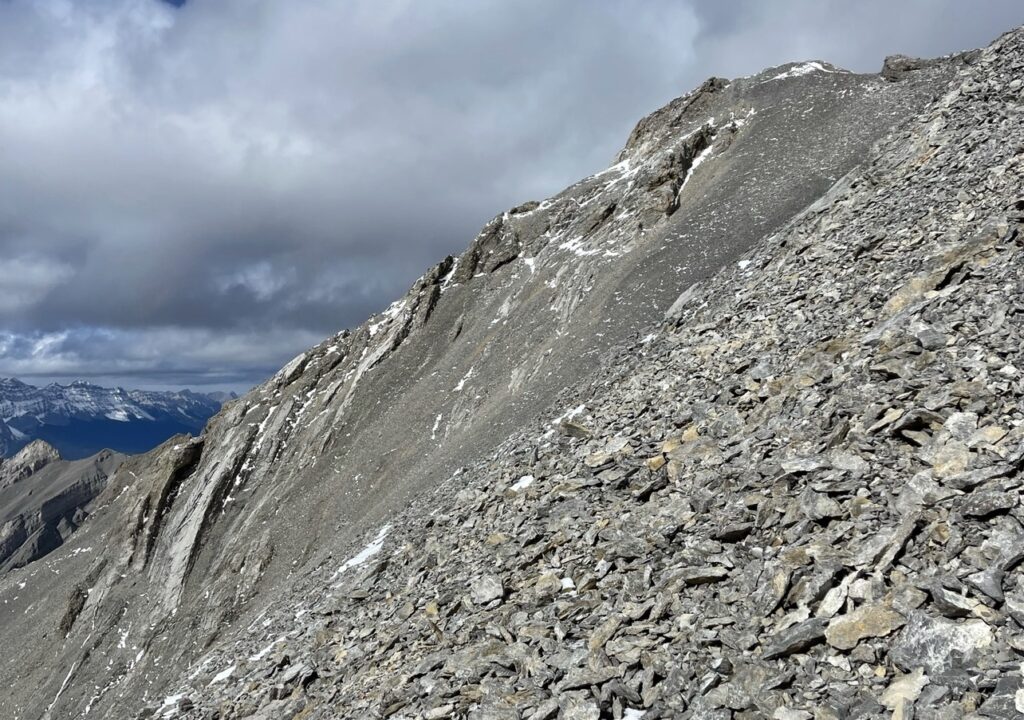
4. The Scree
The next 1.9 kilometers to the summit are up loose rock known as scree. As you progress forward, the incline also increases, making the effort feel endless.
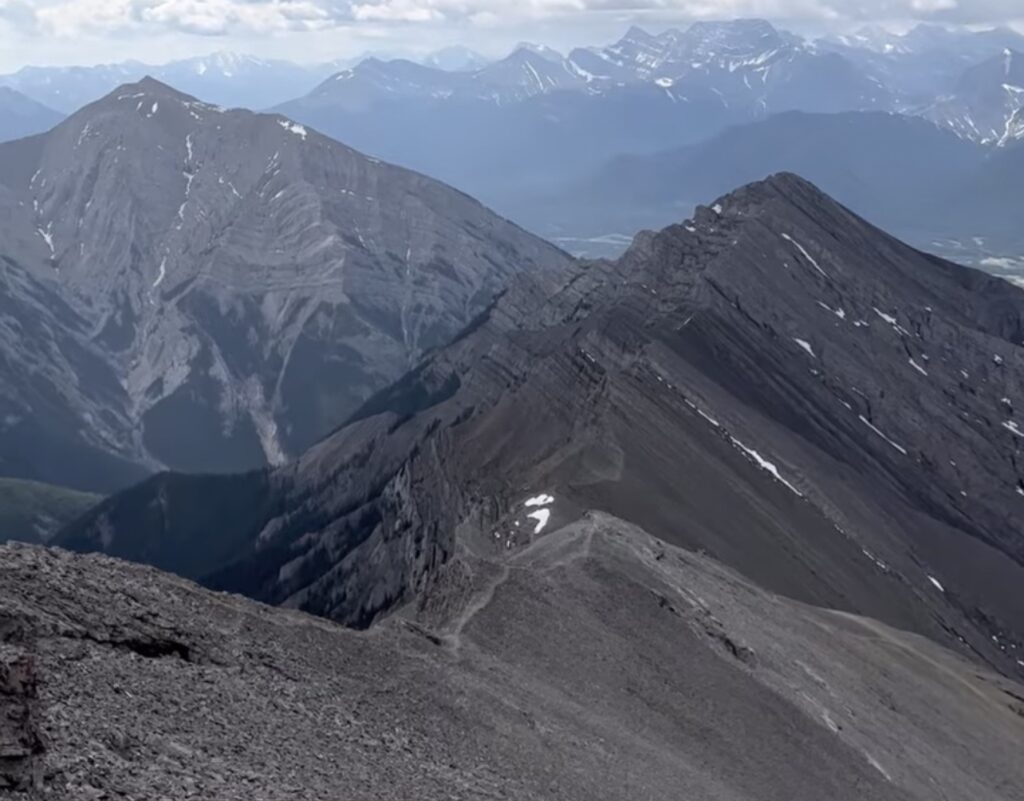
Bald Eagle Peak lies immediately to your left, and it is neat hiking up beside it and eventually above it. It is a good progress marker to mark your way up the rocks.
You might notice cairns (small piles of rocks which are meant to be “way-finders”) through the rock. Feel free to follow them to-and-fro, but I honestly wouldn’t bother. I’d recommend just plodding right up the middle of the scree to save time route-finding and zig-zagging up the rock.
As you approach the summit, the high point will be right in front of you and slightly to the left. You will notice a moderate rock formation directly in front of the summit.
Hiking up to the summit on the left, close to this rock formation, will give you solid rock to hold on to, but will require a few moves of scrambling. Also, the grade is the steepest in this location.
Hiking to the summit via the far right is lower angle, but is full of loose scree, which feels like hiking up a sand hill.
I recommend hiking up just right of center, where the rocks are bigger but the angle isn’t too steep. This way you won’t require your hands either. However, you can hike up any way you please.
If you hike up to the right of the summit, you can simply walk along the solid ridge to the peak. No scrambling is required.
To descend, I recommend following this ridge crest downhill for 300 meters before coming back into the scree bowl. The scree on this eastern part of the bowl is deeper and softer, allowing for a fast and easy descent. The scree up the middle of the bowl is quite shallow and slippery. Avoid it where possible.
What to Bring When Hiking Mount Charles Stewart South
Aside from the usual hiking necessities, some items you might find helpful for this adventure are:
- Sun Protection – This hike is almost entirely out of the trees, meaning you’ll be in direct sunlight for the majority of the day. Consider a hat, sunglasses, and sunscreen for a sunny day!
- Poles – Because of the distance and elevation gain on this hike, poles are sure to help save your muscles and joints from unnecessary strain.
- Bear Spray – A friendly reminder that you should always carry bear spray, have it easily accessible, and know how to use it when hiking in Kananaskis country. There is always a chance of encountering a bear when hiking in Kananaskis.
- Gaiters or Ankle Gaiters – Gaiters are pant cuffs that strap around the bottom of your shoe and secure around your shins. They come in varying lengths, from ankle- to knee- height. Because of the large amount of traveling on rocks for this hike, gaiters can help prevent rocks from getting in your boots.
Mount Charles Stewart South Tips To Get The Best Experience
- Enjoy the canyon, but watch out for climbers. The Stoneworks Canyon is beautiful and neat, but is sometimes used as a climbing crag. Don’t be alarmed if you see people in this area on your way back, and watch for overhead hazard from the crazy hooligans!
- Persevere. Move efficiently through the creek, because the scree is long and feels never-ending. The scree will eat up your time. Consider hiking with friends who can keep you distracted. Don’t take too many breaks, just keep pushing on. It doesn’t get easier until the way down.
- Evaluate summit options for the ascent, but take the scree down. Knowing the preferences of your group can help you choose the best way up: climber’s left for solid but steep rock, climber’s right for loose but lower-grade scree. Whichever way you come up, take the scree down for a fun, fast descent.
- Continue to Mount Charles Stewart (main peak). This will make your day quite long, but even fewer people make the traverse due to remote-ness and time constraints. Be aware that the traverse requires some moderate scrambling with exposure.
Frequently Asked Questions
Do I need a Kananaskis pass for the Charles Stewart South hike?
No, you do not need a Kananaskis pass to hike Bald Eagle Peak because you are parking within the Canmore townsite boundary! Mount Charles Stewart South is one of few hikes that do not require a pass.
Why is Charles Stewart South Called “Buffalo Point”?
In 1936 two brothers stuck a flag pole on the summit which had two buffalo-shaped park passes attached to it, and the name “Buffalo Point” stuck. There is currently a plaque at the summit to commemorate them.
Recommendations From My Experience
- I got a bit insecure in the lower trails because I didn’t find them well marked and I worried I was on the wrong trail. However, in hindsight, they all inter-link, so it would be hard to be off course. Trend generally up and left and you’ll surely hit the creek bed.
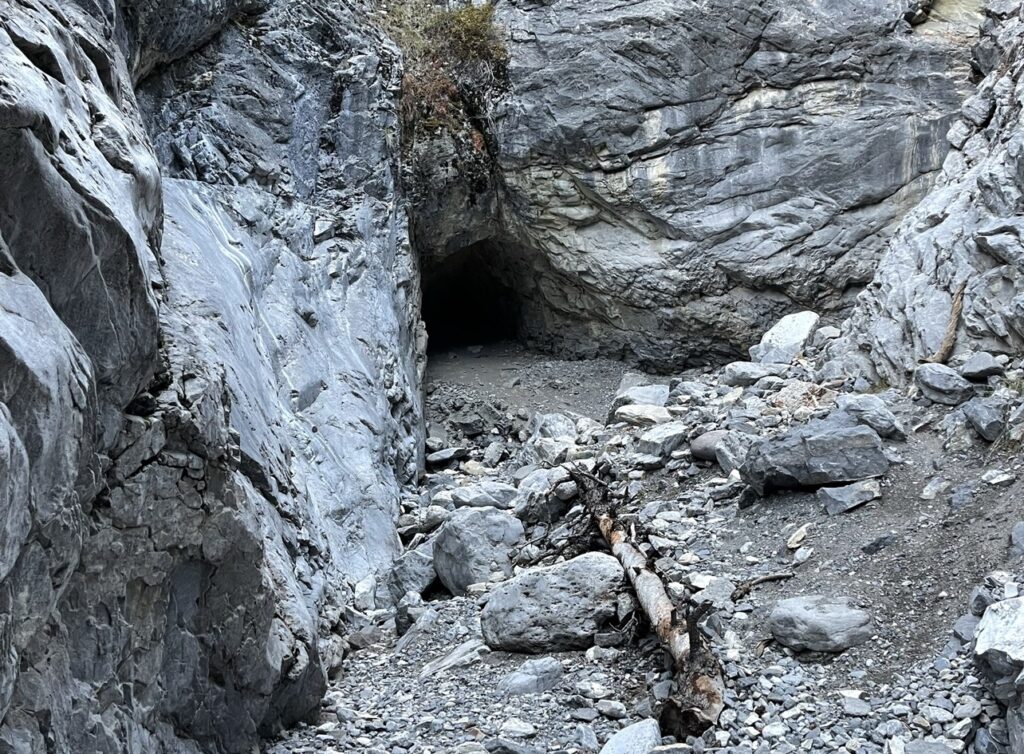
- Immediately after the canyon is a small cave on your left. It is not a bear den. I spent 10 minutes yelling at it with my bear spray out before realizing it was a shallow cave, and not home to any resident bears. Oops. Don’t waste time worrying here.
- I took way too long ascending the scree because it was boring and I kept taking breaks. Find a way to entertain yourself, be it with music, friends, a podcast, or some funny thoughts. Hopefully it’ll make the time go by faster.
- If the hike to the summit is icy or wet at all and you’re worried about slipping, head climber’s right to the looser rocks. I was hiking in October and a small amount of runoff and ice made the solid rocks on the left a bit treacherous. Although scree will be fatiguing, it is lower-angle and won’t cause you to fall.
- If you’re like me and you’re scream-singing to keep the bears away, just know you might humiliate yourself in the afternoon when you’re hiking back and suddenly a few people are climbing in the canyon that was very empty when you started the hike in the morning.
- Scope out the hills behind Charles Stewart South! If you check out the geotag on Instagram, you’ll notice heli-weddings (weddings where the bride and groom are helicoptered on top of a mountain for their vows) are done in this exact location!
Other Questions?
Were your questions left unanswered? Drop a comment below and I’ll get back to you! Also, if you’ve hiked Mount Charles Stewart South, leave a review below for others to see!
Other Recommendations:
I found this hike to be similar to Middle Sister, so check that one out if this sounds appealing! More scrambling, consider Bald Eagle Peak. Another option is Lady MacDonald, which has a more defined trail with the option of scrambling the spicy exposed ridge. For an easier day, check out Grassi Knob!
Happy trails!