
Bald Eagle Peak was formerly referred to as “The Tit”, because the peak itself looks like an erect nipple. (Yes, you read that right!) The mountain was renamed by the Stoney Nakoda in 2020.
Bald Eagle Peak can be hiked right from the town of Canmore, though the beginning part of the hike can be done in a few different ways. The trail is faint through the woods, and winds up on a ridge, where you continue to scramble up to the summit.
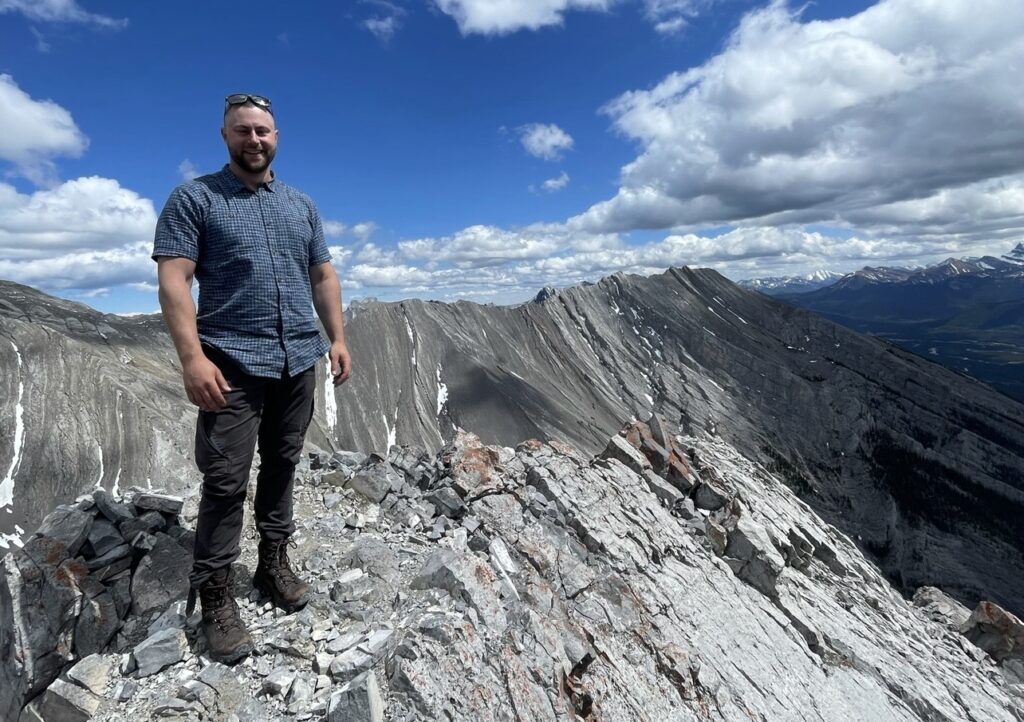
This peak isn’t as popular as some others nearby, but is a good outing for adventurers who are experienced with route-finding and love lots of moderate slab scrambling.
Bald Eagle Peak Quick Stats
- Distance – 8.0 km / 4.97 mi
- Elevation Gain – 1217 m / 3,993 ft
- Approximate Time – 6-8 hours
- All Season Hike? No, summer only.
- Dog Friendly? No
- Kid Friendly? No
- Beginner Friendly? No
- Cell Service? Likely throughout
- Wildlife Encounters? Possible bighorn sheep, bears
- Access to Water? None
- Bathrooms? None
- Chance of getting lost? Moderate risk of getting off trail.

Driving Directions & Where to Park for Bald Eagle Peak
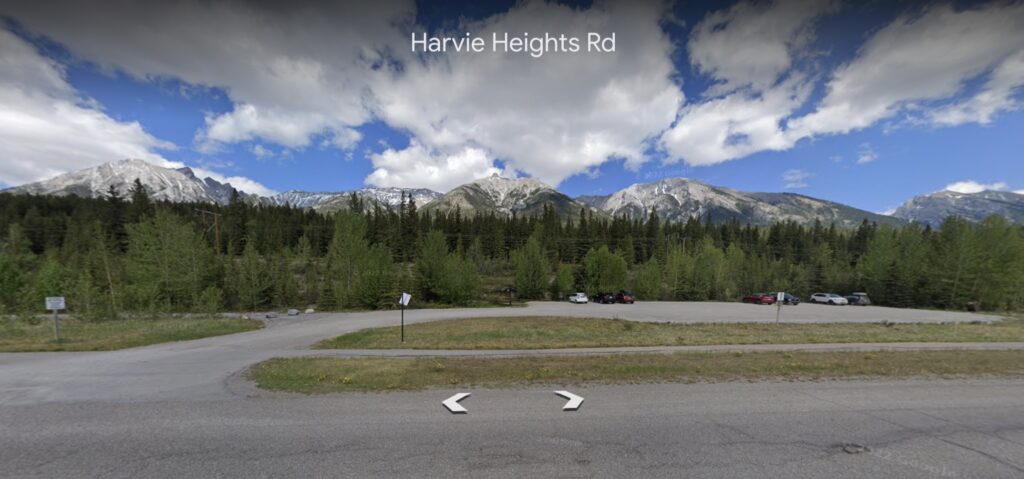
Drive west along Highway 1 and take the exit for Harvie Heights. The suggested parking lot to start this hike is 1 minute after the exit, at a moderately-sized lot on your right.
However, I highly recommend driving further along the road another minute, and turning up into the hamlet of Harvie Heights. Take a right at the yield sign, followed by your first left 30 seconds later onto Birch Ave. At the end of this Avenue is a park. This is where I recommend you park.
How to Get to the Bald Eagle Peak Trailhead
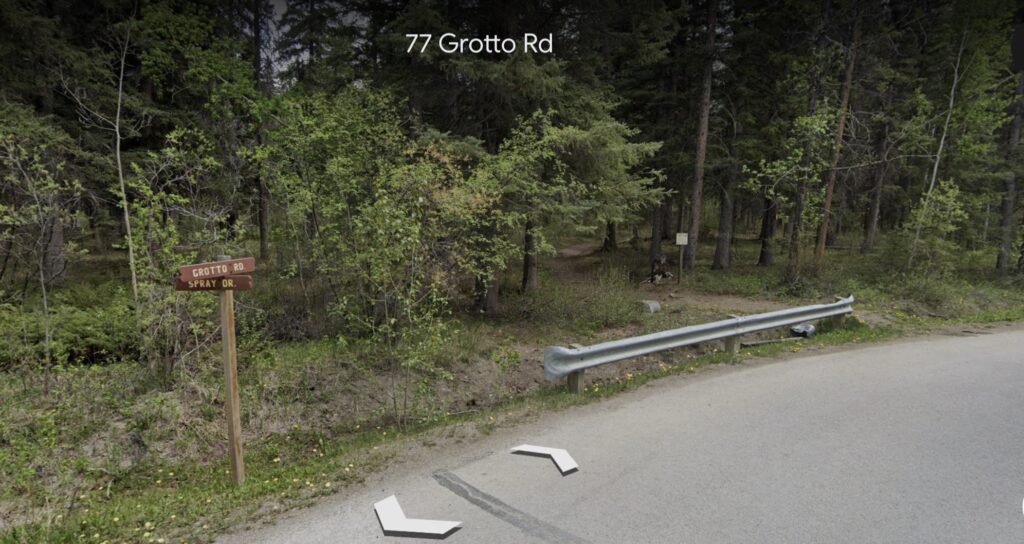
There is no official trailhead for the Bald Eagle Peak hike. If you park down at the parking lot along the side of the highway, just behind the large sign, follow the New Connector trail sharply into the trees. The trail here is overgrown, has plenty of deadfall, and is hard to navigate. Watch your GPS closely.
If you park at the Harvie Heights playground, follow the road to the left (Spray Dr), until you see the trees in front of you. At the trees, there are several trails entering the woods. Hop on any trail into the forest, then turn right to start hiking uphill.
Once in the trees along Harvie Heights, follow signs for Tibits Quarry Trail. This part of the trail is very maintained and marked well with signs at intersections. You want to follow Tibits Quarry Trail to the Montane Traverse.
Once you reach the Montane Traverse, the trail will flatten out and wander east. Follow this trail for about three minutes until you see a faint trail heading north (uphill). The trail is very faint, a GPS track is highly recommended here.
This is the official trail for Bald Eagle Peak, though there are no signs or trail markers indicating this turn and henceforth.
How To Hike Bald Eagle Peak Successfully
This hike can be broken down into 4 segments, which should help you track your progress along the mountain.
1. The Lower Trails
As mentioned earlier, there are two different trail approaches to get to the Bald Eagle Peak trail – the New Connector trail and the Tibits/Montane trail.
By starting in the hamlet of Harvie Heights, you can avoid bushwhacking, and the Tibits and Montane trails are well marked with signposts to follow.
I highly recommend using the Tibits and Montane trails to navigate through this lower section quickly. The inclines are low, the trails are obvious and marked, and it will save you time, energy, and bushwhacking.
Take the Tibits Quarry trail to the Montane trail. Follow along the Montane Trail for about 3 minutes until a faint trail appears uphill on your left. Take this trail to get on the Bald Eagle Peak trail.
Alternatively, you might hear that people hike Tibit’s Quarry to the creek bed, then walk up the creek to side-slope up to the Bald Eagle Peak trail, but I find the Montane traverse very well maintained and preferable to boulder-hopping up a creek. This way is marked on AllTrails as a possible route, however, should you choose.
2. The Forest Section
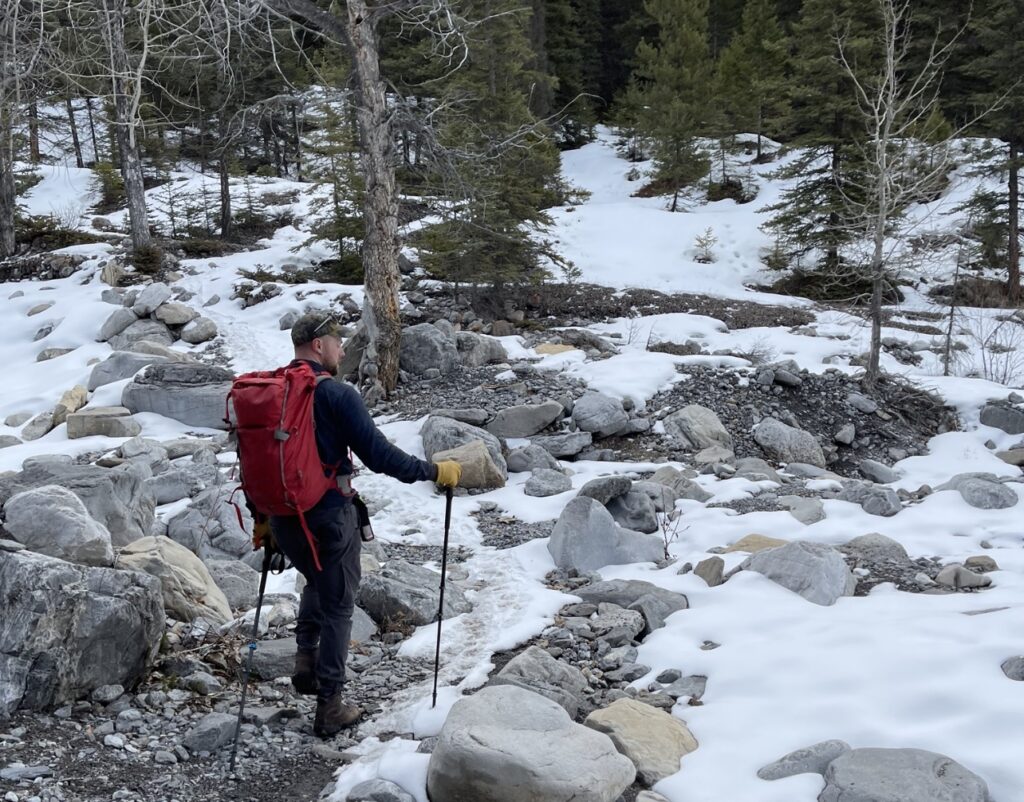
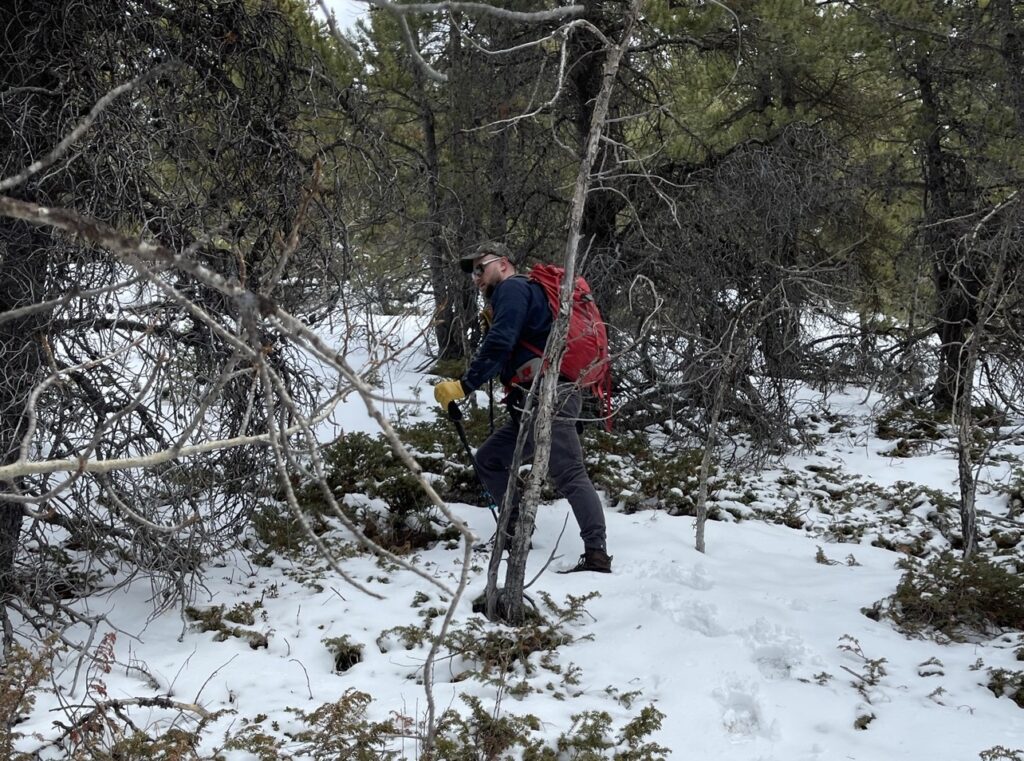
Once on the Bald Eagle Peak trail, you are in the forest for another 1.1 kilometers. The trail is very faint, and can be lost easily. A GPS is highly recommended.
The trail through the forest is essentially straight up, with very little variance from side to side. If you aren’t following a GPS track, you can bushwhack uphill and you’ll pop out on the slabs all the same. Keep your eye out for a faint trail to make your journey a little easier.
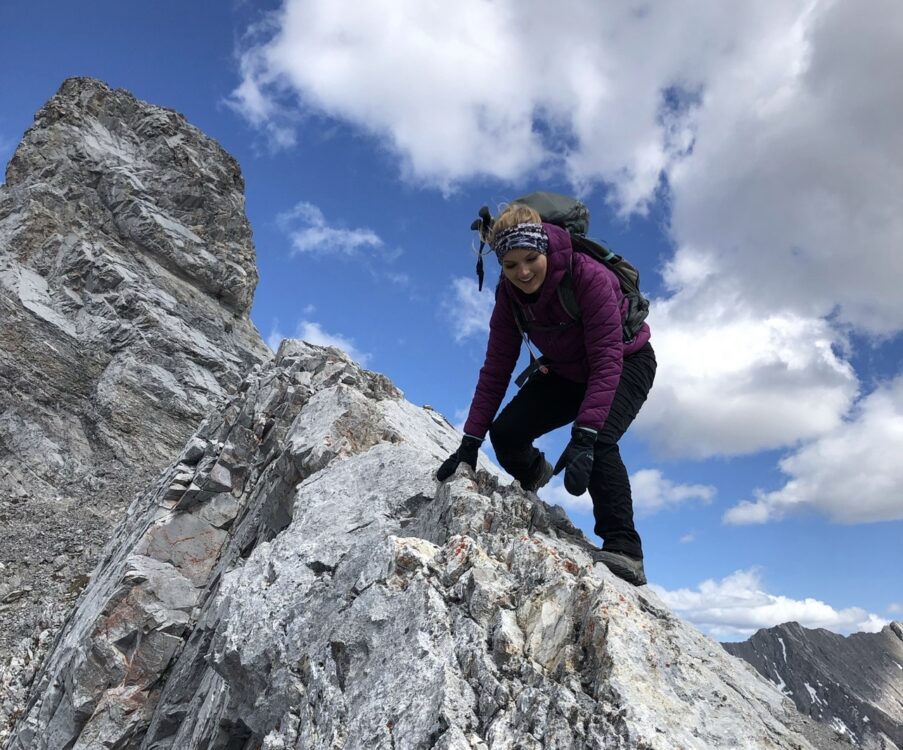
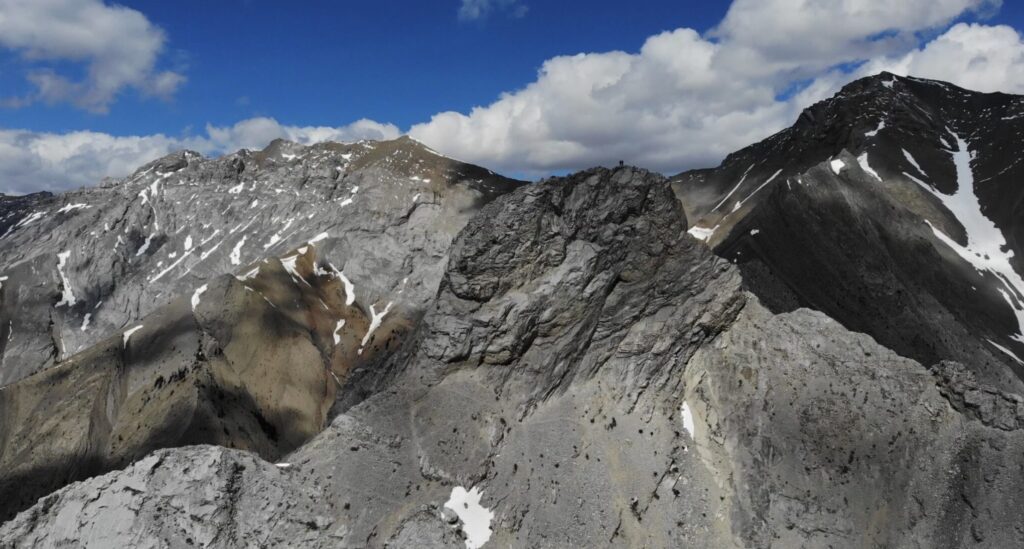
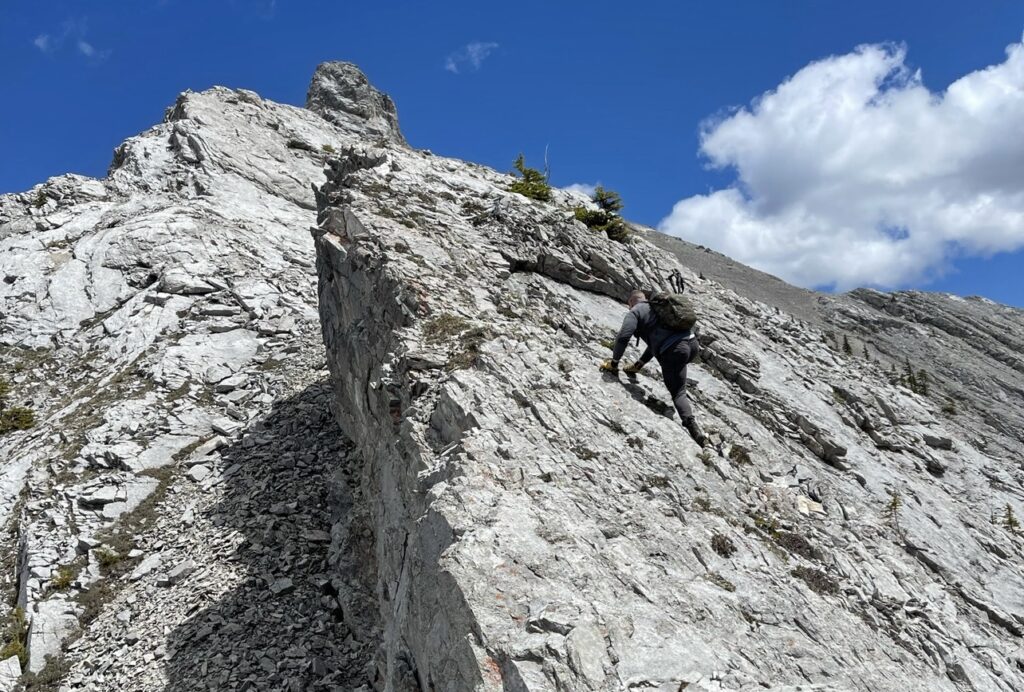
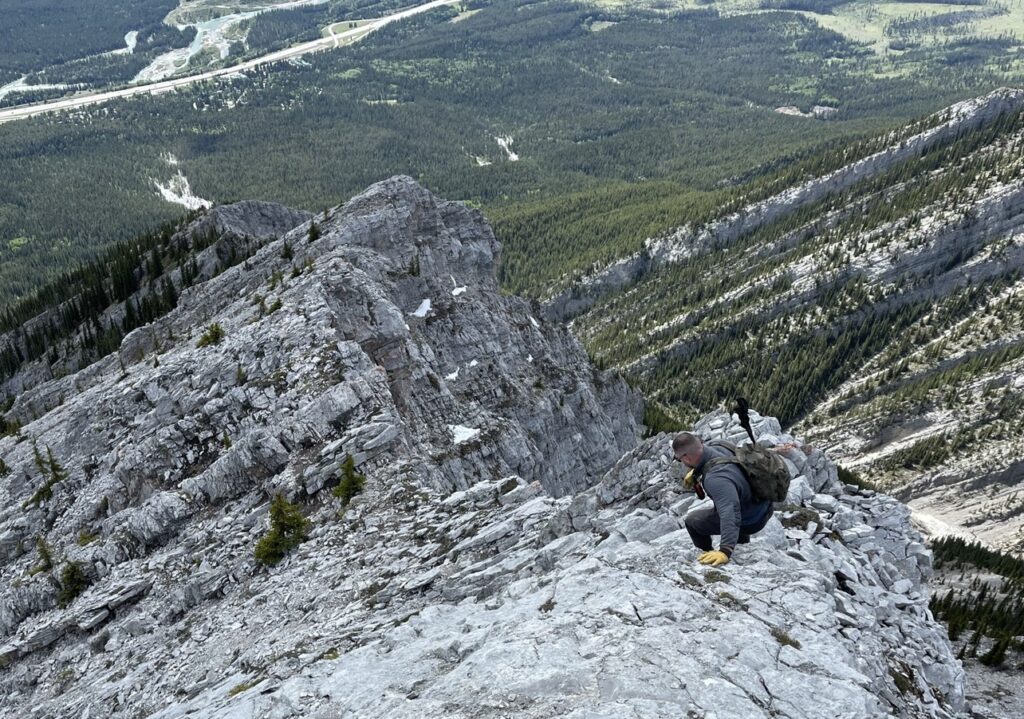
3. The Slabs
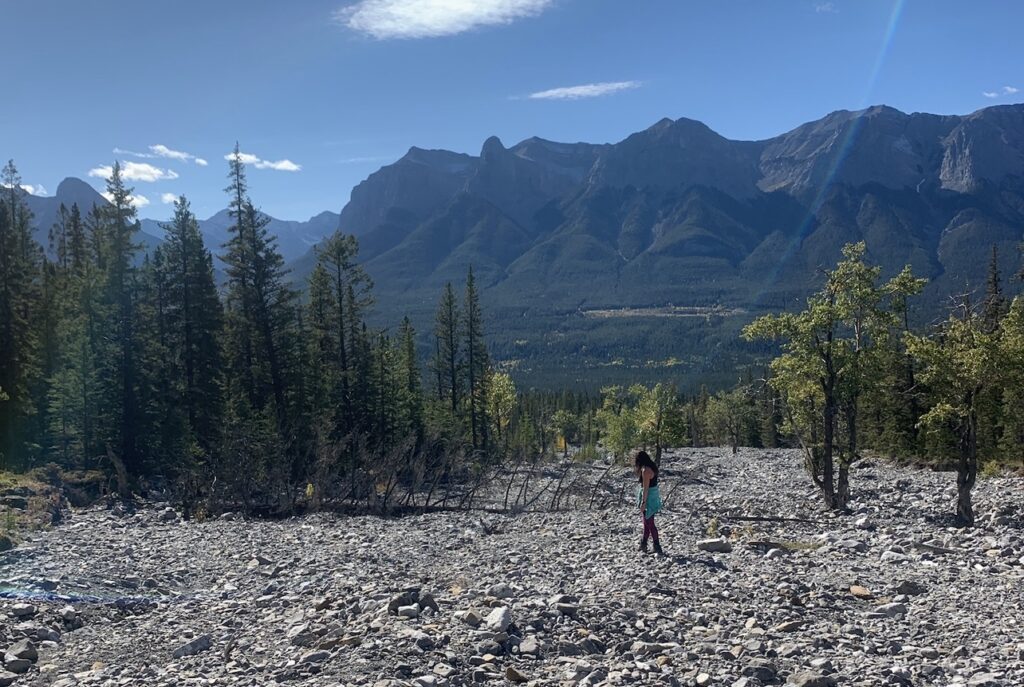
You will break the tree line early (approximately 1.1km after the Montane trail), which will likely feel like a reprieve from the dense trees. At this point, you will encounter scree. Bank left to the summit ridge where the rock is solid. This is a good place to put on your helmet if you brought one.
The first big rock wall that you encounter can be scrambled, but might feel easier to bypass on a scree slog climber’s right, depending on personal preference. The following rock knobs that you encounter after this one must be scrambled over.
The scrambling itself feels fairly moderate, mostly one-hand scrambling for support, with the occasional two-hands move. It is important to feel comfortable on slab, as the majority of the ridge is walking uphill on slab, with occasional hand holds to use for scrambling.
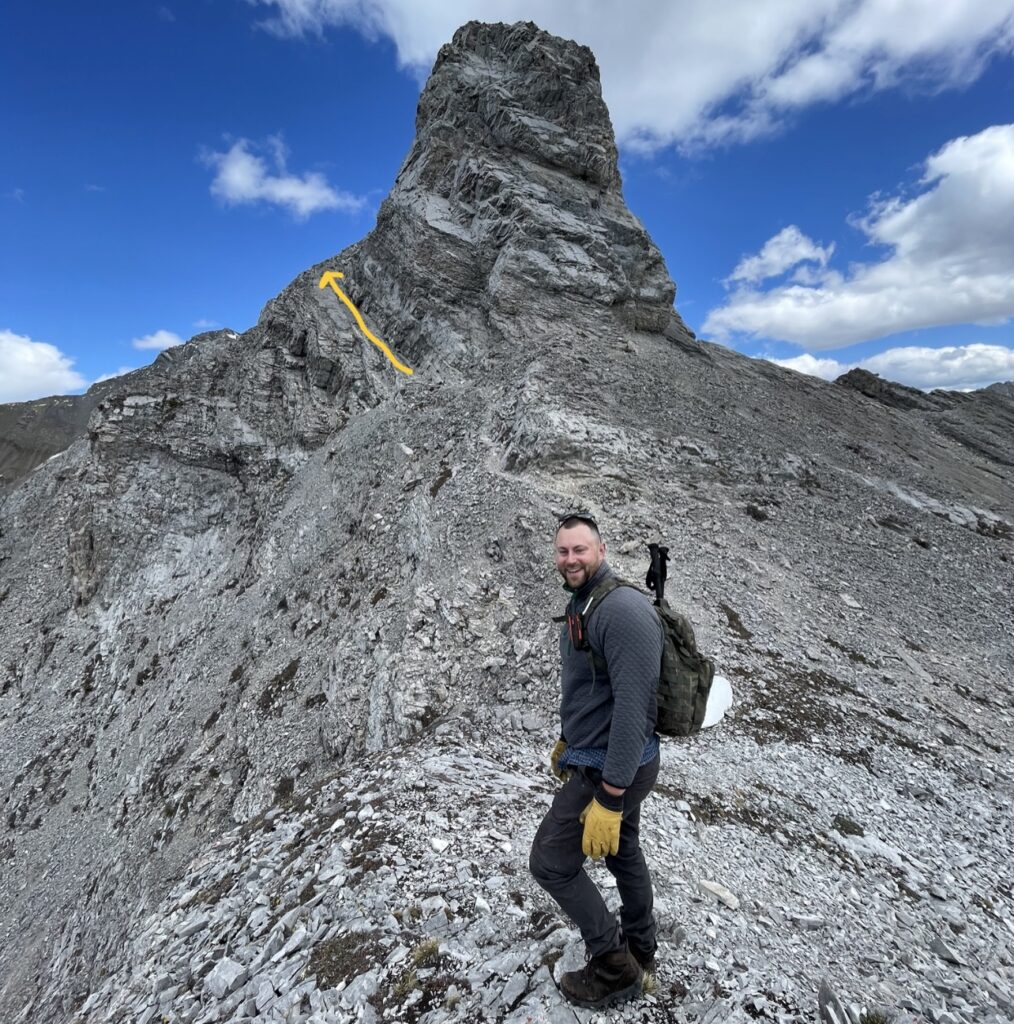
4. The Summit Block
When you can see the final summit block (the one that resembles an erect nipple), do not attempt to climb straight up the face.
Instead, wander around the climber’s left side of the summit block, where you will encounter angled slab which meets a rocky corner of the summit block. This is the final approach to the summit.
Cautiously maneuver up the angled slab, using the side wall for support when needed. The scrambling is moderate with some exposure in this section. Do not attempt to complete this hike if the slab is wet, snowy, or icy.
Once you have scrambled up this angled slab, the route up becomes very obvious. Bank climber’s right and scramble another 5 minutes up the rock to the summit, which is 180 degrees from the angled slab. This final 5 minutes is some easy scrambling.
The summit itself is narrow and jagged. There is not a lot of room for large parties or multiple groups.
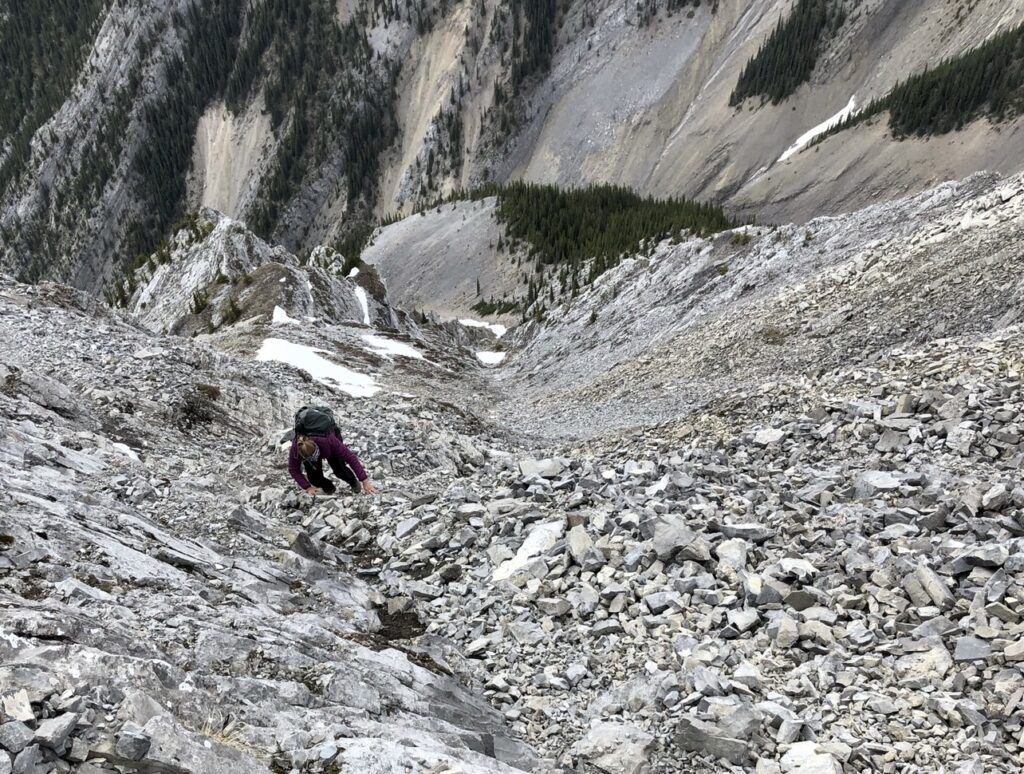
Descend back down the way you came, no matter how tedious it may feel. Do not try to find a shortcut, as several parties have tried and found themselves in dangerous terrain.
What to Bring When Hiking Bald Eagle Peak
Aside from the usual hiking necessities, some items you might find helpful for this adventure are:
- Poles – This hike is steep, and poles will help reduce the strain on your muscles and joints. As well, poles can help you stay upright on some easier scramble sections. This may help you travel more efficiently through more difficult terrain.
- Bear Spray – Bears have been seen in the hamlet of Harvie Heights, and the initial trials at the base of this hike pass through a wildlife corridor. It is very important to carry bear spray, know how to use it, and be bear aware on this hike.
- Helmet – Wearing a helmet is optional, but there is a significant amount of loose rock above the tree line on this hike. If you are hiking with other members in your group, or there is a chance of encountering another party on the mountain, a helmet can help protect you from rockfall.
- Scrambling Gloves – Scrambling gloves can help protect your hands from rough rock when you’re scrambling, but they can also protect your hands from wind and rubbing irritation from your poles.
Bald Eagle Peak Tips To Get The Best Experience
- Hike in summer or early autumn only. You likely won’t be able to complete this hike if the weather isn’t dry. A cool day shouldn’t be an issue, but if the rock is wet, icy, or snowy, you likely won’t be able to safely achieve the summit.
- Descend the way you summited. Because this hike is tedious, you might be tempted to find an easier or faster way down. I have heard from several others that trying to descend via scree felt unsafe, and trying to descend into the gully resulted in cliffs and air rescue. Be safe and retrace your steps.
- Use a GPS. Particularly in the lower trails and forested section, a GPS can help ensure you’re staying on track and not bushwhacking too far one way or another. A GPS will make your trip more efficient.
Frequently Asked Questions
Do I need a Kananaskis pass for the Bald Eagle Peak hike?
No, you do not need a Kananaskis pass to hike Bald Eagle Peak because you are parking within the Canmore townsite boundary! Bald Eagle Peak is one of few hikes that do not require a pass.
What was the old name of Bald Eagle Peak?
Bald Eagle Peak (also known as Anû Kathâ Îpa in Stoney Nakoda) was formerly called “Squaw’s Tit”, and was referred to as “The Tit”. It was renamed in 2020.
Can you hike from Lady MacDonald to The Tit (Bald Eagle Peak)?
Yes, you are able to hike from Lady MacDonald to Bald Eagle Peak (The Tit), and other connecting ridges such as Charles Stewart, Charles Stewart South, and Princess Margaret mountains. However, scrambling these ridges involves route-finding, exposure, difficult scrambling and low 5th class terrain.
Recommendations From My Experience
- I found the Tibits Trail to Montane Traverse very obvious and well-marked. However, I would easily miss the turnoff to the Bald Eagle Peak trail. It exists, but is very faint. I couldn’t have done it without a GPS track to follow.
- Even following a track, a lot of the trail was in overgrown brush. Wear bug spray and keep an eye out for ticks!
- The scrambling was super fun, but lasted longer than I expected. Grippy shoes and confidence scrambling are necessary.
- The first time we attempted this was in the spring. Unfortunately the rock still had tons of ice, and we had to turn around. I wouldn’t bother attempting this until at least a month of warm weather has gone by, or there have been trip reports published online (Facebook, AllTrails) stating dry conditions.
- Although this hike isn’t nearly as popular as others in the area, there were still 6 other parties on the hike the day we summited. A helmet and an early start will help mitigate rockfall hazards.
Other Questions?
Were your questions left unanswered? Drop a comment below and I’ll get back to you! Also, if you’ve hiked Grassi Knob, leave a review below for others to see!
Other Recommendations:
If you like ridge scrambling, check out Big Sister for a harder objective, or Gap Peak for a slightly easier objective!
Happy trails!