
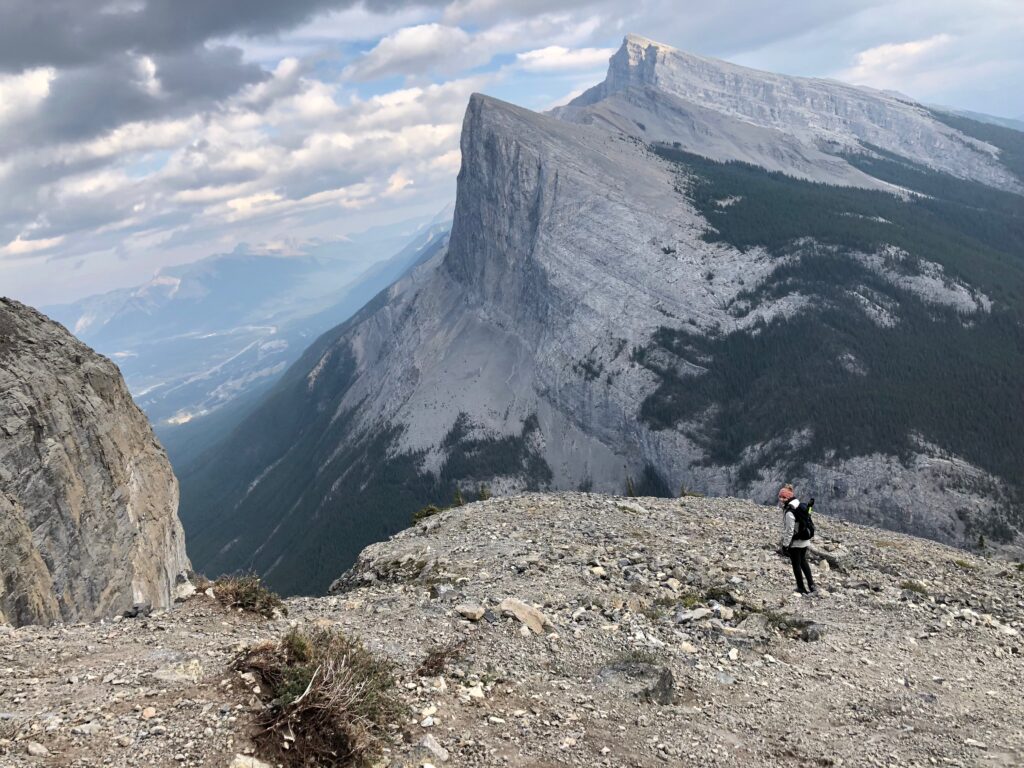
Next door to the famous Ha Ling Peak, is the East End of Rundle summit, known lovingly as EEOR (pronounced Eeyore).
Although EEOR is popular on Instagram and offers stunning views all the way along the trail, the difficulty can take you by surprise and get you in trouble if you’re not prepared.
EEOR is an “easy” scramble, which means you will have to use your hands to help you “climb” up the rock on occasion. If you’re prepared for this challenge, the views are more than worth the reward!

What is EEOR?
The “Rundle Range” is a mountain range that stretches from Banff to Canmore, with several high points spanning the distance between the 2 towns. The eastern most point of the Rundle Range, visible from Canmore, is known as EEOR (East End of Rundle).
Another popular hiking route is Mount Rundle, accessed from the town of Banff. EEOR and Mt. Rundle are often confused for one another because they are in the same range and therefore the names are similar. Ensure any information you read online (particularly social media) is referencing the right mountain!
Is EEOR Open?
Yes, East End of Rundle (EEOR), the parking areas, and all climbing areas are open for activity year-round. However, EEOR is not an official trail, and as such is not maintained or monitored by Alberta Parks.
Despite it’s unofficial status, for the most up-to-date information on the trail closures, check out Alberta Parks Advisories.
EEOR Stats
- Distance– 4.8km / 2.98mi to the summit and back
- Elevation Gain – 832 m / 2730 ft
- Approximate Time – 5-7 hours
- All Season Hike? Yes, but not recommended for inexperienced hikers in the winter. Possible avalanche hazard. Check the avalanche forecast and only hike if you know how to mitigate the risks.
- Dog Friendly? Not recommended, but possible.
- Kid Friendly? No.
- Beginner Friendly? Possibly, with an experienced member.
- Cell Service? Only at the summit.
- Wildlife Encounters? Minimal, maybe Bighorn Sheep and Colombian Ground Squirrels.
- Access to Water? Whiteman’s Pond is a 3-minute walk from the trailhead. No water access throughout the trail.
- Bathrooms? Outhouses at the parking lot.
- Chance of getting lost? Moderate, particularly on the way down.
Driving Directions For EEOR
You can actually search “East End of Rundle Trailhead” on Google Maps and see the two nearby parking lots, however, driving there will lead you out of cell service so it’s recommended to download an offline map ahead of time or know where you’re going without a GPS.
Drive through the town of Canmore up towards the Nordic Centre on Highway 742. Continue on this highway past the Nordic Center, and continue uphill as it turns to a gravel mountainous road.
Use caution on this road, as it is quite rugged – there are lots of potholes and fallen rocks as you wind around the mountain. Sometimes bighorn sheep hang out on the road blocking traffic as well.
5 minutes up the gravel road, you will come to Whiteman’s Pond. The first parking area is on your left along the shoreside. It is one-way angled parking and is often full. You can park here to access the trailhead, but I recommend the second lot.
To access the second lot, continue past Whiteman’s Pond and follow the gravel road as it dips downhill. A large paved lot called Goat Creek parking lot (also searchable on Google Maps) will be visible on the passenger’s side. I recommend parking here.
The Goat Creek parking lot is used for several trails in the area, including the popular Ha Ling Peak, and thankfully does have outhouses. On a summer weekend, this parking lot can also fill up fast! Consider arriving early and remember to not block the flow of traffic with your vehicle. You cannot park along the roadway.
How to Get to the EEOR Trailhead
From the Goat Creek parking lot, walk back up the gravel dirt road just until you crest the hilltop.
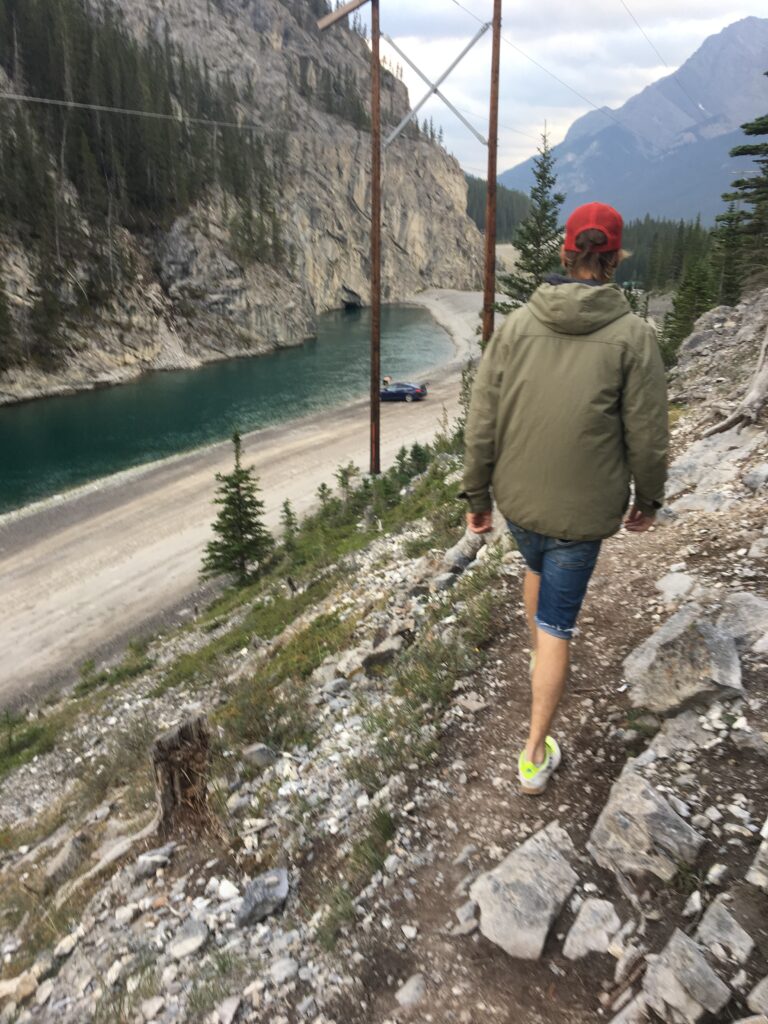
The trailhead for EEOR begins at the narrow end of Whiteman’s Pond, just before the Goat Creek parking lot. Look for a set of power poles and a dirt trail making it’s way up beside them. There should also be a signpost at the start of the hike.
Ensure you are beginning the hike at the right power pole! A climber’s trail exists at the wider end of Whiteman’s Pond. I have even made the mistake of starting the hike on the wrong trail – it happens! You should be very close to the Goat Creek parking lot when you start this hike.
How to Get to the Peak of EEOR – Step By Step!
1. The Start
Once you locate the trailhead, the start of East End of Rundle should be pretty straightforward. The trail is steep from the get-go, and switchbacks (zig-zags) only twice.
Follow the narrow dirt trail beside the power poles uphill into the trees. There isn’t much that’s notable to the trail for the first 20 minutes.
If you happen to start off-trail, the best course of action would be to hike back down and get on the proper trail. The other option is to bushwhack across the mountain to where you would meet up with the main trail, but this should only be attempted by people with experience as you may encounter unsafe terrain.
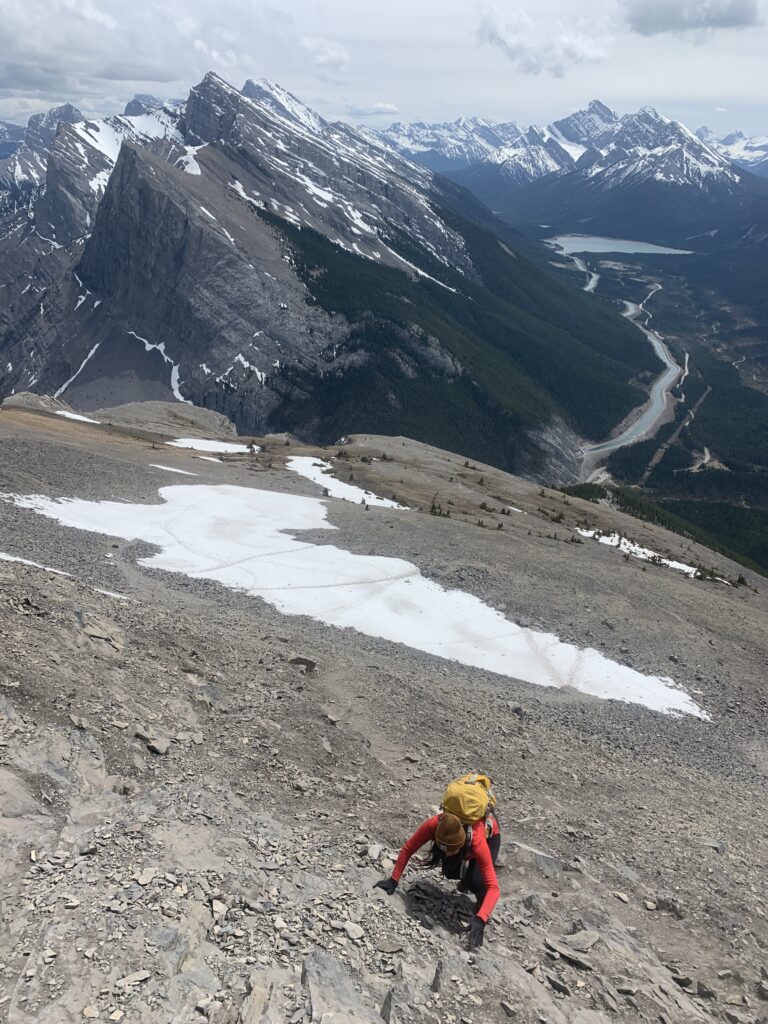
2. The Rocky Scrambles
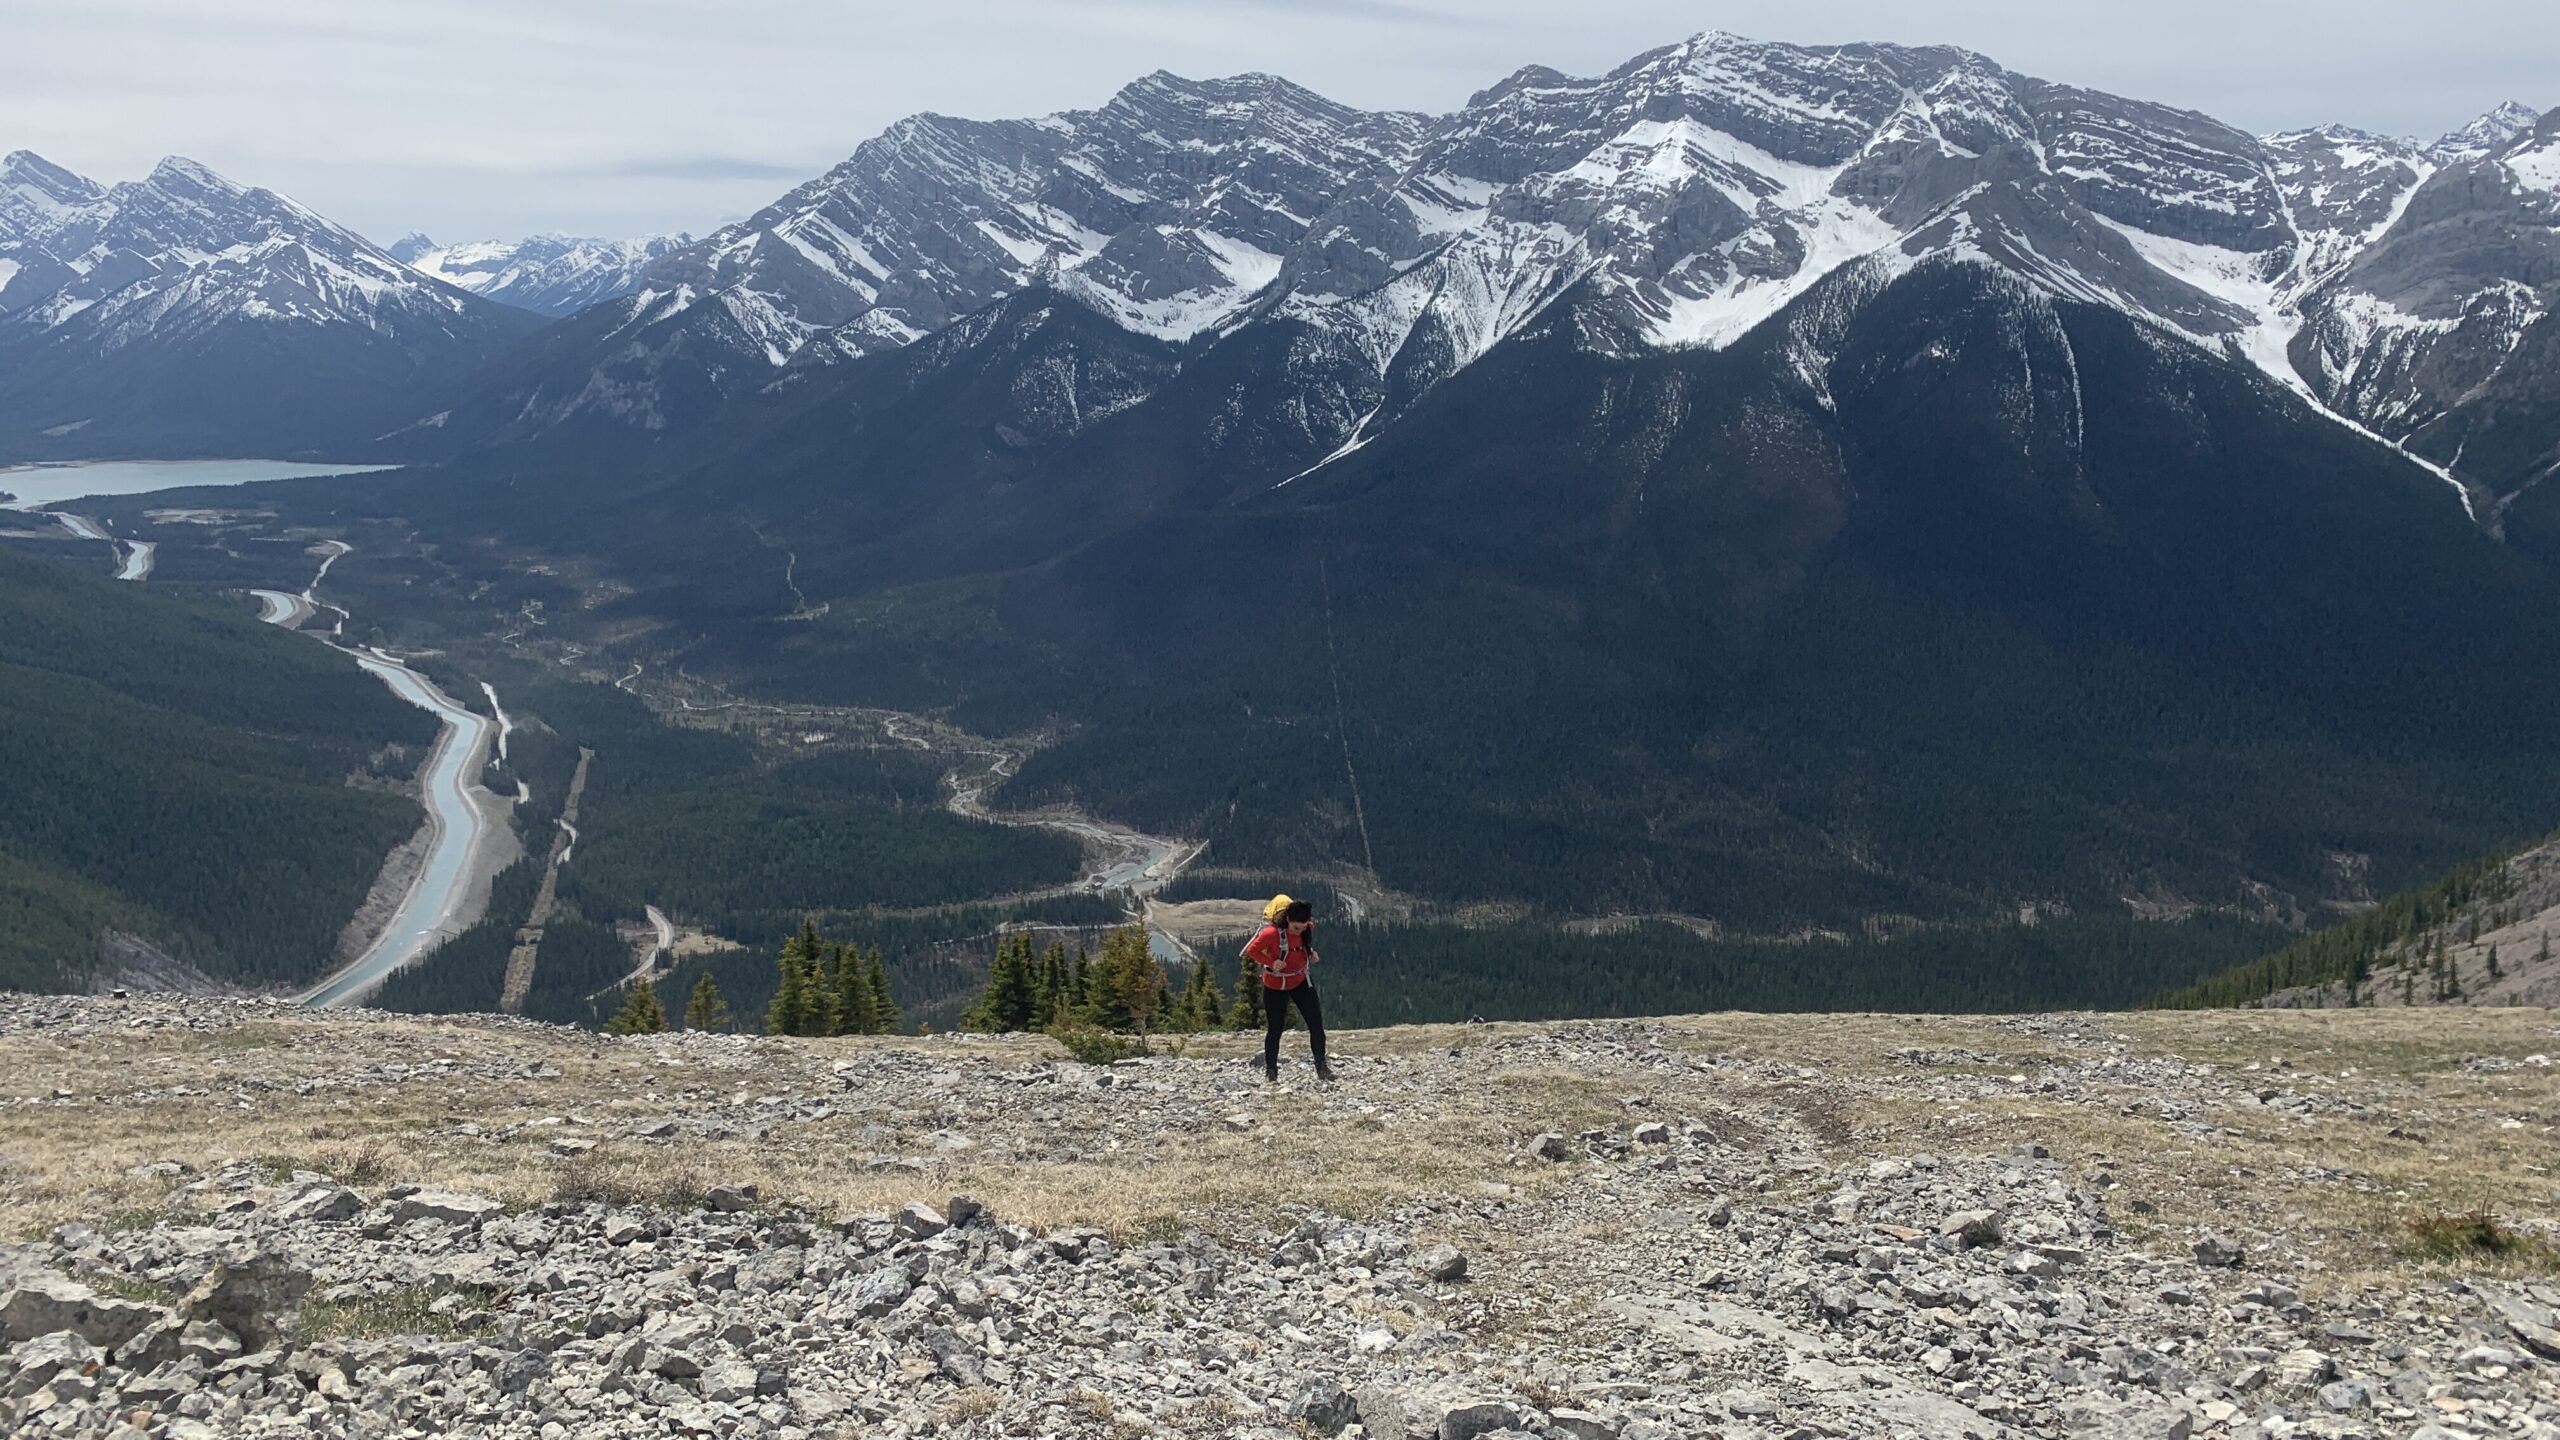
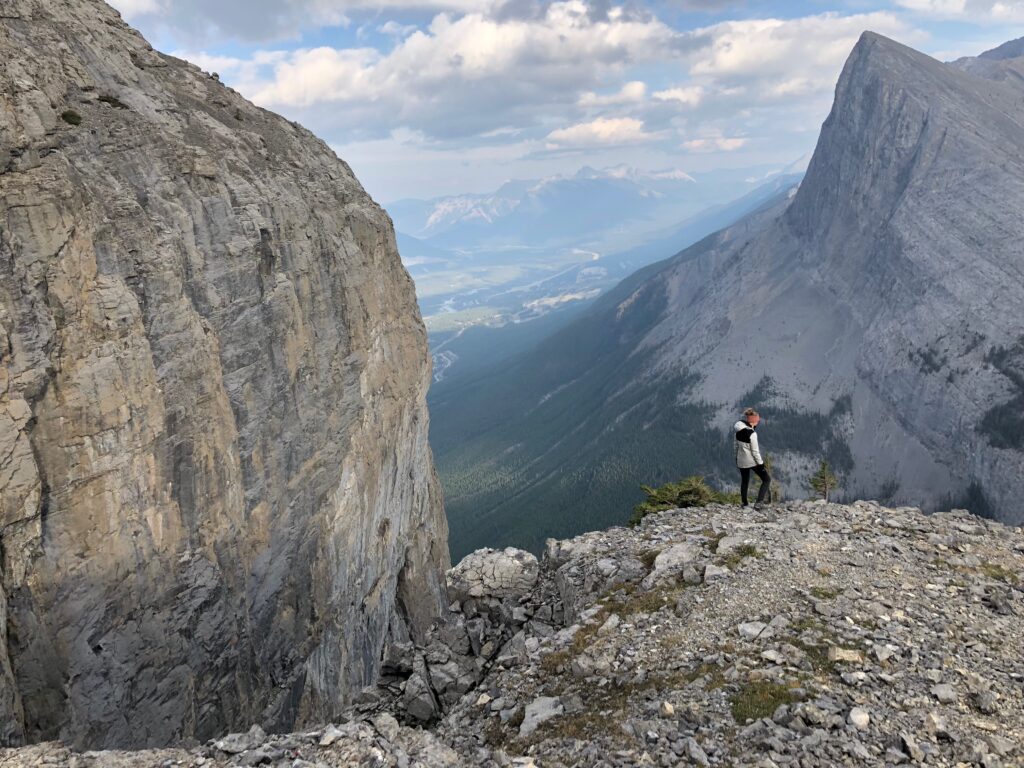
As you gain elevation, the trail follows a ridge line up to the summit.
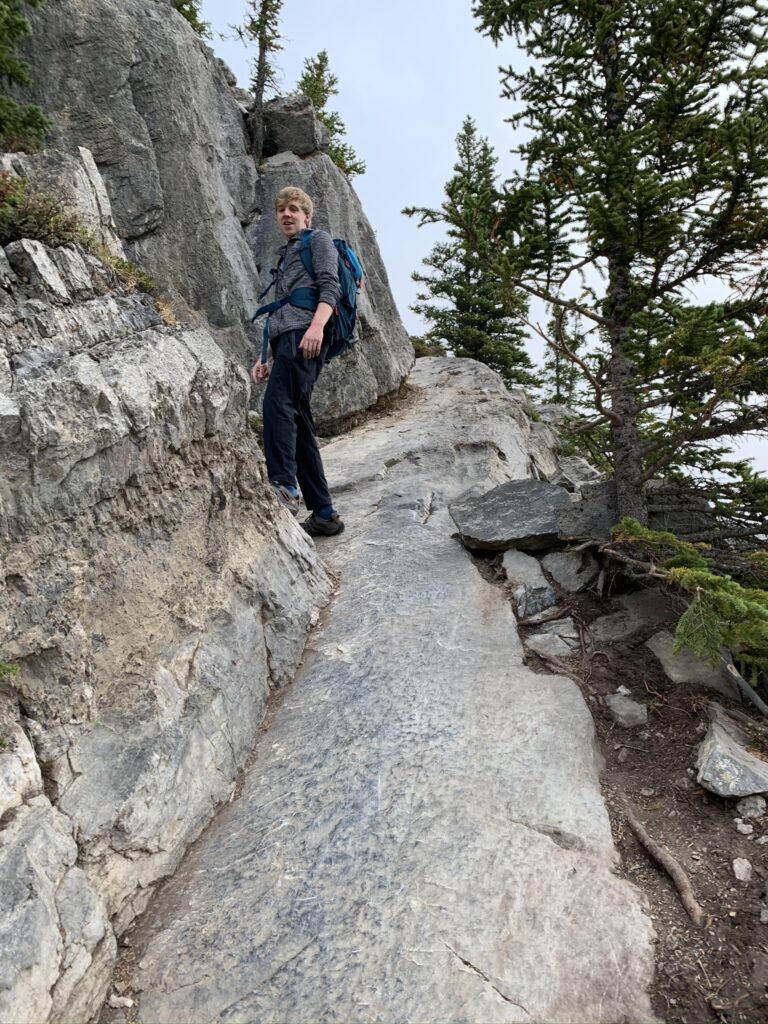
This ridge goes up the east side of the mountain and often feels like you’re on a cliff edge, especially if you’re not used to heights. Here, you likely will have to use your hands to “scramble” over some rocky sections.
There are a few of these sections, each one more beautiful than the last.
These sections will be engaging, and might be difficult for people with decreased mobility, or dogs who aren’t used to navigating steeper terrain.
If you are not comfortable going up these small rocky sections, please do not continue. Scrambling down these sections is usually more challenging than going up. Consider Ha Ling Peak as an alternative plan.
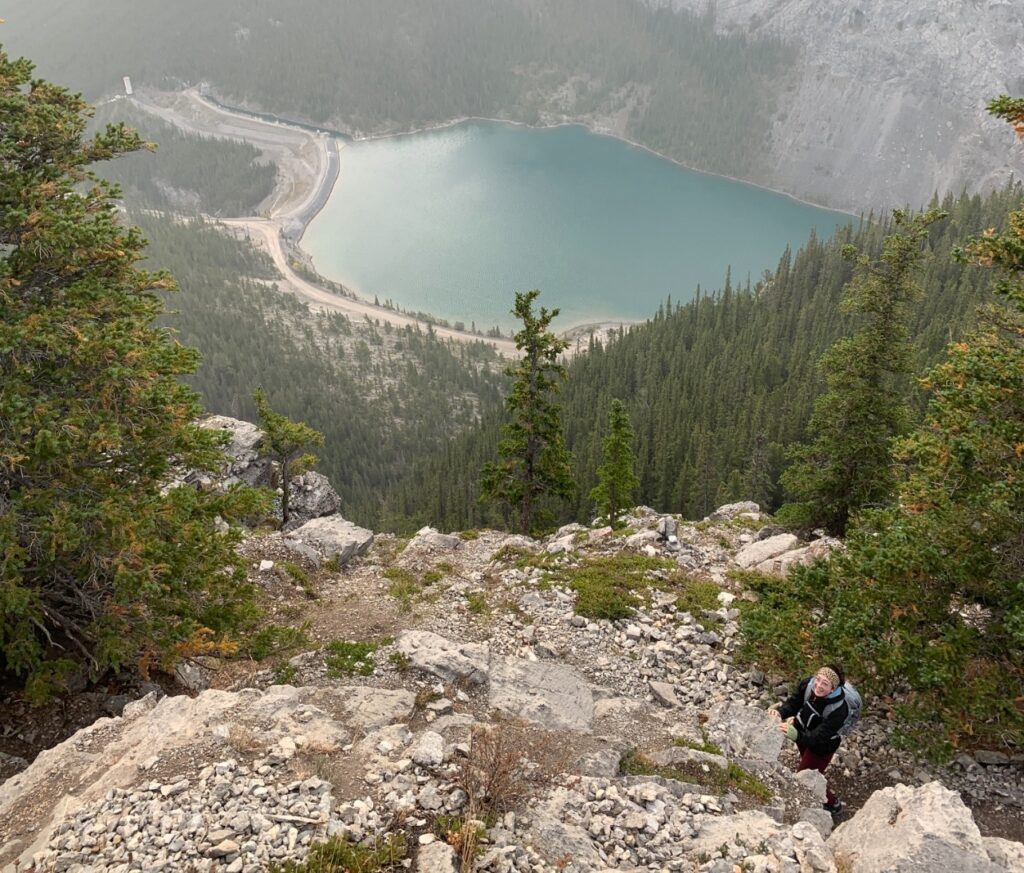
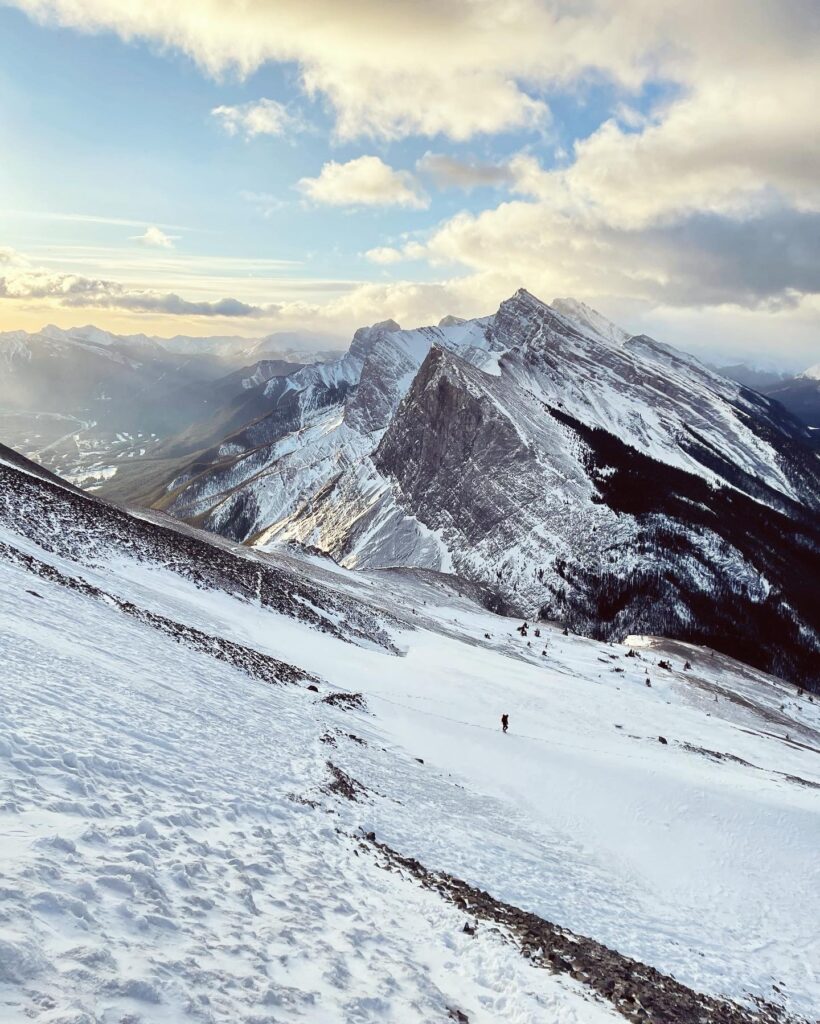
3. The False Summit
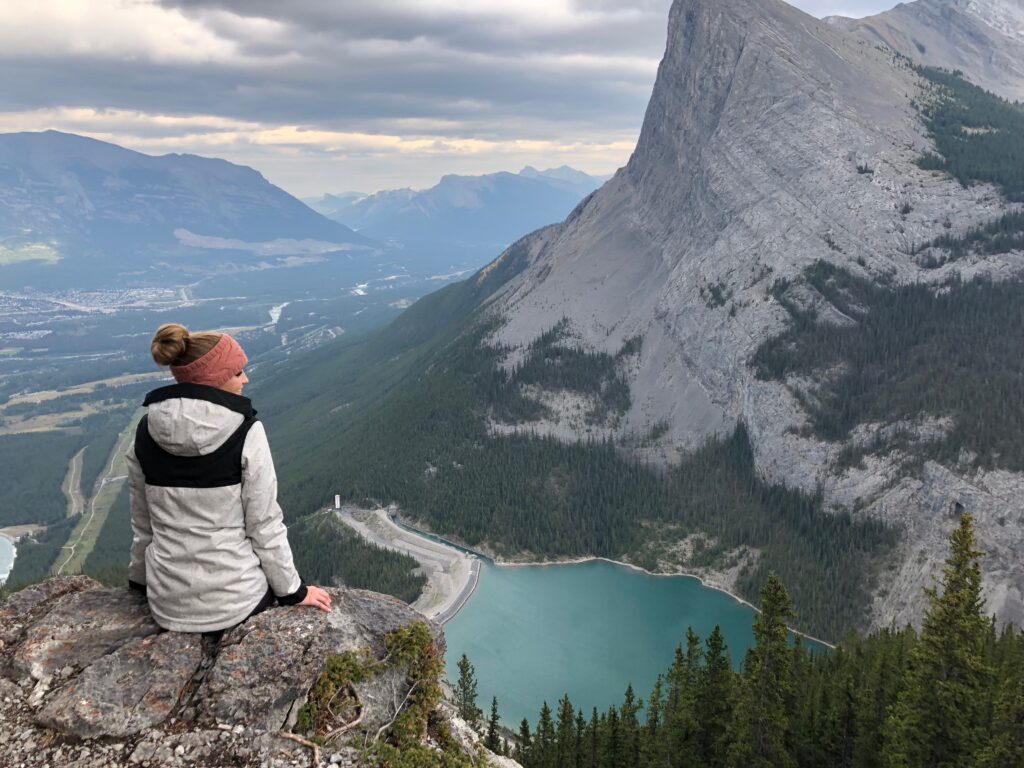
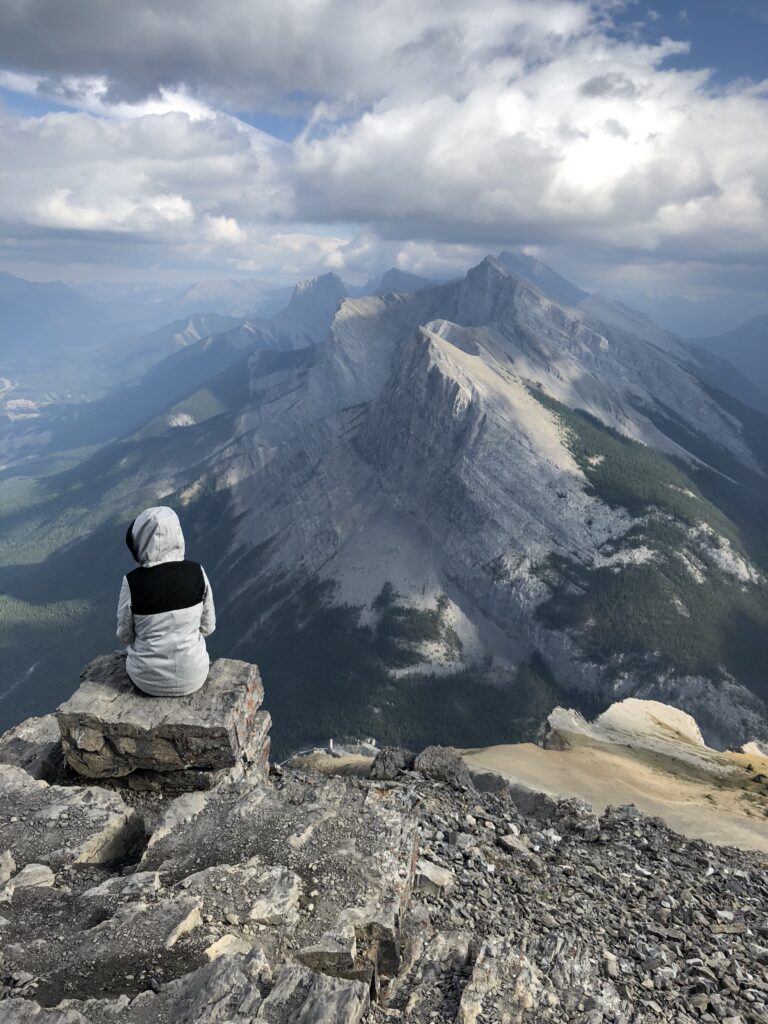
As you make your way up the east side of the mountain, the trail feels like it steepens, then flattens slightly. In the summer, this area above the tree line is an grassy alpine meadow. Here, the views are spectacular and Bighorn Sheep occasionally can be seen having a bite to eat.
The trail can be hard to discern here, but you should be able to look up and see the trail in the scree above you.
This is an excellent spot to take a break, or to stop if you don’t feel ready to tackle the hardest scramble of the hike. You can wander closer to the east side of the mountain for some cool pictures and views, but please stay far enough back from the edge to be safe. A fall here would not end well.
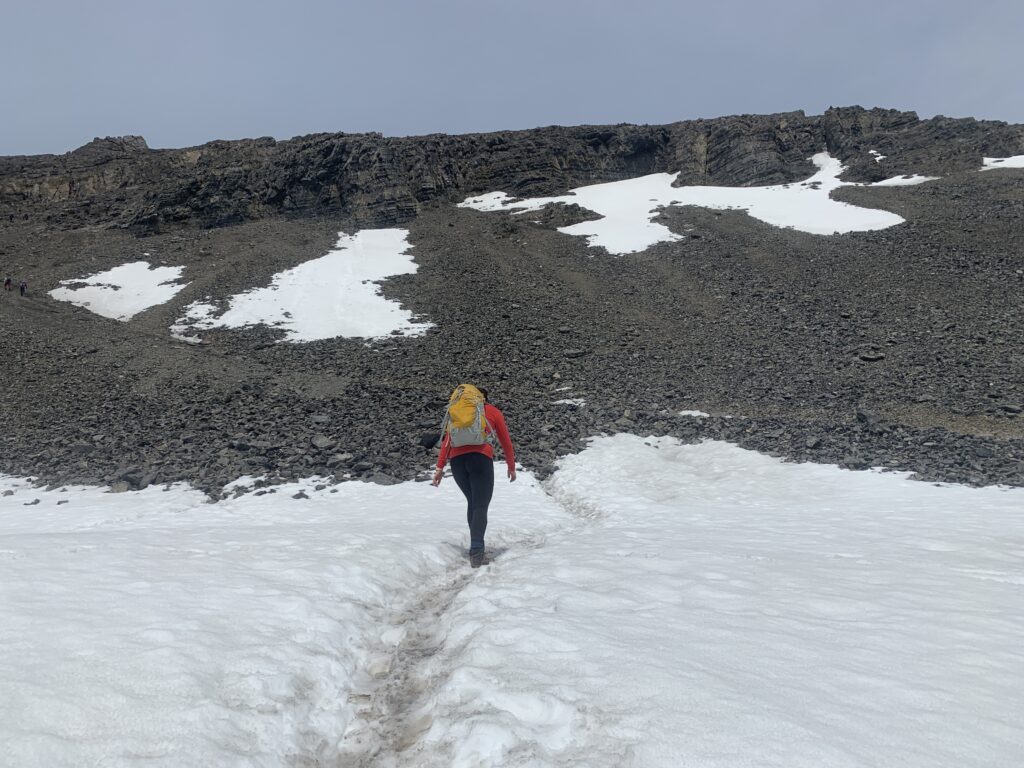
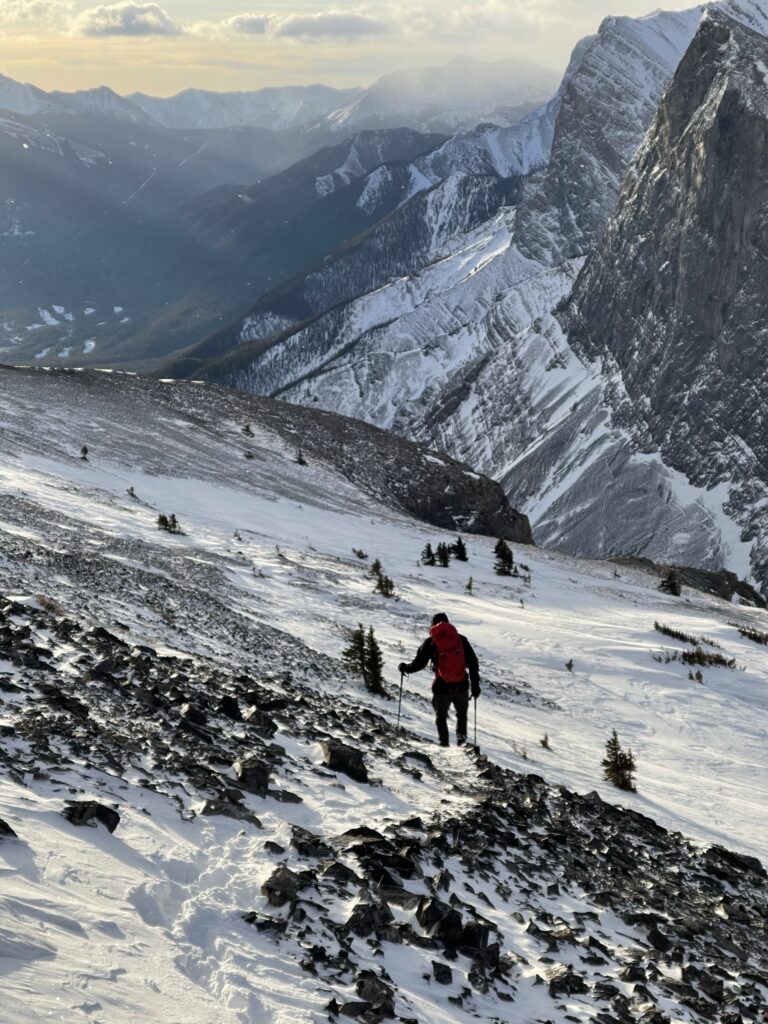
4. The Scree
After the false summit, there are two ways to get to the true summit.
The first way is the more common way up, and the way I would recommend. Look up to the top of the mountain and a faint trail should be visible in the rock above you on the left, away from the edge of the mountain. Aim to pick up this trail in the rock.
The rock is called “scree”, which means loose rocks that are not attached to the frame of the mountain. Sometimes the loose scree is on dirt, which can feel extra slippery. Once you leave the meadows, the trail turns to scree and is much harder to decipher.
The second way to the summit is staying on the edge of the mountain. It should only be attempted by experienced scramblers, and as such I won’t describe it here. Just know it exists incase you see another party heading that way, and know not to follow them.
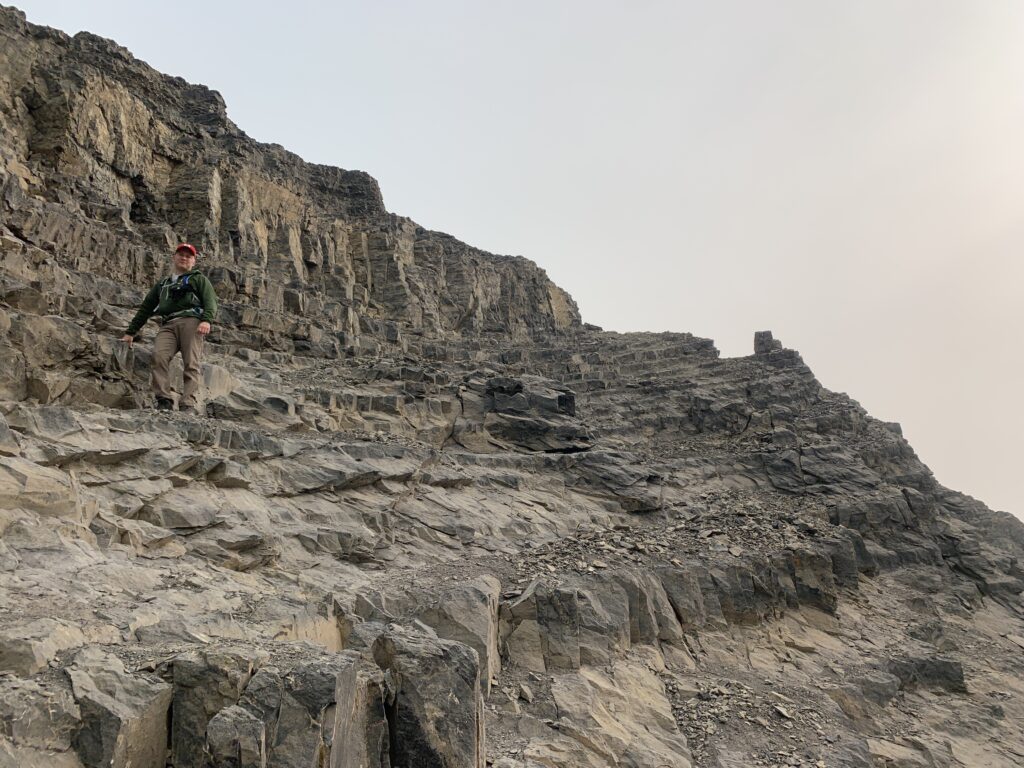
5. The Cliff Band
After 15-20 minutes of slogging up the scree, You will encounter more vertical rock that is a part of the mountain. This section is known as a cliff band, and you must scramble up through it to gain the summit.
This particular cliff band kind of resembles a staircase without a railing, and it can actually be quite intimidating. Scrambling this cliff band is the hardest part (crux) of the hike.
There is no right or wrong way to get up this section. I prefer to gain height as quickly as I can, then to follow a ramp that heads up to the right. Some people prefer to take a more gradual approach that slowly heads off to the right, and that’s ok too. Take your time and try to remain calm and sure.
Consider a helmet for this section if the trail is very busy. Parties above you may dislodge rocks onto your group which can cause injuries.
6. The Summit
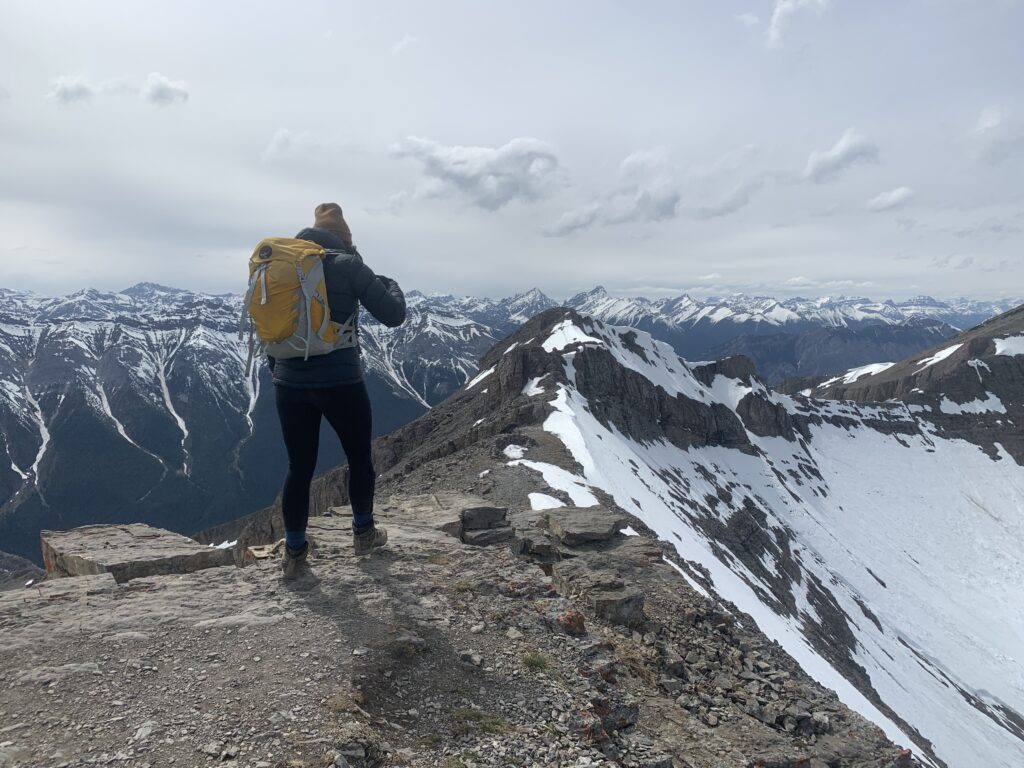
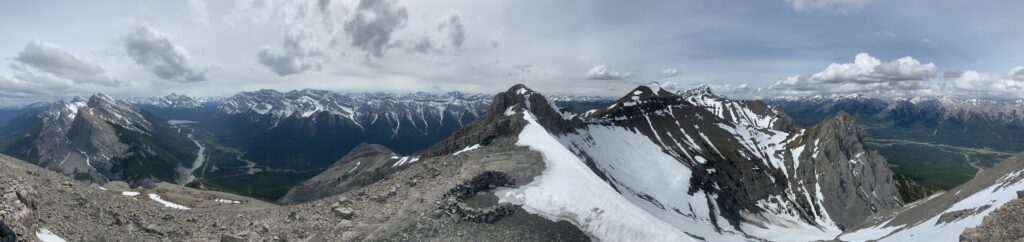
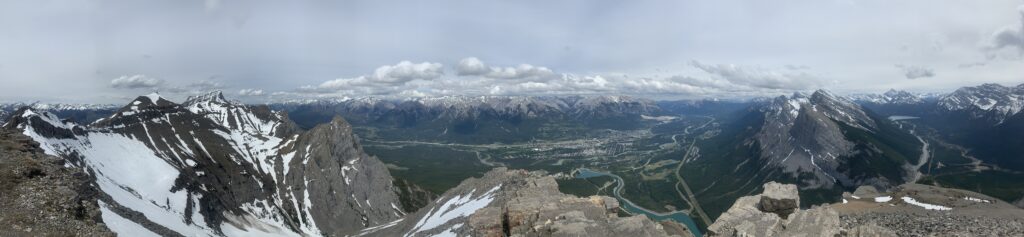
The summit of EEOR is quite unique. Above the cliff bands, the ridge is broad and flat. You may encounter a pile of rocks in a semicircle – this is a wind shelter to help protect from the elements.
Turning right towards the town of Canmore, another small scramble step leads to the “true” summit (highest point), where a summit register is sometimes located. (Summit registers are containers with paper and pens left for hikers to write their name in).
The summit is often cold and windy. Even if you’re feeling warm from the effort, layer up early to preserve warmth!
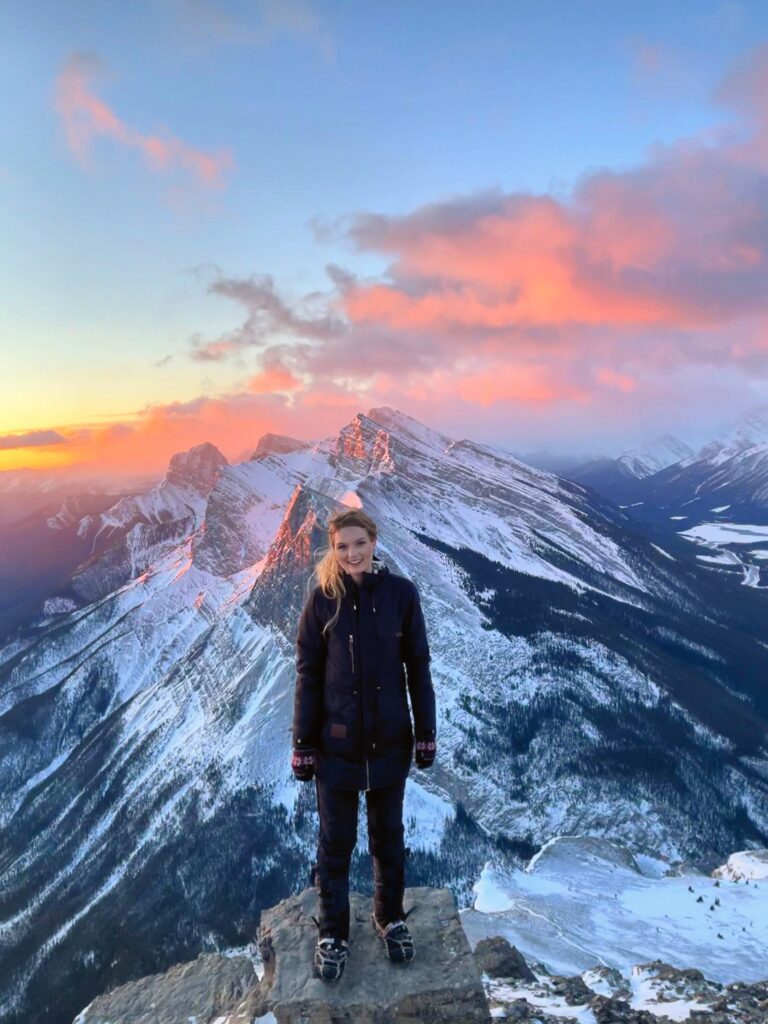
The best spot for pictures is on the highest part of the ridge closest to the townsite. It has a small square platform that looks towards Ha Ling and is absolutely iconic to take a picture at that spot. Watch your footing, but there is definitely space to be safe. Feel free to sit if you’re unsure!
Sometimes rocks are piled in semicircles on the summit. These are known as wind shelters. Huddle behind them for relief from wind if needed.
Descending From EEOR
EEOR is known as an “out-and-back” trail, which means you descend the way you came. Often, the descent is more difficult than the ascent. Take your time and turn backwards to “climb down” if needed. This will feel more secure than leaning downhill. Helmets can also help with added safety.
Important to note: one of the most common mistakes made on East End of Rundle is descending the wrong way. About halfway down, many parties end up following an animal path too far to the west (the righthand side on the way down).
To prevent this, I highly recommend downloading a hiking app to your phone (AllTrails, Strava, Gaia), and either laying a GPS track or following a GPS track. Otherwise, just keep as far left as possible on the way down.
If you do go too far to the right, you can hike back uphill until you reunite with the main trail (the safest option), bushwhack to your left until you intersect the main trail, or continue downhill off route (not recommended).
What to Bring When Hiking EEOR
I always bring the same essentials when hiking, but when heading out to tackle East End of Rundle, I make sure I have these few key items:
- Poles – East End of Rundle is steeper than other hikes, and has loose scree near the top. These two factors mean I am definitely packing my poles to save my legs on the way up and save my joints on the way down!
- Gloves – The last 100 meters (328 feet) to the summit are steep and involve some scrambling. Gloves can protect your skin against the rough rock and allow you to climb with your hands more easily. They also provide some protection against the wind and weather at the summit.
- Bear Spray – Although seeing a bear on the East End of Rundle trail is unlikely, other wildlife such as Bighorn Sheep frequent the area, and it’s definitely better to be prepared for any wildlife encounter.
- Helmet (optional) – Right near the summit, the trail becomes steep and rocky. On busy summer days, it’s not a bad idea to bring and wear a helmet for this section in case other parties accidentally throw rocks down on you.
EEOR Tips To Get The Best Experience
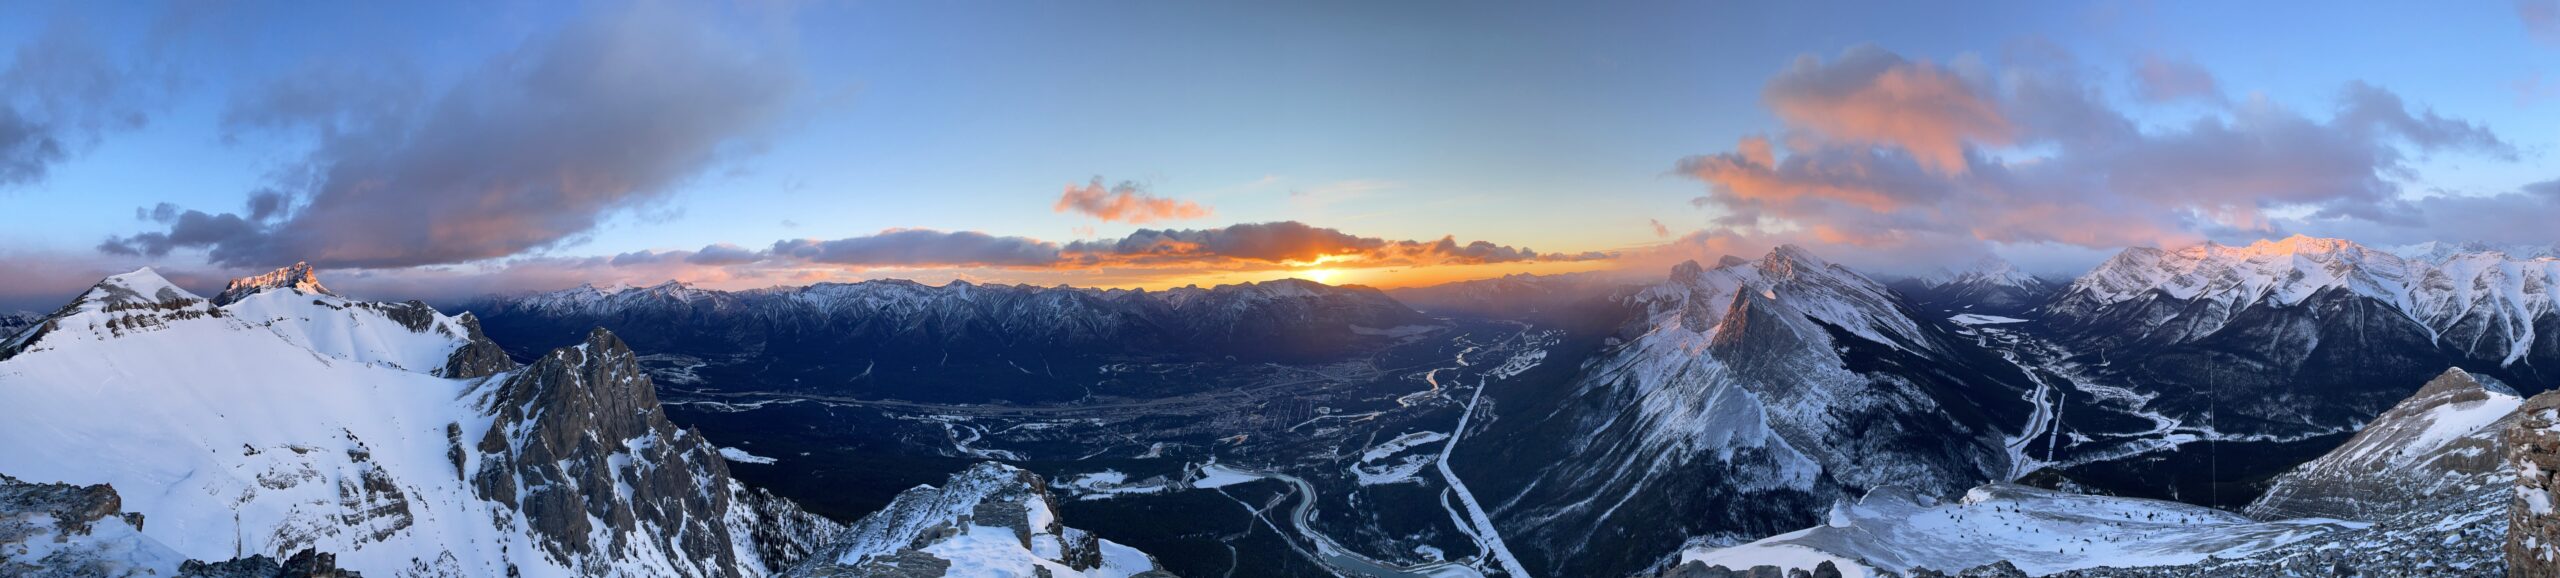
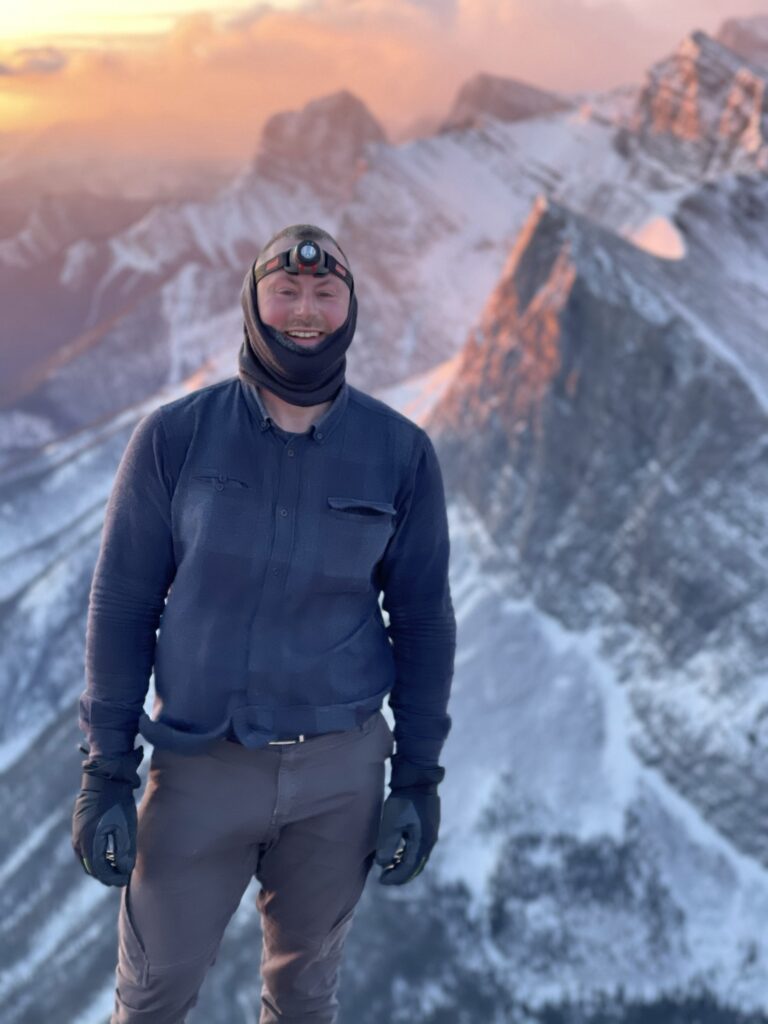
- Hike East End of Rundle for sunrise. Because of the angle of the mountain, you see more of the sun than you do from Ha Ling. The sky starts to lighten about 30 minutes before the sun rises which gives you light to get up the cliff bands. Photos at this hour are remarkable.
- Before you start hiking, use the outhouses at Goat Creek parking lot. EEOR is often very busy and it can be tricky to sneak into the woods to relieve yourself.
- Bring extra water since there aren’t any water sources to access along the trail.
- Hike EEOR in the off-season (spring and fall), or during weekday daytime hours to decrease the crowds.
- Download a hiking app to your phone (AllTrails, Gaia, FatMap) or lay a GPS track to decrease the chance of going off-trail.
- Plan to be out of cell-service for the hike (though you may get service at the summit). Turn your phone on airplane mode to save battery and prevent your phone from searching for service.
- Continue west along the ridge towards the other Rundle summits if you’re enjoying your experience! Be warned that the peaks do become more and more technical & challenging, even resulting in steep climbing around peak 4. There is often a summit register on the peak beside EEOR.
EEOR vs. Ha Ling – Which Should I Hike?
If you’re wondering if you should hike Ha Ling or East End of Rundle, with more engaging terrain, fewer people, and better summit views, it’s clear to me that EEOR takes the cake.
| Pros | Cons | |
| Ha Ling Peak | – Less elevation – Less scrambling – Not as steep of a trail – Option to go to Miner’s Peak – Views of Canmore at the saddle – Easier for dogs and kids -Obvious trail | – More distance – No views until the summit – Busier trail – “Boring” until the treeline |
| East End of Rundle | – Less distance – Better sunrise / sunset hike – More engaging terrain – Feel more accomplished – Views throughout the hike – Better summit photos | – More elevation – Steeper trail – May be hard for kids and dogs – More scrambling -Difficult to follow trail |

Frequently Asked Questions
How hard is EEOR?
East End of Rundle is a hard hike. It is relatively short, but steep, which makes for quite the cardio workout. It also has a few hands-on scramble sections which can be tricky to navigate.
Can you hike EEOR in the winter?
It is possible to hike East End of Rundle in the winter. It’s an excellent way to decrease the crowds, though there can be an avalanche hazard. Don’t forget to check out the avalanche forecast, and bring microspikes and warmer layers!
Can you hike EEOR as a sunrise/sunset hike?
You can definitely hike East End of Rundle as a sunrise or sunset hike! The views of the sunrise are particularly incredible. Just don’t forget to bring your headlamp and some warm clothes!
How long does it take to hike EEOR?
It will likely take the average hiker about 5-6 hours roundtrip to hike East End of Rundle. It is possible to do the hike in about 3 hours, but it takes a lot of effort and no breaks to do so.
How busy is EEOR?
East End of Rundle is moderately busy and well-trafficked. On summer weekends, you’ll see dozens of other groups on the mountains. It is unlikely you’ll ever be alone on the mountain, but you might get the summit to yourself. Go early or off-season (spring, fall) to decrease crowds.
Will I see bears on EEOR?
No, you most likely won’t see bears on EEOR. Due to the popularity of the hike, bears don’t frequent the area. However, you should always bring bear spray and be prepared for wildlife. Bighorn Sheep live on the mountain and are much more common sightings.
Is EEOR dog friendly?
East End of Rundle is dog friendly if you have a large-breed dog who is used to mountain terrain. However, I would recommend leaving your dog at home for this one. The scree can be tough on their paw pads and it’s hard to keep a dog on leash when you need your hands for scrambling.
Is EEOR kid friendly?
East End of Rundle is not very kid-friendly. Due to the strenuous nature of the hike, kids must be extremely fit and determined to be able to reach the summit of EEOR. Try Ha Ling with kids before attempting EEOR.
Can you do EEOR as a first hike?
Yes, you can do East End of Rundle as a first hike, though it would be helpful to have someone more experienced with you. Be prepared for some hands-on sections, and consider a navigation tool, such as a downloaded GPS track to help navigate.
Do you need a Kananaskis Pass to hike EEOR?
Yes, as of June 1, 2021, you need a Kananaskis Pass to park at the East End of Rundle parking area and complete the hike. You can purchase a day pass or year pass here. They are digitally registered to a license plate and do not get physically displayed.
Other Questions?
Is there something I didn’t answer for you in this article? Drop a comment below and I’ll try to get back to you in a timely manner!
Happy trails!