
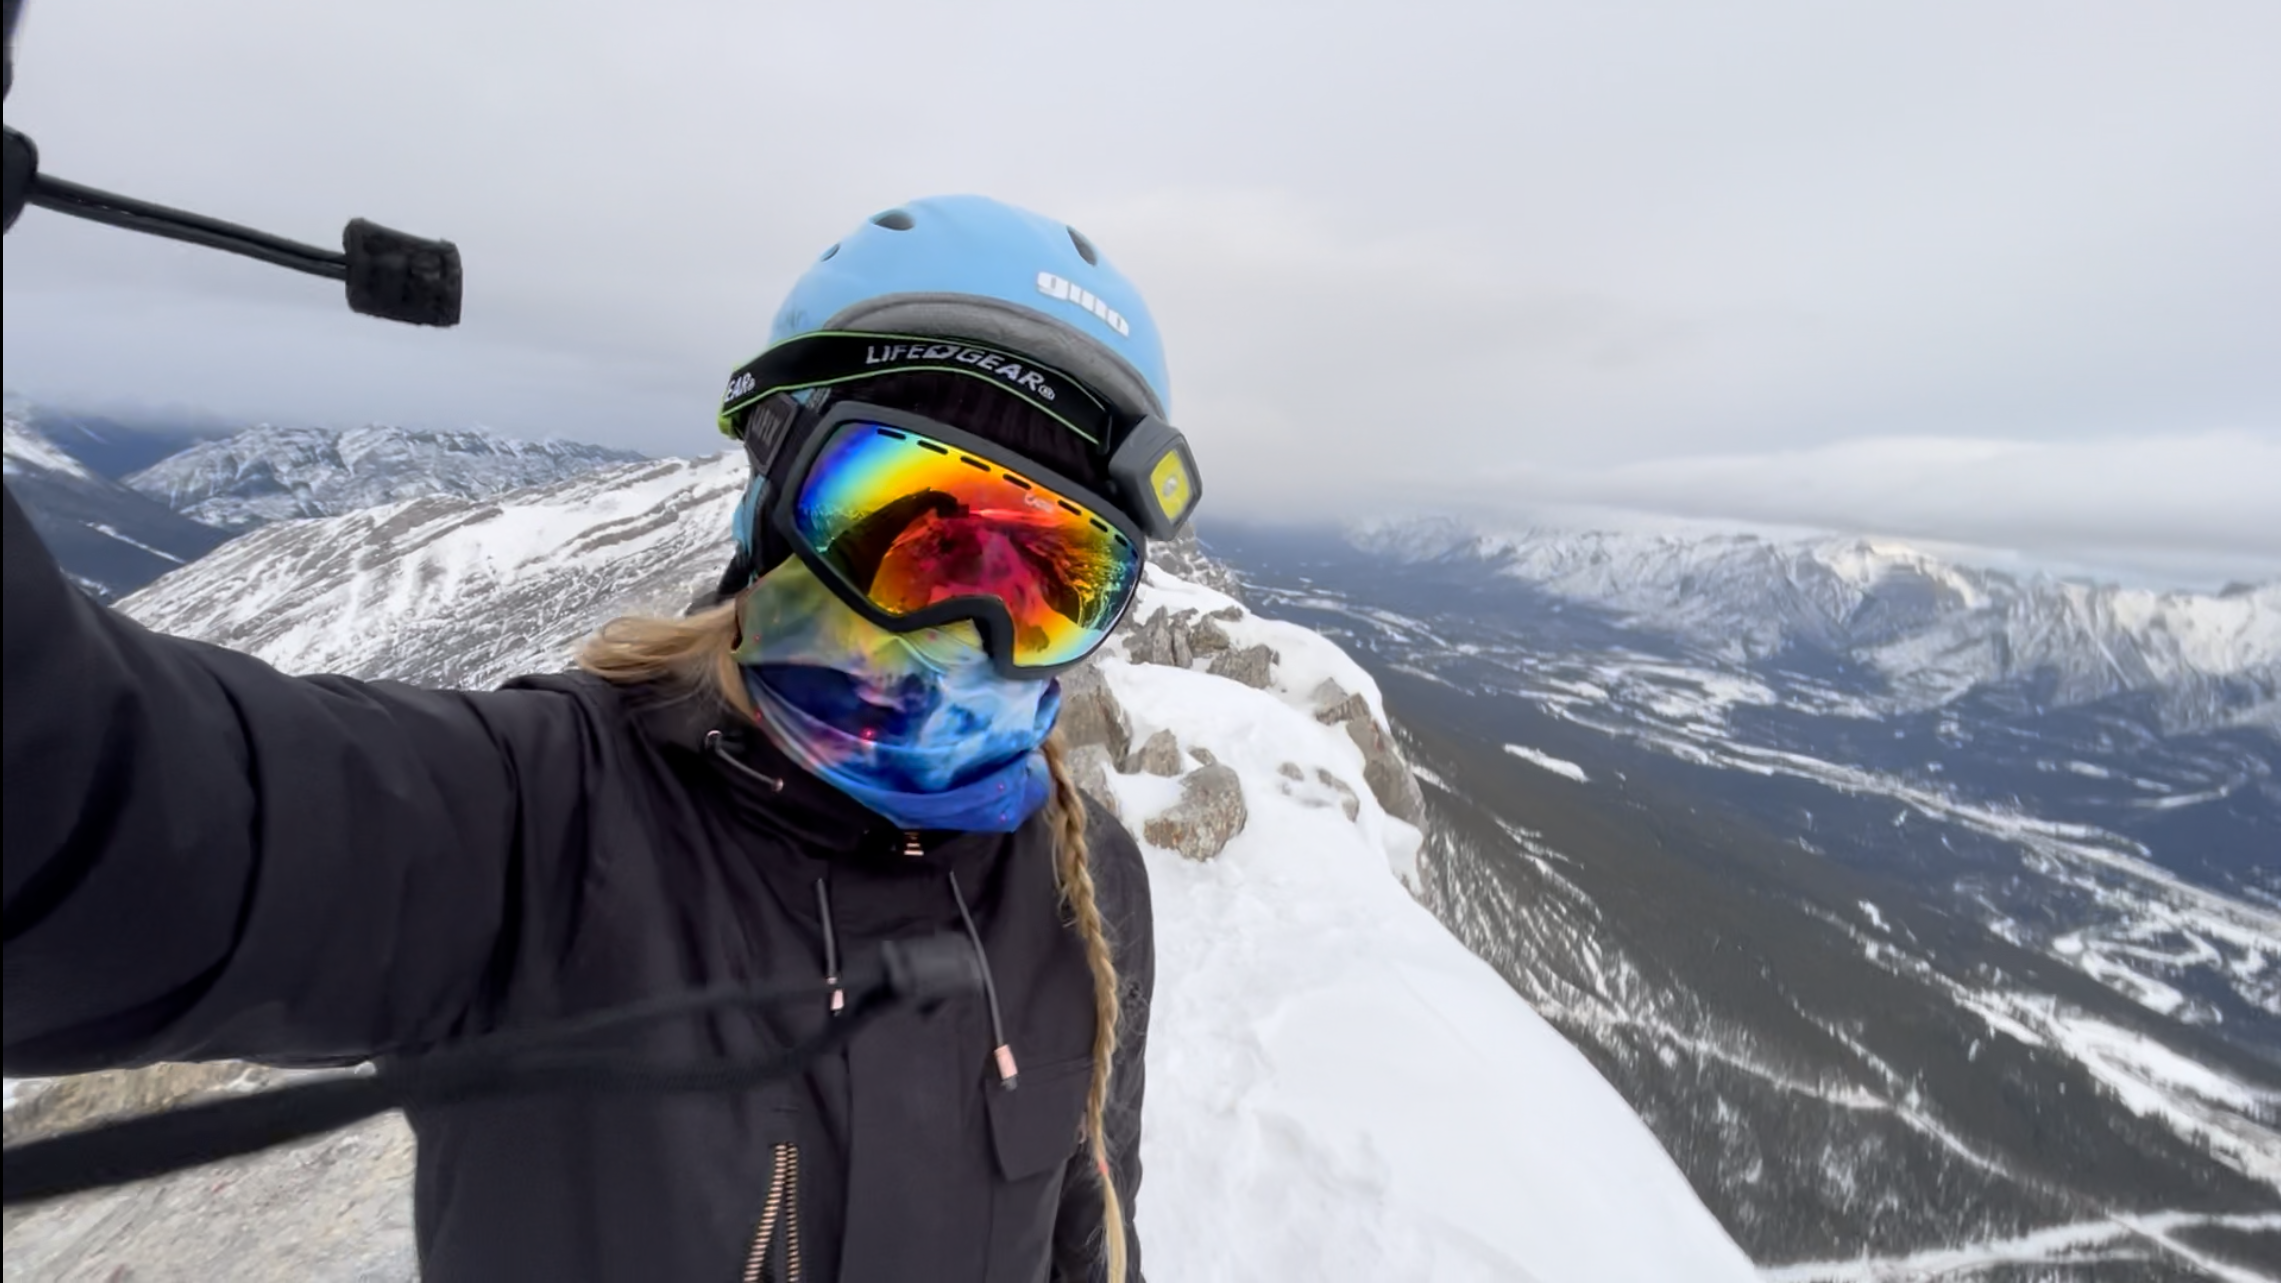
A quick Google search often directs you to Ha Ling Peak when you’re looking for best hikes near Canmore. If you want amazing views and a good challenge, I want you to know that it is completely possible to conquer this mountain, even as a total beginner with no experience.
Whether you’re a newbie or a seasoned hiker, I want to give you all the information you need to feel good about getting up this mountain!
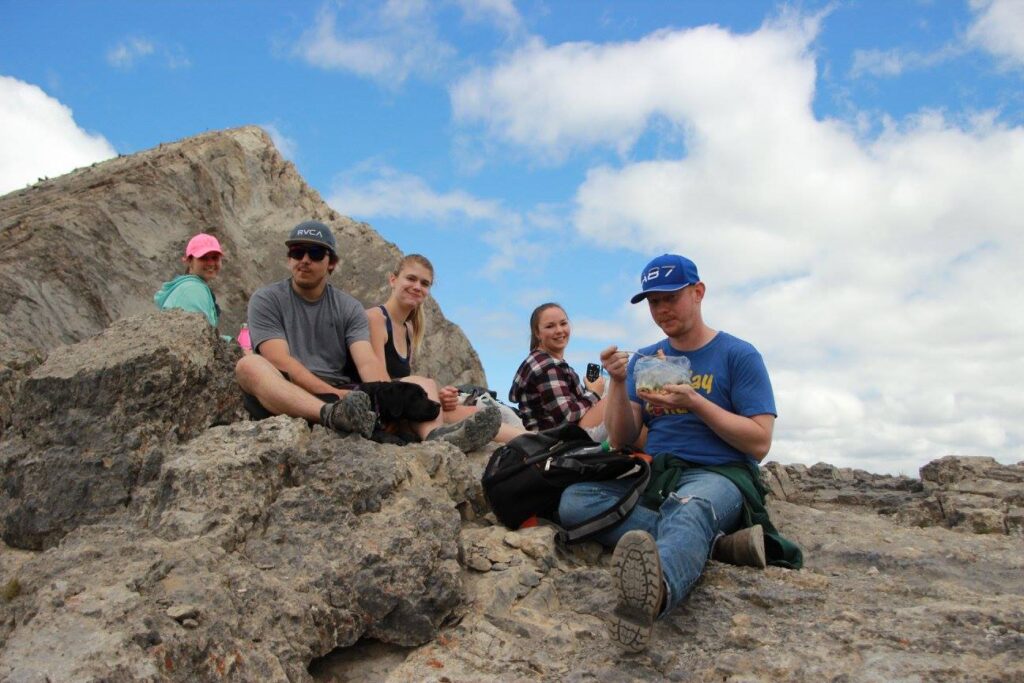
Ha Ling was my very first hike back in 2015, and it made me fall in love with hiking. I have hiked it 12 more times since then, in every season, and is my go-to hike to take groups up when they’re visiting the area.
Ha Ling Peak is one I would recommend to almost anyone as their first summit.
What is Ha Ling Peak?
Ha Ling Peak is a mountain in Canmore, Alberta that is a popular hiking destination for locals and tourists alike. It is well-known for it’s prominent pointy peak that is visible from the town of Canmore.
Is Ha Ling Open?
Yes, Ha Ling trail, peak, and parking lot are open! This is an official trail and stays open year-round.
For the most up-to-date information on the trail, check out Alberta Parks Advisories.
Ha Ling Peak Stats
- Distance – 7.2km / 4.47mi to the summit and back
- Elevation Gain – 748 m / 2454 ft
- Approximate Time – 3-6 hours to summit and return to your car, depending on fitness levels and amount of breaks taken
- All Season Hike? Yes.
- Dog Friendly? Yes, to the saddle.
- Kid Friendly? Yes, to the saddle.
- Beginner Friendly? Yes.
- Cell Service? Only at the summit.
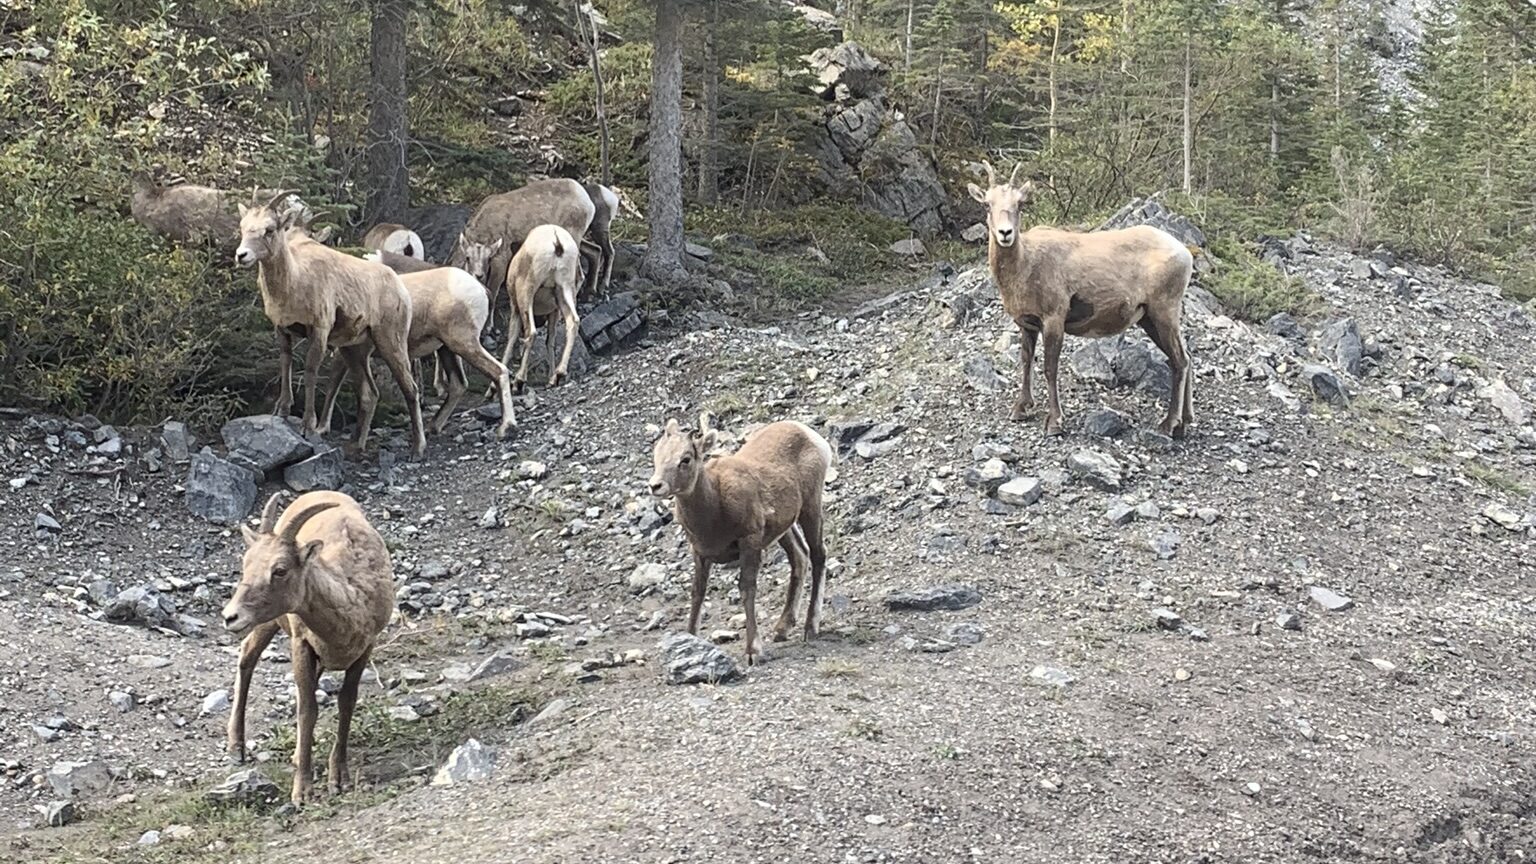
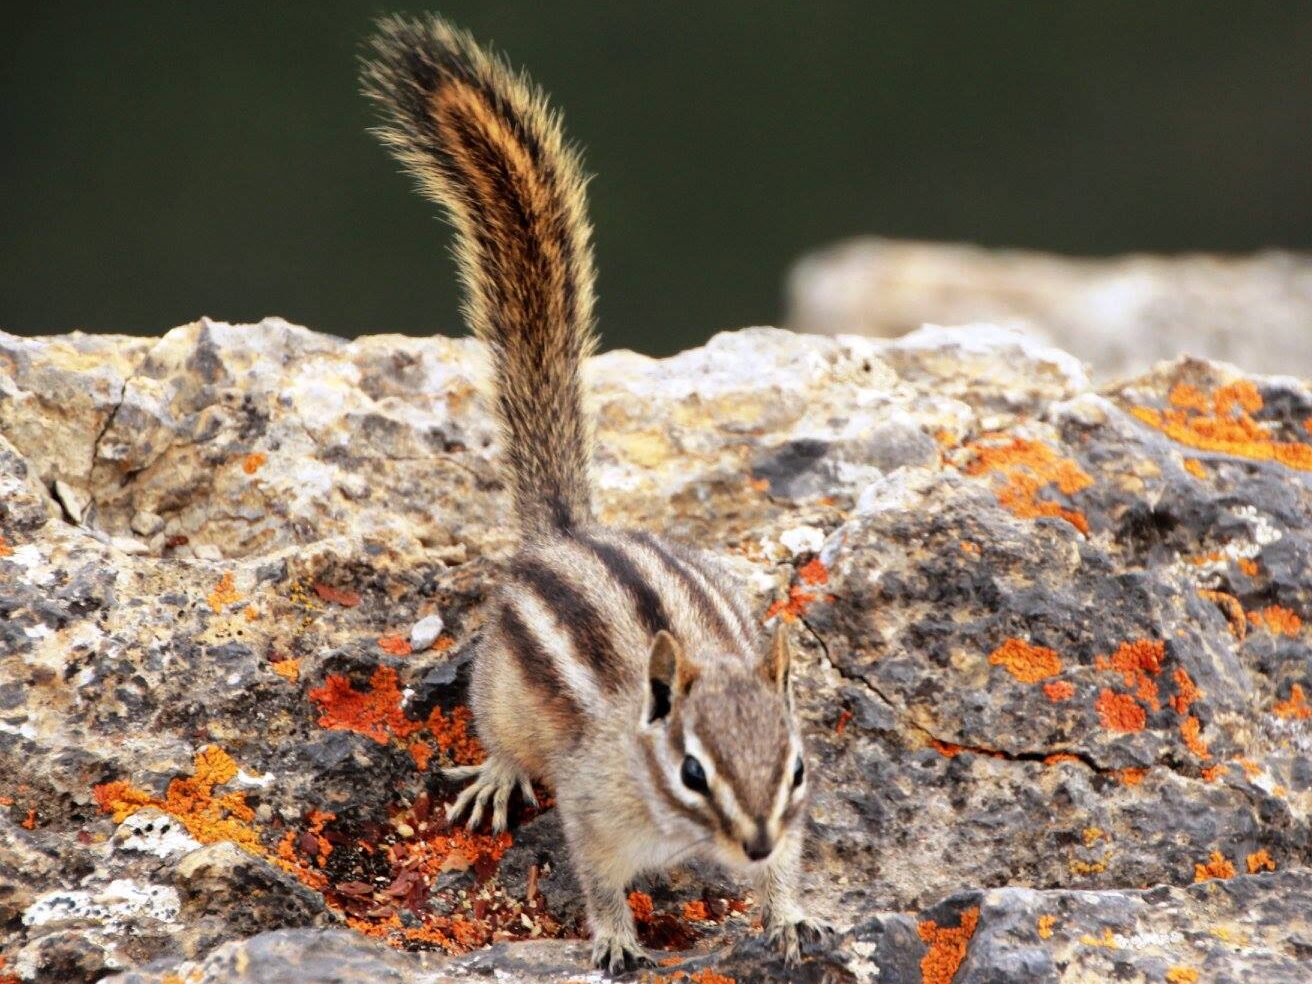
- Wildlife Encounters? Minimal. May see Bighorn Sheep along the roadway and Colombian ground squirrels at the summit.
- Access to Water? Reservoir at the trailhead, no water throughout the hike.
- Bathrooms? Outhouses at the parking lot.
- Chance of getting lost? Extremely low.
Driving Directions For Ha Ling
You can actually search “Ha Ling trailhead” in Google maps! However, you won’t have cell service as you drive to the trailhead, so it’s best to download directions or an offline map ahead of time.
To get to the Ha Ling Peak trailhead, you will have to drive through the town of Canmore, heading up towards the Nordic Center.
Continue past the Nordic Center along highway 742, where you will encounter a large gate, and the road will turn to gravel. Use caution here, as the road is quite rough – there are large fallen rocks and potholes, and many Bighorn Sheep hang out on the road (don’t stop or get out of your vehicle).
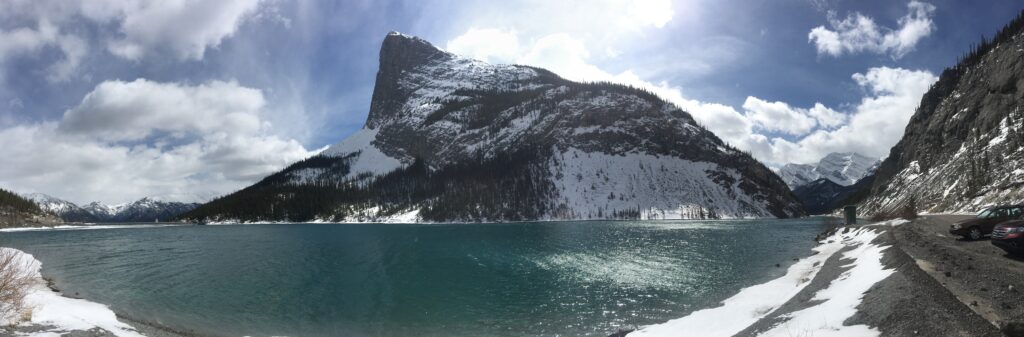
About 5-10 minutes past the gate, you will encounter a small body of water (known as Whiteman’s Pond). Drive past the pond, and as the road dips downhill, you will notice a large paved parking lot on the passenger’s side, called the Goat Creek Parking Lot.
This is where you want to park.

How to Get to the Ha Ling Trailhead
BE AWARE – There are several different trails in the area. Ensure you get on the correct one to set yourself up for success!
To locate the trailhead, cross the gravel highway at the pedestrian sign and head uphill on a dirt service road. Continue past the small pedestrian gate to the top of the hill, where you will cross a reservoir on a concrete bridge. Head towards the trees on the opposite side.
A large signpost will be visible by the trees – this is the trailhead and the start of your hike.
Getting To The Peak – Step By Step!
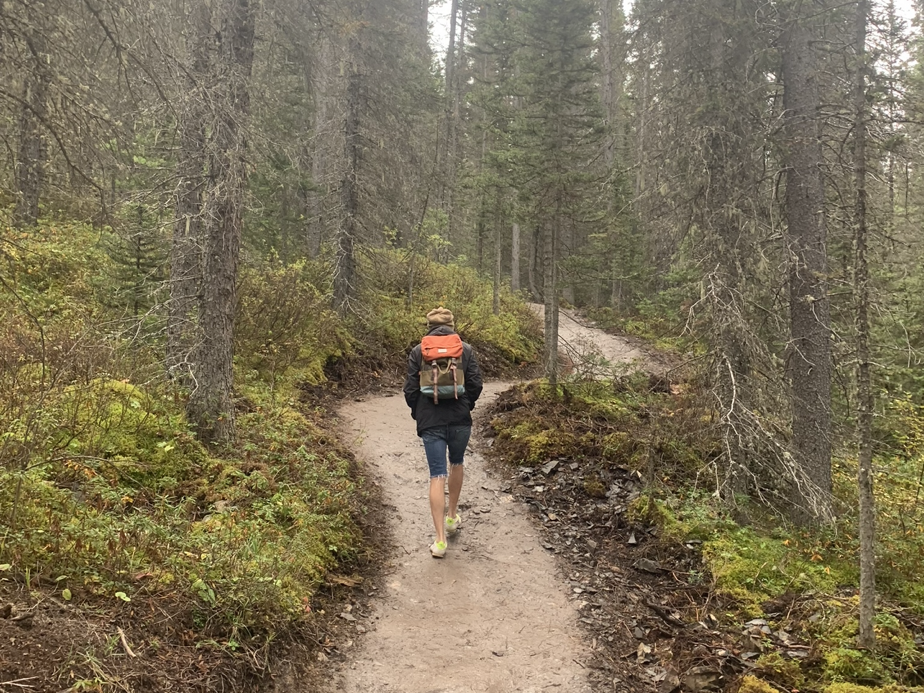
Step 1: The Start
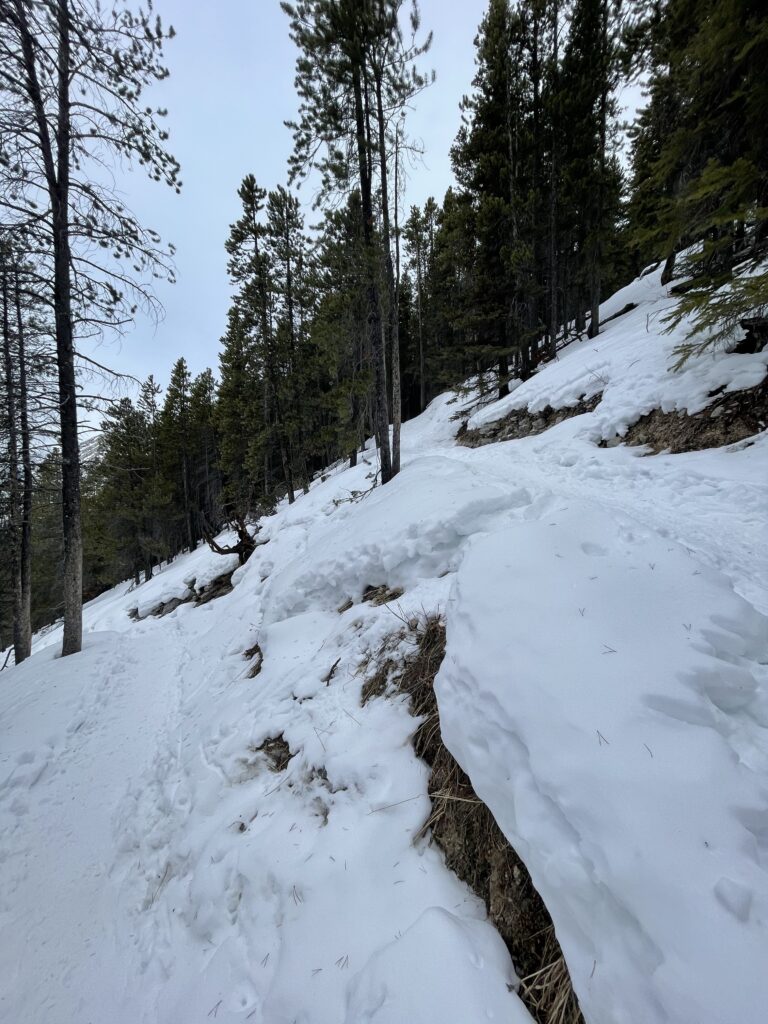
The start of the trail is wide, obvious, and the incline is gradual (it might not feel that way though!) There is nothing hard or technical about starting the hike, but it is important to pace yourself as you have a long way to go.
Step 2: The Switchbacks
As you hike up the trail, you will notice that the path zig-zags along the mountain. This zig-zag pattern is known as “switchbacks”. It helps you get up steep terrain more easily.
The switchbacks are mostly in the trees and there isn’t much to see, but they are a nice indicator of progress. You can count how many times you cross the mountain. (There are 7 direction changes to the top!)
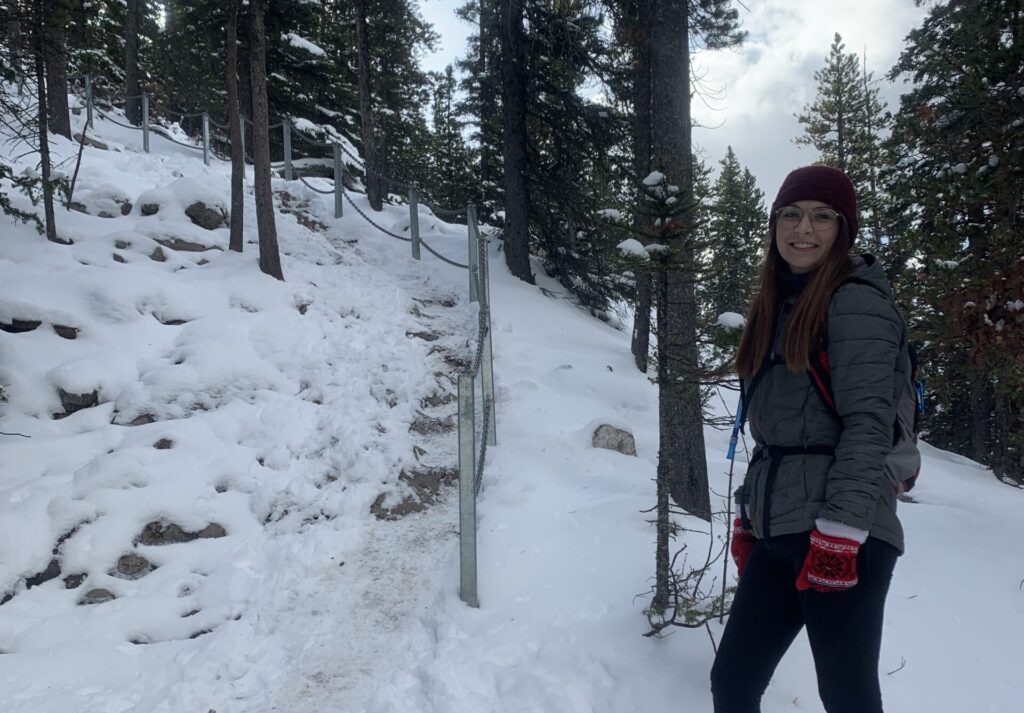
Step 3: The Chain Section
At the second switchback, the trail takes you straight uphill for a small section. Here, slipping becomes a real possibility, particularly in untoward weather. To help decrease the risk of slipping, there are a series of chains connected to posts which you can hang onto to help pull yourself up or lower yourself down.
In the summer, holes have been blasted into the rock to help act as small “steps” up the slippery slab (flat rock).
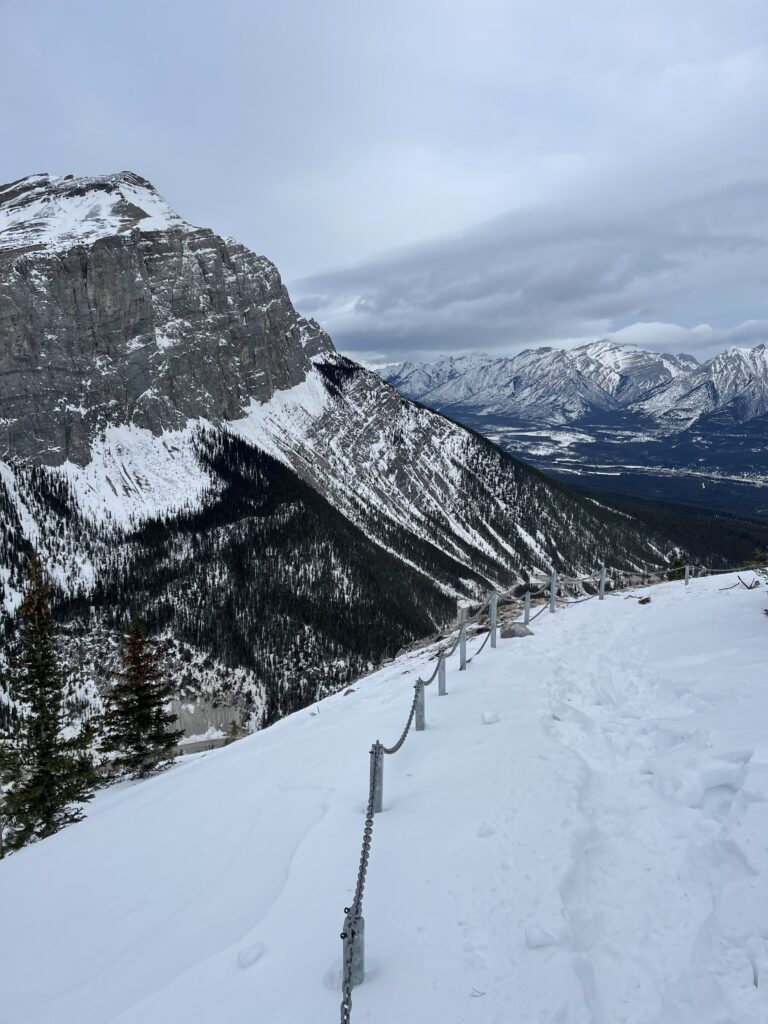
Step 4: The “Lookout”
Halfway up, there is a beautiful lookout where you can see Whiteman’s Pond below you and the summit above you. It is on the edge of the mountain with a significant drop below, however it is protected with chains to remind you to stay back from the edge.
This is a good place to turn around if you’re feeling tired or the weather is less than ideal for your group.
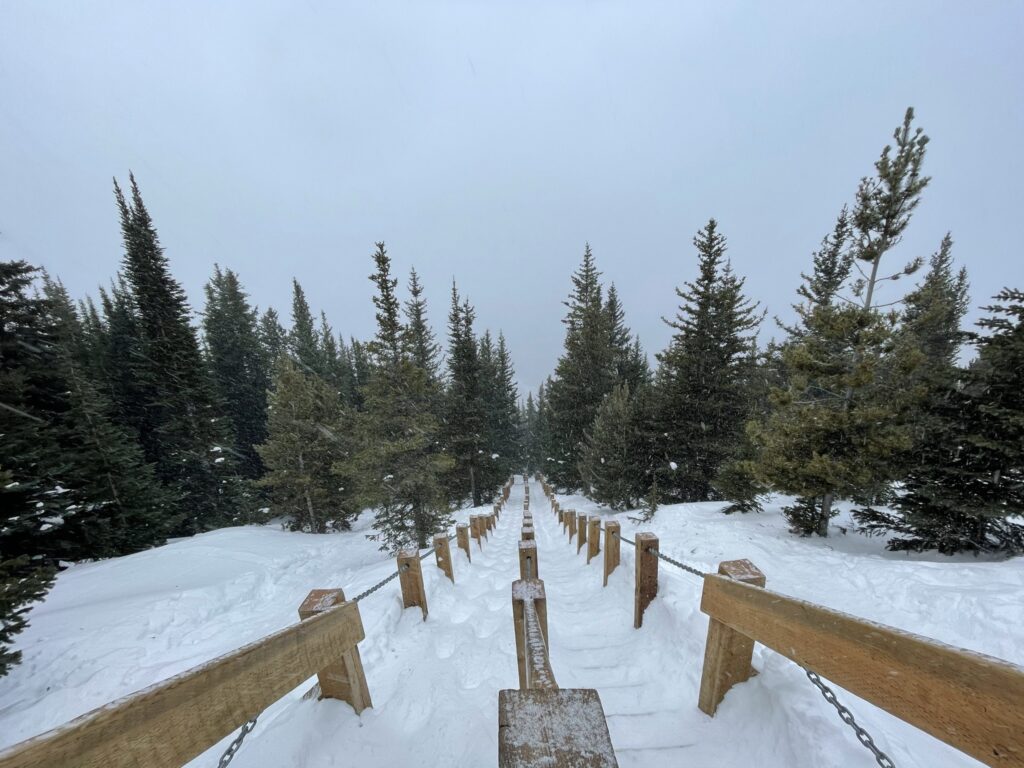
Step 5: The Stairs
This is when things start getting extra tough for a lot of people.
After the lookout, there are several stone steps in the ground to help you get up the steeper terrain. I personally find these steps quite exhausting and try to avoid them when possible. Take your time here and know that it is tough, but you can get through it!
Following the stone steps, there are 3 wooden staircases. If your legs weren’t tired yet, they likely will be at this point. I recommend taking a break just before and after each staircase. It’s tough to stop halfway through.
These stairs also become a giant ice slide in the winter, and can be quite treacherous to hike if unprepared. (Bring microspikes and kick steps in the snow!)
From here, you can see the summit up and to your left. This is where you’re heading.
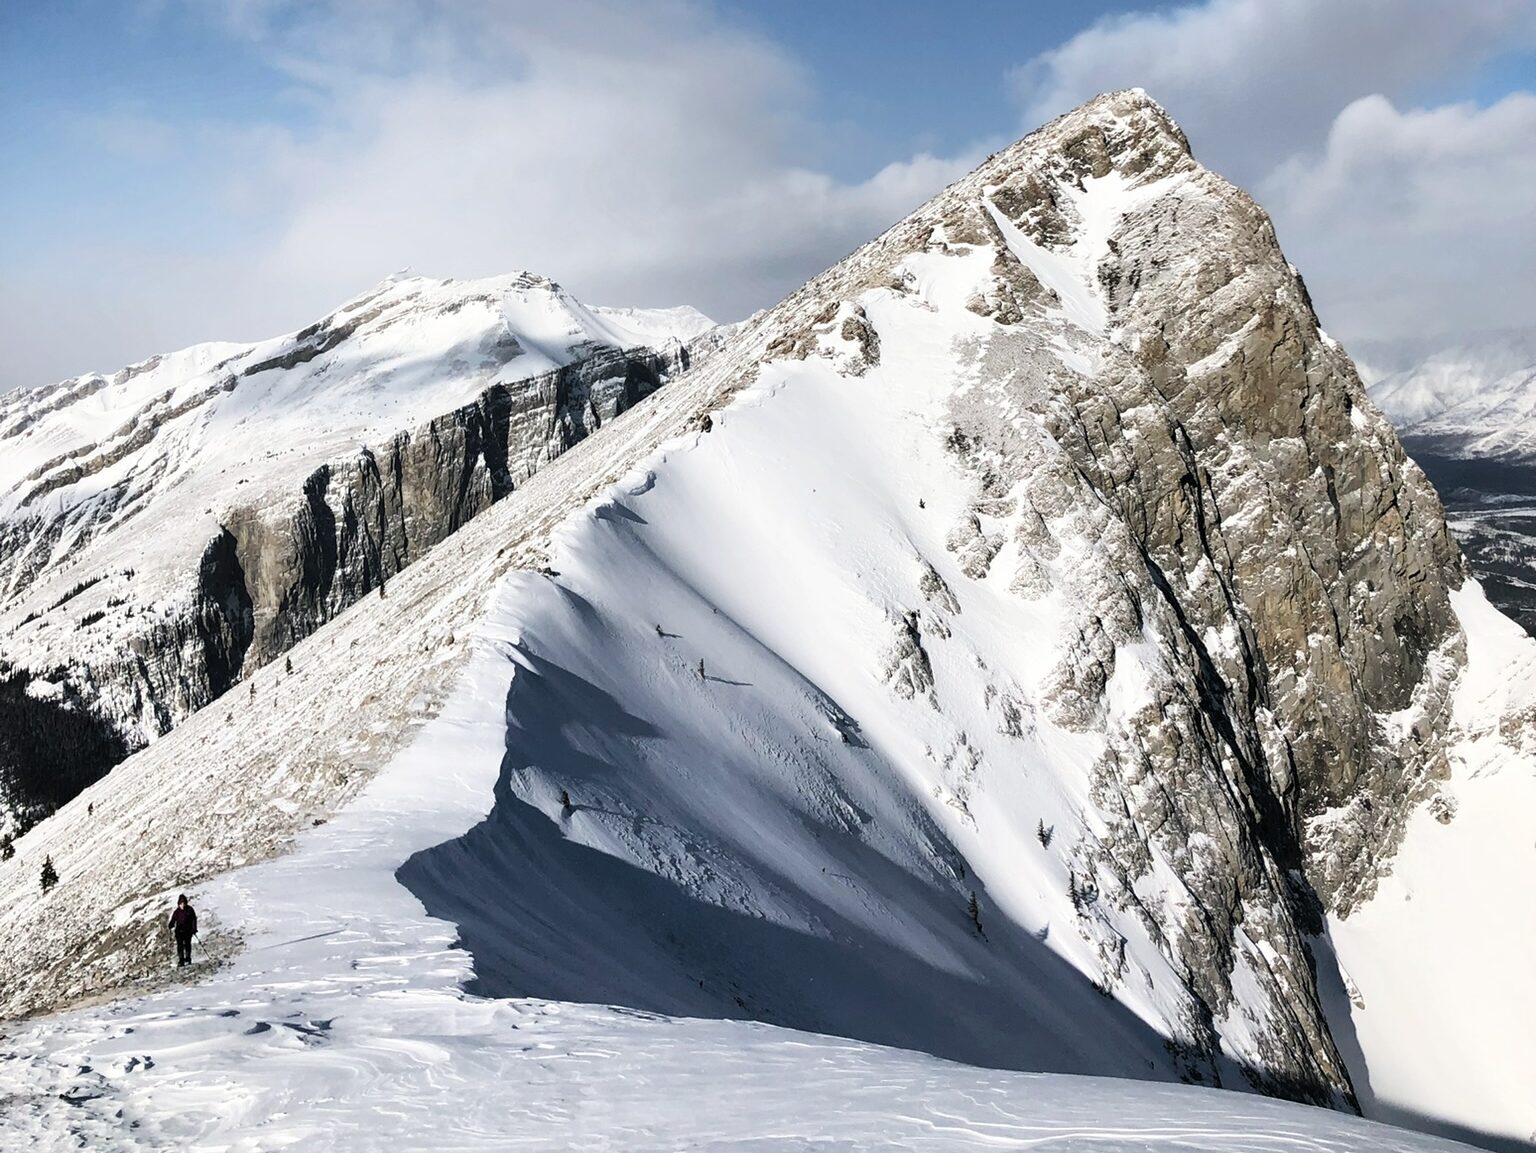
Step 6: The “Saddle” or Col
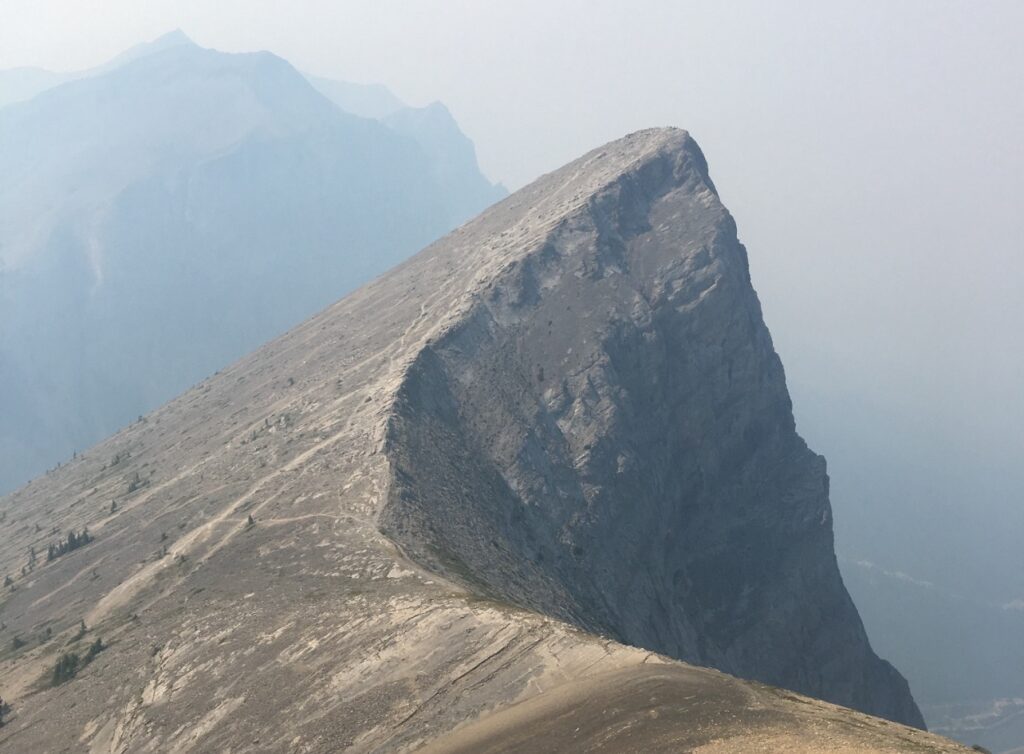
After the stairs, you can see Ha Ling Peak on your left, and Miner’s Peak on your right, with a ridge connecting them. The low point on the ridge between these peaks is called the “saddle” or the “col”.
10 minutes after the stairs (depending on your pace), the trail will come about 5 meters below the saddle. While the official trail doesn’t take you to the edge, I recommend going off-trail and hiking to the ridge at the saddle.
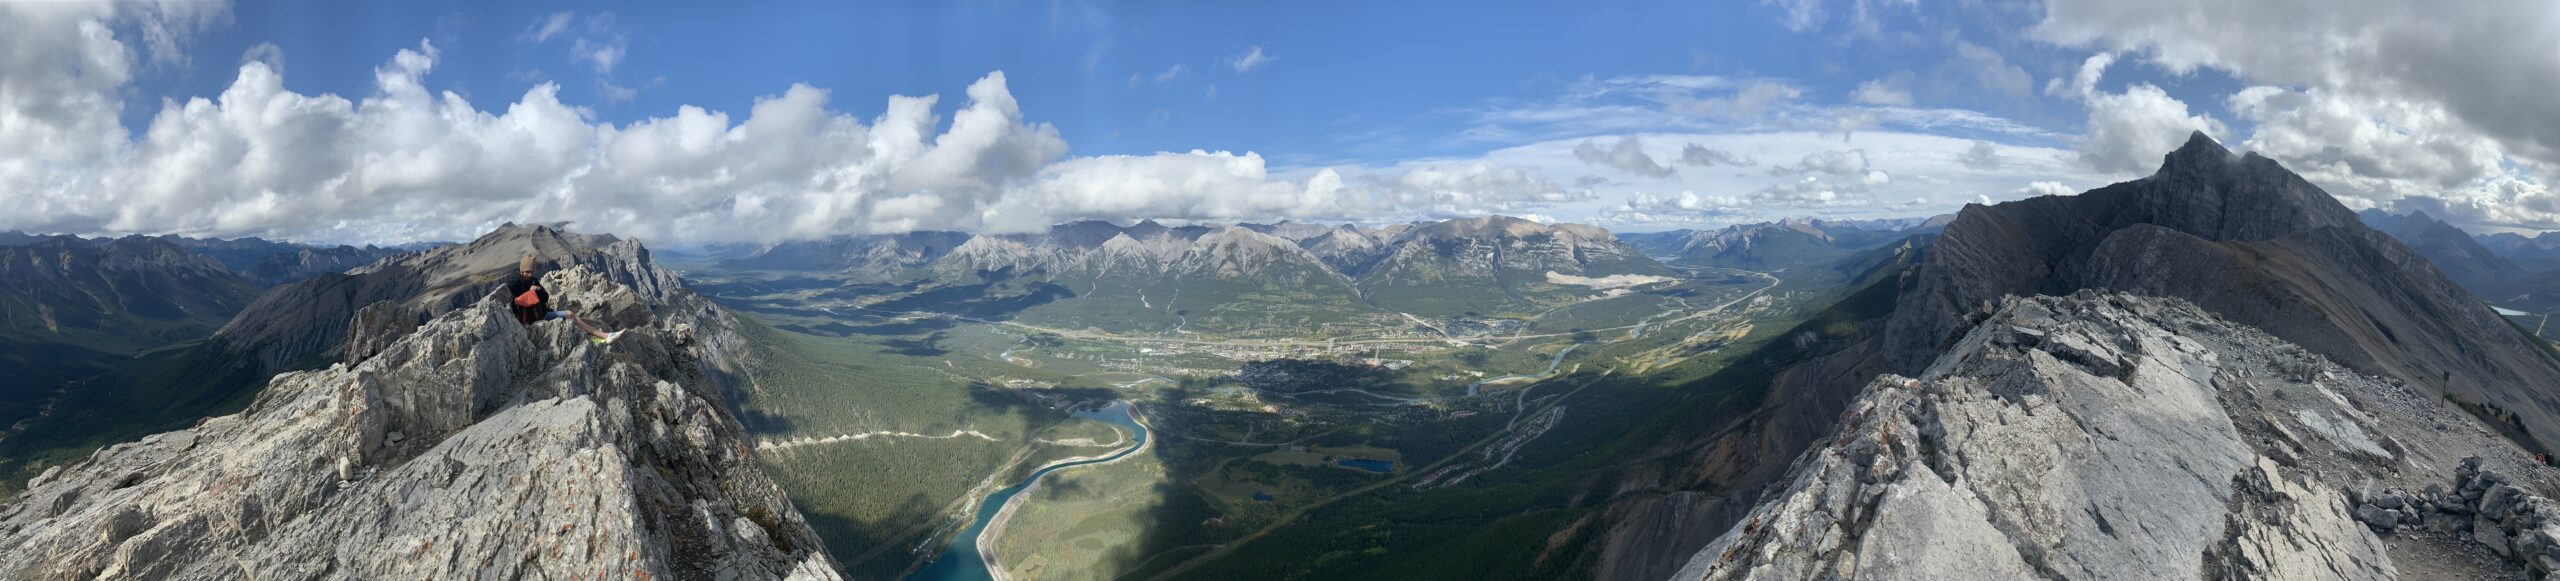
This is the first time you can see over the edge towards the town of Canmore. Be careful not to get too close to the edge, as there is a fall risk! This col often ends up being busier than the summit on summer weekends. Enjoy a nice break here and be proud of how far you’ve come!
If you’re not comfortable hiking up to see over the edge, I don’t recommend continuing on to the summit. Consider hiking over to Miner’s Peak instead, which has no scrambling.
After enjoying the scenery, hike back to the trail to head up to the summit!
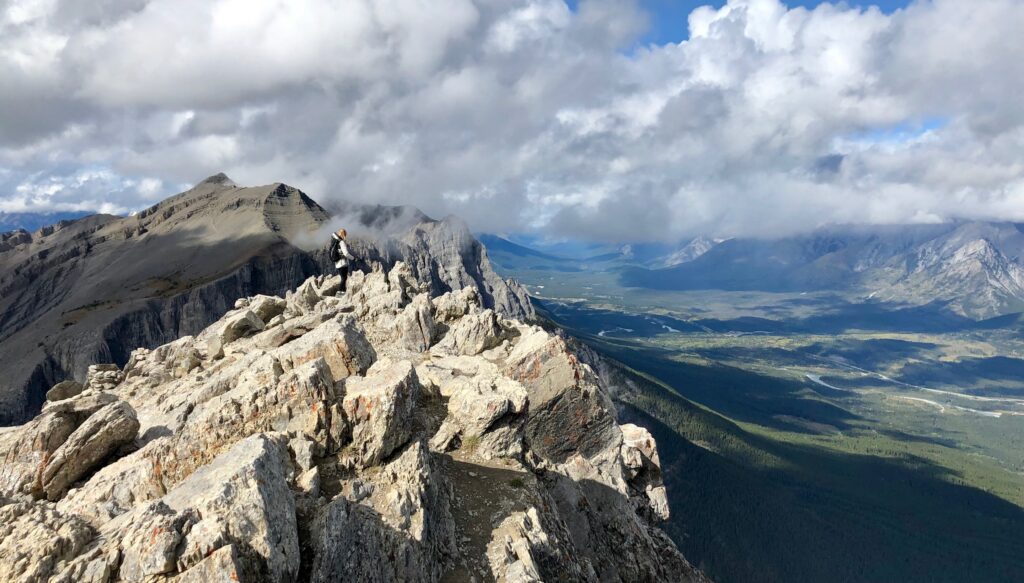
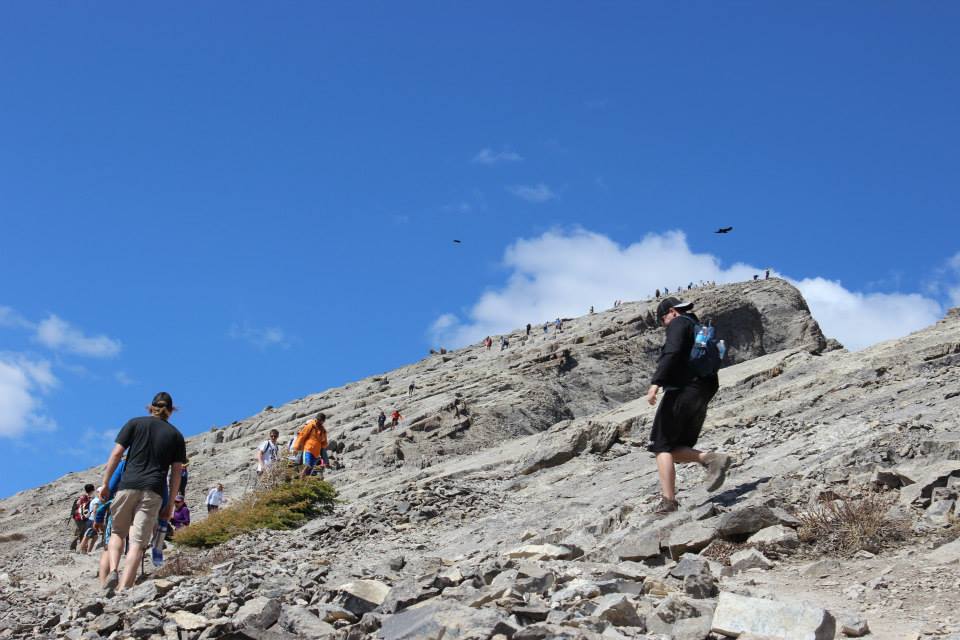
Step 7: The Summit
The views are essentially the same from the col and the summit, but the last push to the peak can be the most engaging and exciting.
The trail can be hard to follow here, but aim to climb the slab (large chunks of flat rock), by staying on top of them and using your hands to “scramble” if necessary. Take your time here, as this is the most difficult part of the hike.
The trail “braids” a bit, (meaning it looks like there are a few different trails), but it doesn’t matter which way you go up. All options lead to the top, and all of the options work well. Choose whatever feels secure and safe to you and don’t worry about being on the “correct” trail.
The summit itself is long and rocky. Feel free to wander down the ridge a ways! Just be careful not to get too close to the edge, as it is a long vertical drop below you.
Descending From Ha Ling
This trail is an “out-and-back”, which means you go back down the way you came.
Going back down can be just as hard as hiking up, especially if you’re prone to knee pain! I highly recommend hiking poles for this reason.
Take your time coming down from the summit, especially if it’s your first time in this terrain. Consider descending backward to use your hands, or even butt-scootching down. (We’ve all been there!)
What to Bring When Hiking Ha Ling
It’s a good idea to establish a basic pack of hiking essentials, and bring them on every hike. Try to keep your pack light to make your travels easy! Here are some essentials to bring up Ha Ling:
- Backpack – This might seem like common sense, but you should bring a backpack to carry your supplies. You can share a backpack if you’re hiking with another person to help lighten the load. A cheap school pack works – you don’t have to buy a fancy hiking bag.
- Water – Because the only access to water is at the very start of the trail, I make sure I’m carrying enough water for the journey. (Usually 1-2 liters or 0.25 – 0.5 gallons depending on the weather.) *NOTE- Slower hikers and hiking in hot weather might require even more water!
- Weather Protection – The weather at the summit of Ha Ling is often VERY different than in the town of Canmore. I always carry a light pair of gloves and a wind layer at the minimum, even in the summer!
- Band-Aids or Tape – I recommend throwing two Band-Aids or a small roll of body tape in your pack in case your footwear gives you blisters. (It’s more common than you’d think!)
- Food – Our bodies need carbs for energy when we exercise! Look for lightweight fast digesting carbs that you’re excited about to keep you motivated! Consider having something to celebrate with on the summit.
- Poles – While not necessary. poles will save your muscles from getting too fatigued on the way up, and will save your knees from getting too sore on the way down. I always hike with poles!
- Shoes – I don’t get too fussed about footwear on this hike. While a hiking boot is great, anything with a tread (like a running shoe) will get you up this mountain. Flat shoes (like Uggs and Converse) are not recommended.
Ha Ling Tips To Get The Best Experience
- Hike Ha Ling on weekdays or in the winter to have a better experience. This way you will have fewer people in your photos, and don’t have to compete for space and time on the trail and in the parking lot.
- There is no cell service at the Ha Ling parking lot, but you can get cell service at the lookout, saddle, and at the summit. Consider sending friends and family a “WE DID IT!” photo or message! Otherwise, plan to be out-of-service for most of the hike. (Airplane mode is a battery saver!)
- There is a set of outhouses at the Ha Ling parking lot. I recommend you use them before you go, especially if you’re preparing for a longer day on the mountain. The trail can be busy and steep, which can make it difficult to sneak off into the woods to relieve yourself.
- If you’re up for it, consider hiking over to Miner’s Peak. It is directly connected to Ha Ling via the “saddle”, and is actually easier and less busy to get to. If you’re looking to decrease crowds on a busy day, this is an excellent option with the same amazing views.
- Be careful on the summit as there are often rock climbers on the vertical cliff below you. Please do not throw rocks or other items off the edge as this presents a serious hazard to them. Look for bolts on the rocks as indicators of areas they may pop up.
- Download a hiking app to your phone, such as AllTrails, Gaia, or FatMap, where you can see the trail overlaid on the terrain. It’s pretty hard to get lost on Ha Ling, but it’s great to familiarize yourself with helpful tools, especially if you’re considering hiking more often, or hiking lesser-known peaks.
Frequently Asked Questions
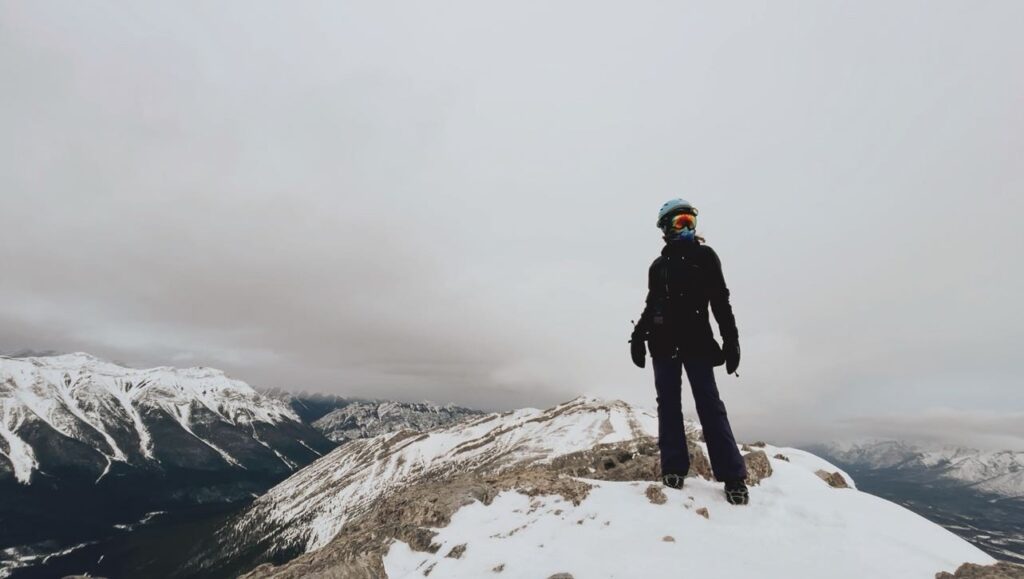
Can You Hike Ha Ling in the Winter?
Yes, you can hike Ha Ling in the winter. When doing so, bring microspikes (small cleats to strap to your boots) and extra warm layers for your body, hands, and ears if you choose to hike Ha Ling in the winter.
Is Ha Ling Peak a Hard Hike?
Ha Ling Peak is a hard hike if you’re new to hiking longer distances or in steeper terrain. However, in terms of mountain summits, it’s one of the easiest ones possible. Most of the hike is just walking uphill, though near the top it can require the use of hands to get up to the summit.
Is Ha Ling Peak a Scramble?
Ha Ling Peak is an easy scramble. Depending on experience level, you may or may not require the use of your hands to “scramble” to the summit of Ha Ling. Most visitors to the area would consider it a scramble and do use their hands, but experience and poles can help you stay upright and avoid scrambling altogether.
How Steep is Ha Ling Peak?
Ha Ling Peak is moderately steep. It is enough to get your heartrate up and your muscles sore, particularly if you’re not used to hiking uphill. Putting your hands down on the rock to help “scramble up” may or may not be required at the very top, depending on experience level.
Can You Hike Ha Ling Peak as Your First Hike?
It is possible to hike Ha Ling Peak as your first hike, though it will be difficult. Lots of elevation gain over a shorter distance will be tough on your leg muscles and cardio fitness. However, with perseverance, it is definitely doable and will leave you feeling very accomplished.
Can You Do Ha Ling Peak as a Sunrise/Sunset Hike?
You can do Ha Ling Peak as either a sunrise or a sunset hike, just don’t forget your headlamp and some warmer layers! However, I’d recommend East End of Rundle (EEOR) for better sunrise/sunset views, though it is a more difficult hike to do, particularly in the dark.
Do You Need a Kananaskis Pass to Hike Ha Ling?
As of 2021, you do need a digital Kananaskis Pass to park at the Ha Ling Parking lot. For more information, or to purchase a pass, follow this link. Please note that the pass is just registered to your license plate and is not something that gets physically displayed.
How Popular is the Ha Ling Peak Hike?
Ha Ling Peak is one of the most popular hikes in the area. It’s rare to find a day where you won’t encounter at least a few other parties on the mountain. At the peak of summer on weekends, you’re likely to encounter hundreds of other people in the area.
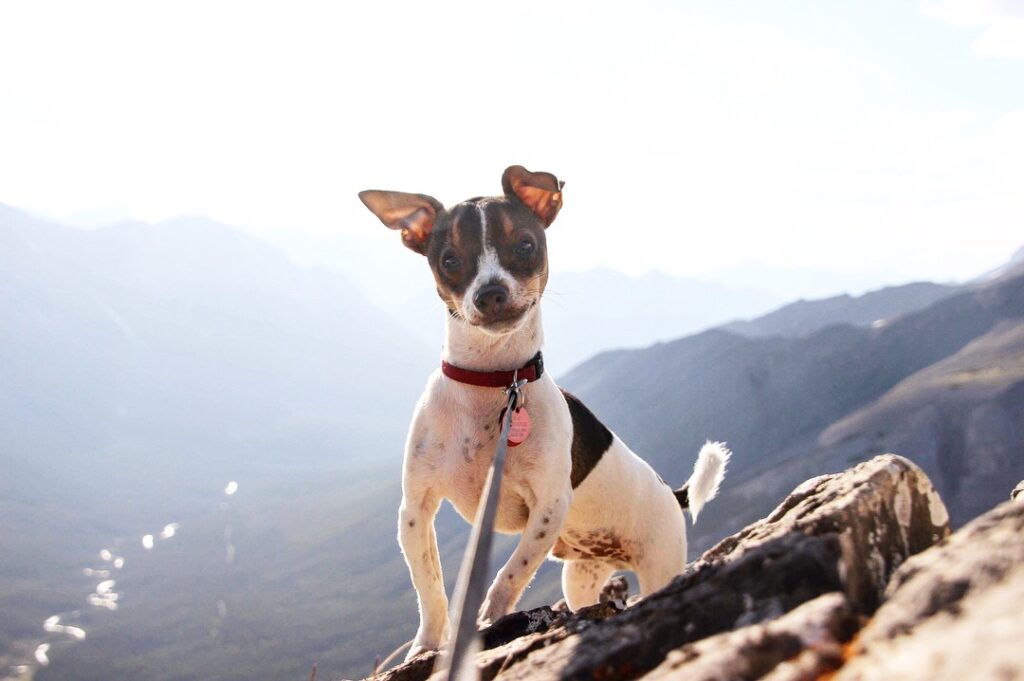
Can I Take My Dog up Ha Ling Peak?
Ha Ling Peak is dog-friendly. Pets are allowed, though they must be kept on leash. Make sure you bring sufficient food and water for them as well, and know that you might have to carry them or turn around if your pet is too fatigued or incapable of navigating the terrain at the top.
Are There Bears on Ha Ling Peak?
It is very unlikely that there are bears on Ha Ling Peak, because the trail is so busy. However, carrying bear spray is always recommended in Kananaskis, even when bear encounters are unlikely. Instead, you may encounter Bighorn Sheep and ground squirrels on the Ha Ling Peak trail.
My Experience Hiking Ha Ling As A Beginner
Ha Ling was my first hike back in 2015, before I even owned a pair of hiking boots. I went in totally unprepared, and ended up shuffling along the trail, crying. Here’s what I wish I would’ve known:

If Ha Ling is your first hike, it’s likely going to feel very hard. And that’s OK! You’re summiting a mountain for goodness’ sake!
Don’t try to be the cool person and hide your heavy breathing. Your body needs the oxygen! Just breathe!
You’re going to sweat. It won’t be pretty, and you don’t have to pretend that you don’t have sweat glands. Tie your hair up, and take layers off if you need to. Embrace the awful feeling of wet undergarments. Even influencers sweat, I promise.
If you’re hiking with other people, they might have different fitness levels. Take breaks when you need to and ask your friends to stop with you. Pushing yourself too hard early on will burn all your energy. Pace yourself and snack often.
Take the dang summit photo. Throw your arms up in the air. Cry or “WOOHOO!” if you want to. (I’m a crier). It won’t matter what you look like. Being picture-perfect is overrated anyway. Let the moment change your life, and have the photo to capture the memory.
Your legs might be VERY sore the next day. My legs weren’t used to the intense exercise and I could hardly walk the day after my first summit. Try some leg workouts beforehand, or just know the pain will go away and decide it’s worth it anyway.
With a little bit preparation and mental toughness, Ha Ling is totally doable as a beginner, even as a first hike or summit.
Other Recommendations
If you’re looking for an easier outing, try Grassi Lakes, which has beautiful views, but much less elevation gain.
For an “easy” summit with fewer people (still lots of elevation but no scrambling), consider Grassi Knob.
If you’re looking for something a little more difficult, try East End of Rundle (EEOR) next door to Ha Ling which has more scrambling, is more rugged, and is steeper.
Other Questions?
Is there something I didn’t answer for you in this article? Drop a comment below and I’ll try to get back to you! Happy trails!