
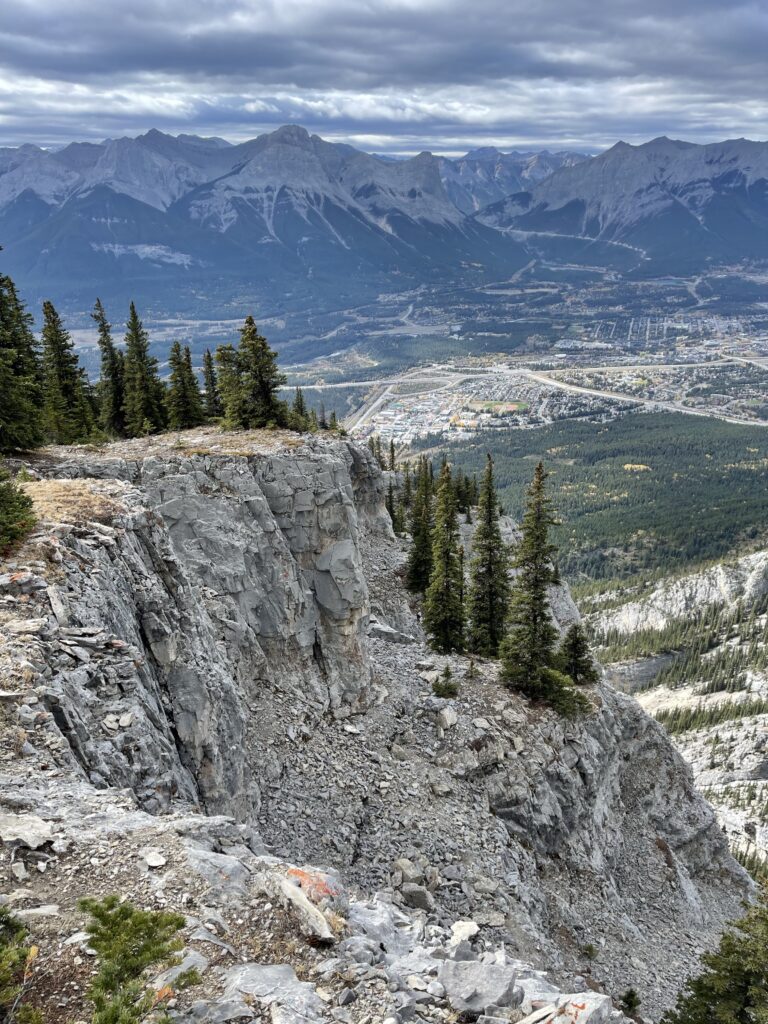
Grotto mountain is a massive mountain that spans from Canmore to Dead Man’s Flats in the Bow Valley, and neighbors the popular Mount Lady MacDonald hike. There are many different ways to hike to the summit of the mountain, and even some interesting canyons in the lower part that you can hike as well.
To stand on top of Grotto mountain will take some determination and effort. The hike is steep and long, and to get to the official summit will require some scrambling, though you can get up to the ridge without needing to use your hands.
Grotto mountain is a popular hike year-round. If you’re looking for a full-day adventure, Grotto mountain is an excellent choice since it’s close to town.
Grotto Mountain Quick Stats
- Distance – 12.2 km / 7.58 mi
- Elevation Gain – 1469 m / 4820 ft
- Approximate Time – 7-10 hours
- All Season Hike? Yes, through the ACC route
- Dog Friendly? Yes, through the ACC route
- Kid Friendly? No
- Beginner Friendly? Yes, to the ridge
- Cell Service? Yes
- Wildlife Encounters? Possible deer, marmots, sheep, bears
- Access to Water? No
- Bathrooms? No
- Chance of getting lost? Moderate
Driving Directions & Where to Park for Grotto Mountain
Take Highway 1A towards Exshaw either through the town of Canmore or directly from Highway 1. Heading eastbound on the 1A, take the first left-hand exit after Elk Run Boulevard. This exit will be a narrow road marked with a large wooden sign that says “The Alpine Club Of Canada”.
Follow this road around, and when the road comes to a fork, take the left-hand exit. This exit should feel like the main road and will be more of a curve than a 90-degree turn.
Once you make this turn, about 1 minute later there will be a small dirt pullout on the right. However, cars often line either side of the road when it’s busy. This is the main parking area for Grotto mountain.
Alternatively, you can also park at the parking lot for Cougar Creek Canyon on Benchlands Trail in the town of Canmore. (This parking is the same as Mount Lady MacDonald and can also be full in peak summer months).
How to Get to the Grotto Mountain Trailhead
From the main parking area, the official start of the hike is 100 meters up the road. However, the easiest start is a dirt path directly behind the dumpster heading up the small hill. There is no official signage for the trail.
From the Cougar Creek parking area, cross the creek at the bridge heading east. Continue up the creek 800m and turning right onto the Horseshoe Loop Trail. There is no signage for Grotto Mountain from this area either.
A GPS or downloaded trail map is highly recommended.
How To Hike Grotto Mountain Successfully
Grotto Mountain is a frequently-hiked mountain, and the benefit is that you’ll rarely be alone on the mountain. However, because there are so many ways to hike up, which take can be slightly confusing.
Two of the four routes to the summit are approaching the mountain from the east and west ridges. These routes are less commonly traveled, and I won’t be going into detail about them in this article, as I have not personally traveled them. But they do exist!
For beginners or hikers without scrambling experience, I would recommend hiking up on “the ACC route”. This route is the more western route of the two main routes in the middle of the mountain. You can hike all the way to the ridge without scrambling. This is also the route I would recommend in the winter.
For those who like scrambling and route-finding, give “the direct route” a try. It is the more eastern route of the two main Grotto mountain routes, but essentially plows straight up the middle of the mountain alongside Echo Canyon, which does provide better views.
1. The Start
The start of the Grotto Mountain hike is the same, regardless if you plan on taking the ACC route or the direct route. Follow the horseshoe loop to Grotto Mountain if you have parked at the Cougar Creek parking area.
From the ACC parking area, pass behind the dumpster and head up the dirt trail on the small hill. The trail should be visible through the trees if you look upwards.
The start of the trail can be confusing as there are many mountain biking trails in the vicinity as well. This is why a GPS track is recommended.
Follow the dirt trail up into the woods, staying right at the first two intersections. The trail will dip down slightly before coming back uphill.
At the third intersection, staying left is the ACC route, while the righthand trail is the direct route, and also the route to hike Echo Canyon. I recommend staying left and choosing the ACC route unless you have scrambling and route-finding experience.
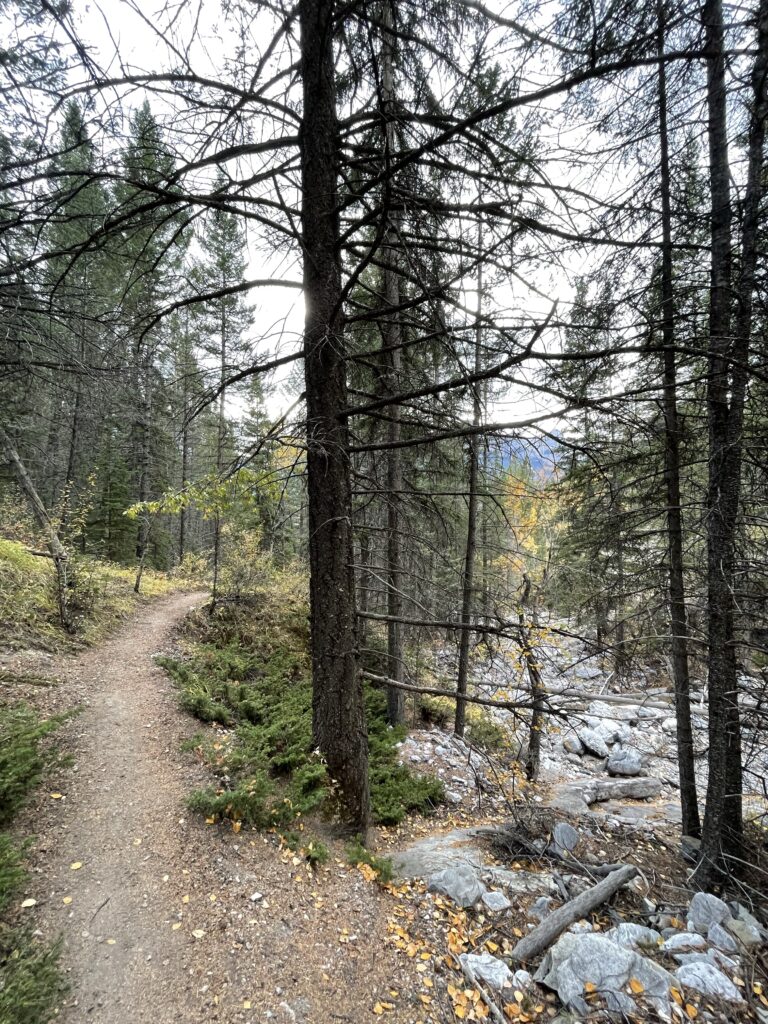
2. The Trees (ACC Route)
After selecting the left-hand trail, the ACC route is a steep ascent through the trees on a well-defined trail. The views are limited and mostly blocked by the trees, and the ground is rugged with exposed roots and rocks.
This section of the trail can be a bit of a grind, and in the peak of summer, the dirt trail can become a bit slippery as it is steep and dry. Winter hiking with microspikes might make this section easier, depending on the conditions.
The majority of the trail is this treed section, and it will gradually take you up and to the left until you intersect the ridge.
3. The Scree (ACC Route)
Once you break the tree line on the ACC route, the scree slog begins (scree is small loose rock). You’re likely to encounter wind shortly after you break the trees. This is a good time to layer up.
The trail might not be visible at the start, but it is often marked by cairns (large piles of rocks that hikers make to show the way). If you don’t see a discernible trail, keep heading uphill and to the right. It will likely become faintly visible in the rocks as you gain elevation.
The scree on Grotto isn’t too plentiful, so you won’t be sliding backwards as you try to hike up. However, if you descent this way, it likely means that the dirt will be a little slippery on the way down.
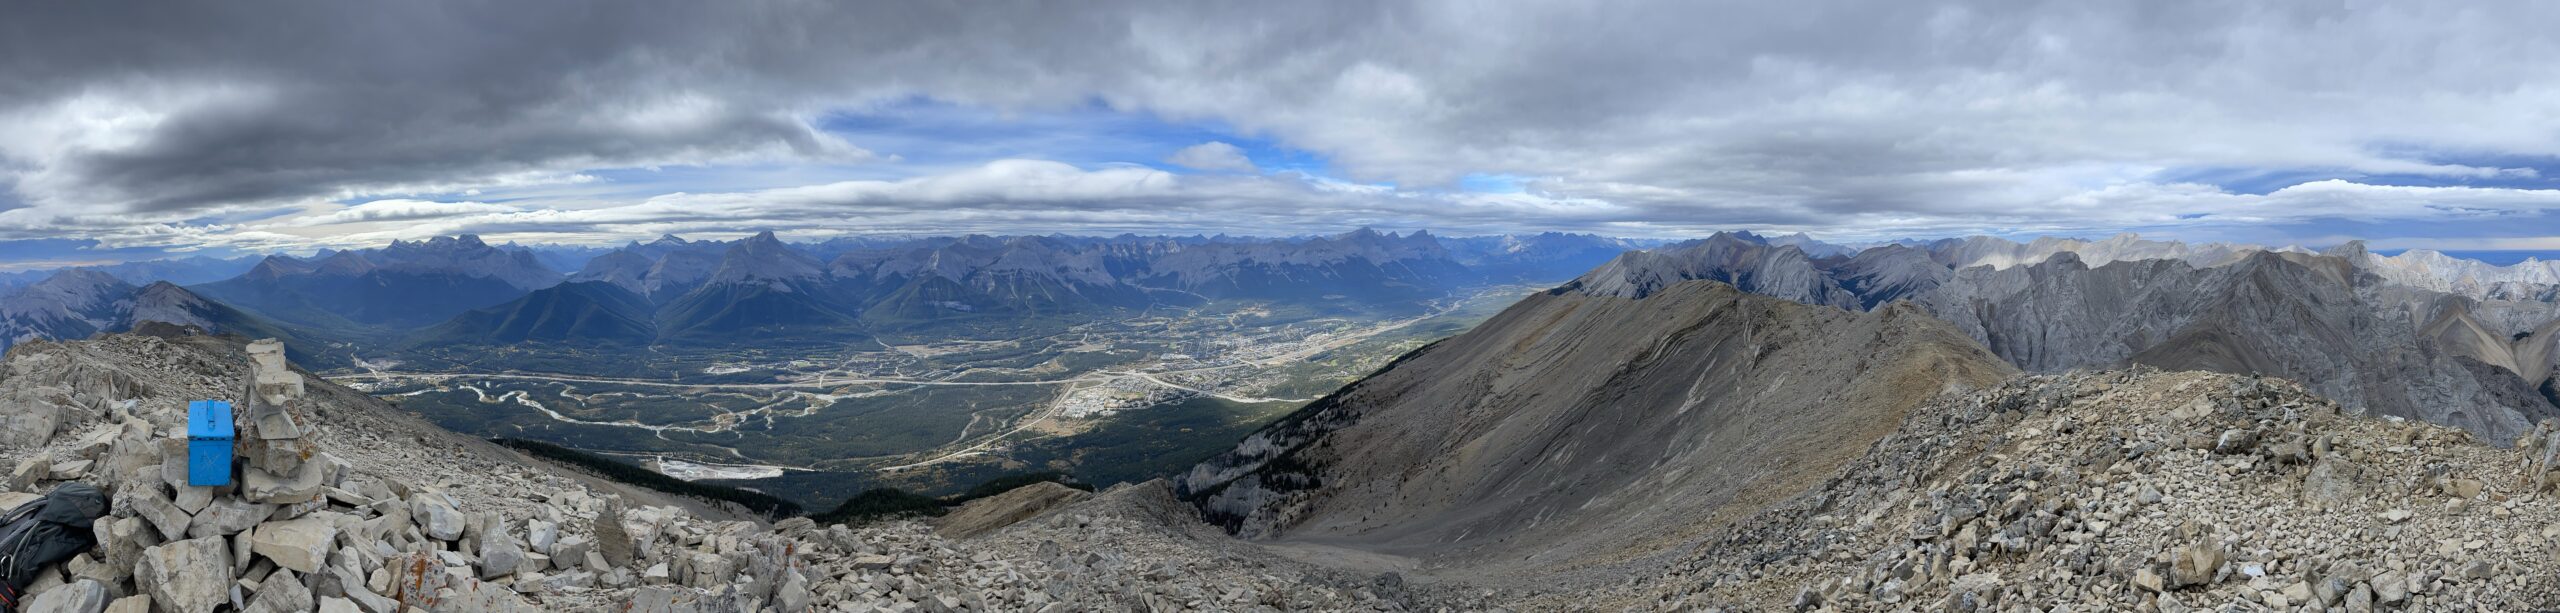
As you keep making your way up and to your right, you will eventually come to the top of the mountain, known as the ridge. Here you can look over the other side (looking north) and the summit will be off in the distance, still uphill to your right.
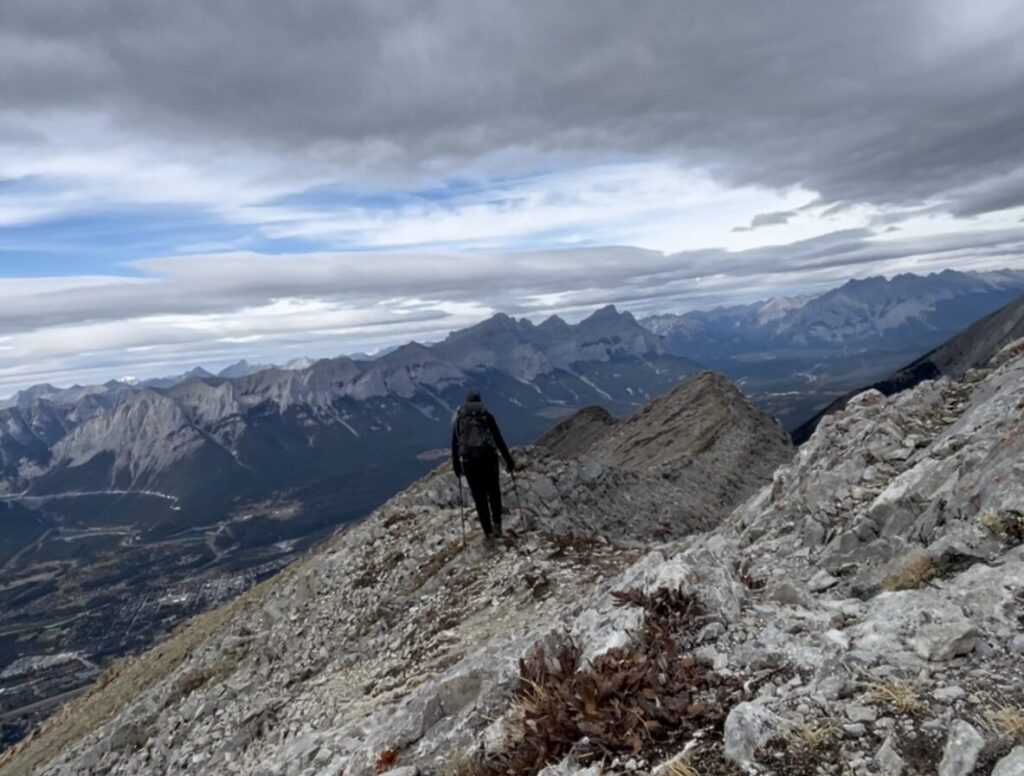
4. The Ridge
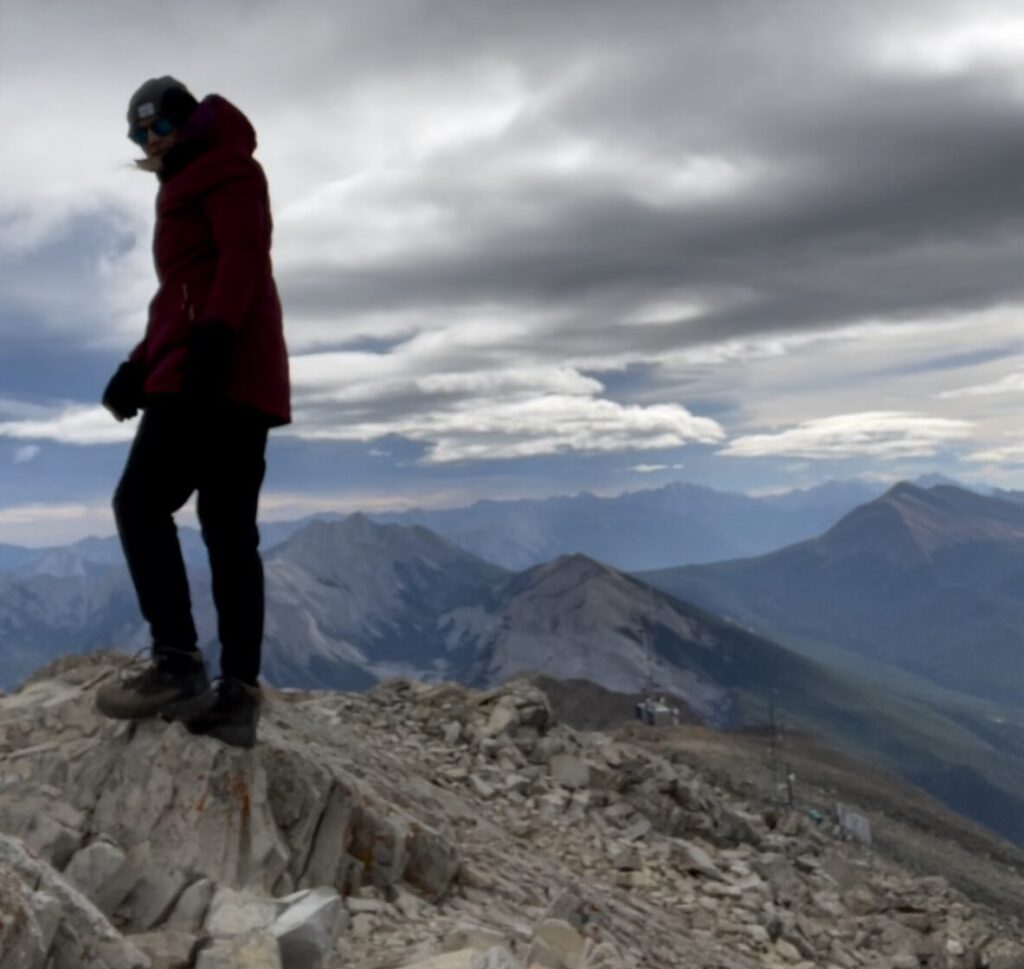
The ridge was my favorite part of the whole hike. Don’t be fooled, you still have elevation to gain along the ridge, but the views are stunning and finally the hiking is engaging.
Most of the way along the ridge you can simply walk towards the summit, but about halfway along the ridge there is a small 2-meter scramble section where you will need your hands to maneuver over the rocky ground.
This is likely the “crux” (hardest part) of the ridge.
From here, the trail will cross over the ridge to the north side of the mountain, before wandering back up to the crest just before the summit.
Allow yourself to explore the ridge, finding the easiest passages to move along as needed. In the wintertime, the ridge is likely wind-swept and bare, but if snow is present, be cautious of cornices (snow crests that are unsupported by the mountain below).
230-meters before the summit, there is a small rock window that is often photographed. Enjoy the views but be careful of the exposure. After this, hike the final push up to the summit, staying hiker’s right of the cliff bands (your righthand side as you look up at the summit)
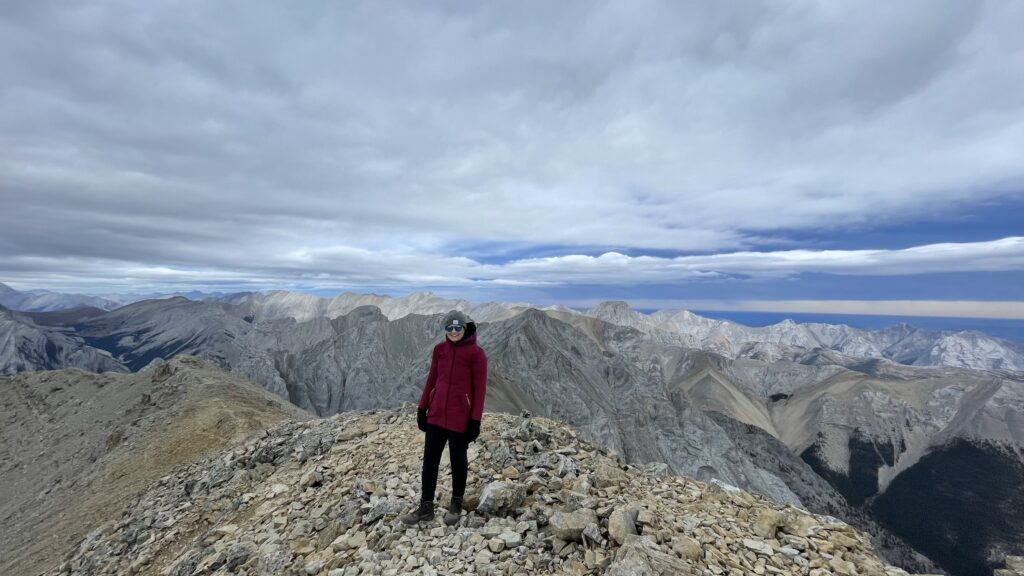
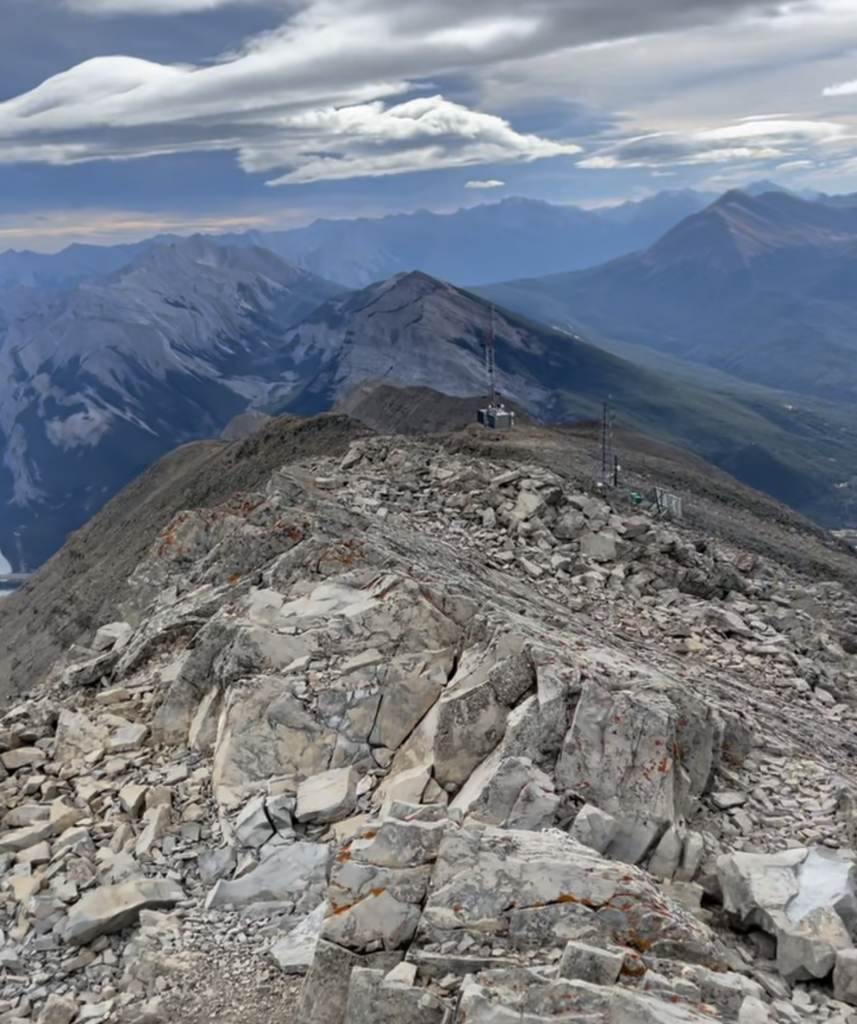
5. The Summit
The summit itself is a moderately-sized flat area, enough for a few groups to gather for pictures and a snack. A summit cairn and register are likely present (a register is a container where you can leave your name on a piece of paper as a way to celebrate your accomplishment).
If you look to the east, you’ll see a weather station perched atop the mountain! You can even wander down to it if you still have energy.
Consider descending via the ACC route if you do not have route-finding or scrambling experience. Although it is doable to take the direct route down, it is even steeper than the way you came up and is not an overly comfortable route, though the views of Echo Canyon are beautiful.
6. The Direct Route
The Start
Follow the start of the Grotto mountain trail as previously mentioned, but instead of taking the left fork at the third intersection, choose the right fork. You will be crossing over to the climber’s right of the canyon. This right fork is also the route for Echo Canyon.
The route up is fairly beaten-in and obvious at the start, but can be hard to discern as you progress up the mountain. This route is a steep grind, essentially hiking straight up along the canyon.
About 20-30 minutes after the intersection, you will see a wooden sign indicating the routes for Echo Canyon and the Grotto Mountain. Keep right to summit Grotto mountain.
The Memorial
This route will start in the trees, and eventually lead you to a small placard memorial in the rock. This is a nice indicator that the scramble sections are approaching. From here, there are about three cliff bands that you will need to scramble over.
The Scramble Sections
The cliff bands are a series of rocks near the edge of the canyon that you will need to use your hands to climb up and over. Each cliff band is about 4 meters tall. The scrambling isn’t too involved, but there are no route markers and it can be hard to know that you need to scramble up them when a trail isn’t visible.
I recommend following a GPS trail to make sure you’re scrambling what is intended to be scrambled, and you’re not accidentally off-route and scrambling into steep terrain. It’s better to be safe than sorry!
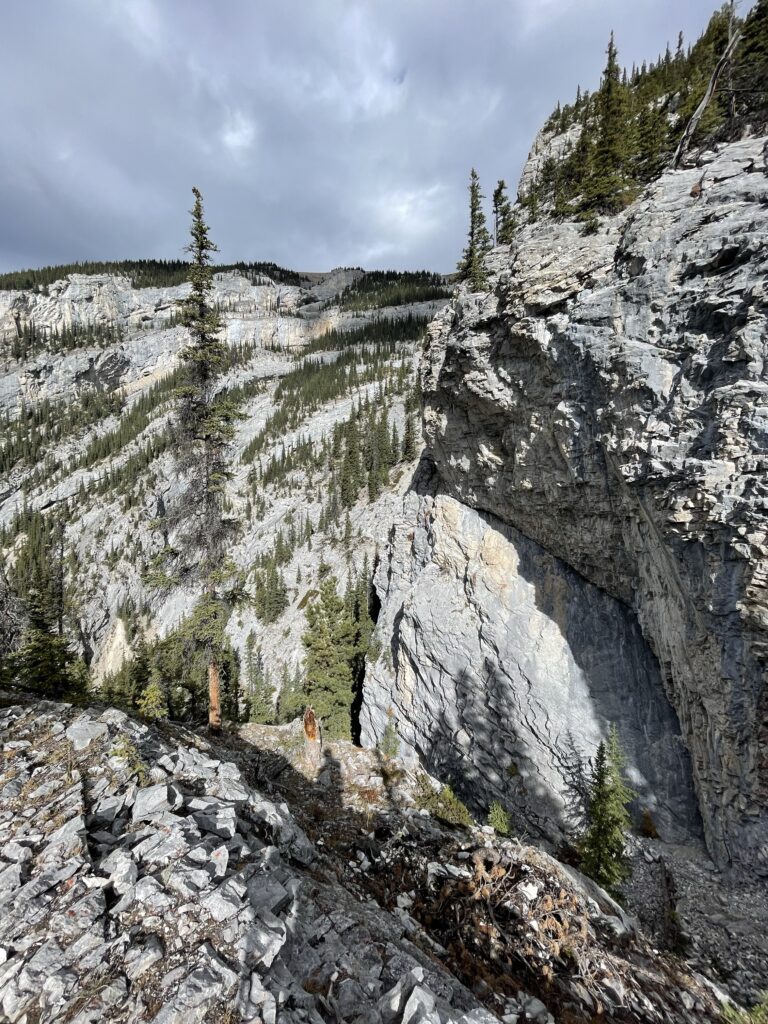
The route will take you along the edge of Echo Canyon, where the views are stunning. However, please stay a safe distance from the edge, as there is exposure (a straight drop) beside you into the canyon.
Once you’re finished the scramble sections, you’re almost out of the tree line. About 10 more minutes of hiking and you’ll be able to see the summit. However, this is when the real grind begins.
The Rocks
The wind will likely pick up out of the trees, and the terrain will change to heavy scree. The rocks are large – about the size of footballs, which makes travel slow and tedious. As you progress along, the incline increases.
You might have to use your hands to ascend the rocks close to the summit if you do not have poles. You can follow the ridge crest straight up to the summit – there is no official trail or “right” place to be. Whatever feels safest and is in the “up” direction will work.
Enjoy the summit views and congratulate yourself on all the hard work! Consider hiking and scrambling along the ridge; I personally found it to be very enjoyable. As well, you can then take the ACC route down, which is less steep and might be easier on the knees.
What to Bring When Hiking Grotto Mountain
Regardless of what mountain I’m hiking, I tend to have the same basics in my pack: food, water, warm layers. When I’m hiking Grotto Mountain, there are a few things I’d make sure I’d have to set myself up for success:
- A GPS Map – I usually just download a route on AllTrails, but Gaia, Fatmap, and other apps work just as well. The start of the grotto mountain route can be confusing, so it’s great to have some security in knowing where to go. GPS maps also give you an answer when you start saying “are we there yet?!”
- Wind Layers – It is infamously very windy on Grotto mountain. Make sure you have a windbreaker and something warm for your hands at the very least!
- Scrambling Gloves – If you plan on tackling the ridge, you might want to consider bringing and wearing scrambling gloves. Some of the rocks along the ridge can be sharp, and it might make you feel better to have some protection for your hands.
- Hiking Poles – This hike is steep and is quite the grind. Bring hiking poles to save your legs on the way up and knees on the way down!
Grotto Mountain Tips To Get The Best Experience
- Start Early – Grotto mountain is a grind. It will definitely be a full day adventure. Start early to keep the temperatures low while you’re hiking uphill and to give yourself the most daylight to complete the hike.
- Try The Loop – The easiest ascent of Grotto mountain is both up and down the ACC route. However, if you’re up for the challenge, try hiking up the direct route and coming down the ACC route. This way you get to see more of the mountain and you get more experience scrambling.
- Try a Sunrise or Sunset Hike – Grotto mountain can be hiked at sunrise or sunset, but because of the mountain’s orientation, sunset views tend to be better. Don’t forget to start really early and bring your headlamp! Take the ACC route to avoid scrambling in the dark.
- Hike in the Winter – The ACC route up Grotto is fairly popular, even in the winter. If you catch a sunny day in the winter and bring your microspikes, the trail is likely already broken and might even be easier with the traction of the spikes!
- Check the Weather – There is a weather station on the top of Grotto mountain so the forecast should be fairly accurate!
- Try the Canmore Quad – The “Canmore Quad” consists of hiking 4 mountains (Ha Ling, EEOR, Lady MacDonald, and Grotto Mountain). Some athletes hike all 4 in one day, but they’re can be hiked separately too!
Frequently Asked Questions
How hard is Grotto Mountain?
Grotto mountain is a hard hike because of it’s length. You have to gain a lot of elevation and travel a significant distance, which can be tiring. To get to the summit, there is also some easy scrambling.
Is Grotto Mountain open 2023?
Yes, Grotto mountain is open in 2023.
How long is the Grotto mountain hike?
Grotto mountain is a 12.2 kilometer loop hike, but will likely take 7-10 hours to complete.
Do I need a Kananaskis pass for Grotto mountain?
Yes, you do need a digital Kananaskis pass to park a car at the parking area for Grotto mountain. To avoid this, consider parking at the Cougar Creek parking area instead of the ACC pullout.
Recommendations From My Experience
As an avid hiker, I would say I underestimated Grotto mountain.
Grotto mountain felt relentlessly uphill. I took the ACC route up and the direct route down, which was alright, but I would recommend the reverse (hike up the direct route, hike down the ACC route). Although it would make the ascent steeper, coming down the direct route was not a very fun time.
Scrambling down the direct route was also difficult because I found the route-finding a bit challenging. I never felt “lost”, but it was tough to find the easiest way down at times. This is another reason I recommend coming down the ACC route.
Go into the hike with preparation and a lot of mental toughness.
Near the summit on the direct route, the terrain changes to large rocks about the size of footballs. This terrain is difficult to travel on, as it’s difficult to move through quickly, but easy to roll an ankle. Although it’s not a technical section, it is tedious. Take your time but keep pushing forward.
The ridge looks more intimidating than it is. Most of the ridge is walking beside some very large rocks. There is exposure (a large drop) along the back (north) side of the mountain at times, which can be spooky, but it’s easy to stay far from the drop.
Most of the scrambling on grotto mountain is considered easy scrambling. You do many of the moves with just one hand for support, but two hands might feel more secure. Never go further than you feel comfortable, but you won’t know how you’ll feel about it until you’re there.
The wind can feel brutal above the tree line. Ensure you have wind layers and put them on when needed. Again, if you feel unsafe, always turn around. However, if it’s just a strong breeze and you feel warm and stable, don’t let the wind deter you.
There have been a few rescues off of Grotto mountain from parties who have descended the wrong way. If you don’t have a GPS map to follow, consider utilizing the ACC route up and down, as the trail is more defined than the direct route.
Other rescues have occurred from dehydration fatigue. Grotto mountain is a long and tiring hike with no access to water. On a hot day you might need multiple liters of water. Don’t forget extra water if you bring a furry friend along for the hike too.
Other Questions?
Have you hiked Grotto mountain, or is it on your hit list? Drop a question below or come back and leave a review when you’re finished to let me know what you think and I’ll get back to you!
Happy trails!